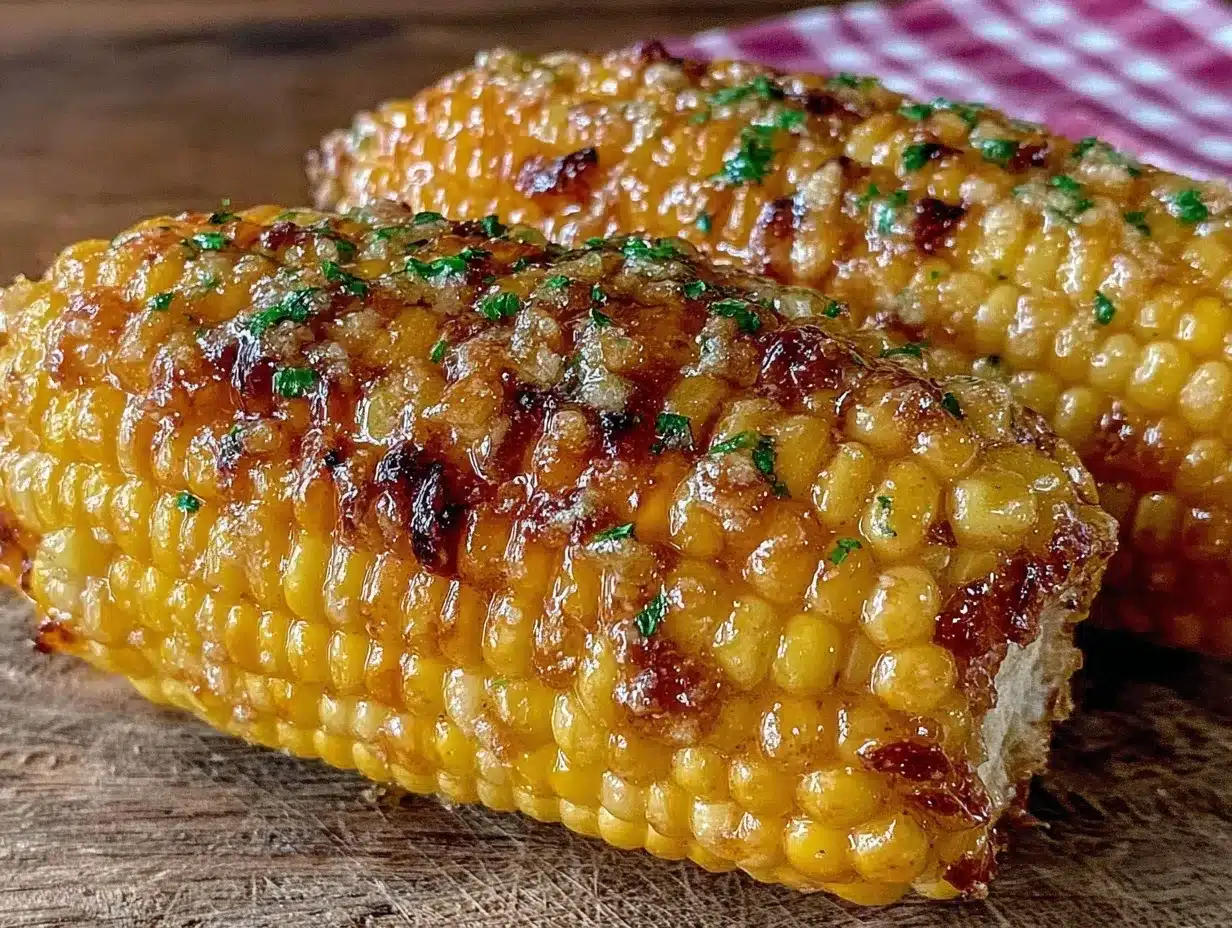
The smell of corn grilling over an open flame, mingled with the rich aroma of garlic butter, instantly takes me back to summer evenings spent in the backyard with family and friends. Honestly, there’s something incredibly comforting about biting into a perfectly grilled corn on the cob that’s been slathered with homemade garlic butter — it’s simple, yet so flavorful. I first whipped up this grilled corn on the cob with garlic butter recipe a few summers ago when I wanted a quick side dish that felt special without much fuss. After testing it more times than I can count (and sharing it with some picky eaters, too), this easy summer recipe has become a household favorite.
What makes this grilled corn on the cob with garlic butter so irresistible is how it combines the natural sweetness of fresh corn with the savory punch of garlic and creamy butter. Whether you’re throwing a casual barbecue or just craving a quick snack that screams sunshine, this recipe hits the spot. Plus, it’s a great way to enjoy local, seasonal corn at its peak. I’m excited to share everything you need to know to make this tasty treat your go-to summer side dish.
Why You’ll Love This Recipe
After grilling corn on the cob countless times, I’m convinced this recipe stands out for a bunch of reasons:
- Quick & Easy: Ready in under 25 minutes, it’s perfect when you want something tasty without the wait.
- Simple Ingredients: No complicated shopping trips here — just corn, butter, garlic, and a few pantry staples.
- Perfect for Summer Gatherings: Whether it’s a casual cookout or a festive holiday, this grilled corn fits right in.
- Crowd-Pleaser: Kids and adults alike ask for seconds — the garlic butter makes all the difference.
- Unbelievably Delicious: The charred kernels add a smoky depth while the garlic butter melts into every crevice.
This isn’t your average corn on the cob. The secret is in the garlic butter — I blend fresh minced garlic with softened butter, a pinch of salt, and a squeeze of lemon juice to brighten it up just right. Plus, grilling the corn with the husks on locks in moisture, so every bite is juicy and tender. It’s the kind of recipe that makes you pause and savor that first buttery, garlicky nibble. Trust me, once you try this grilled corn on the cob with garlic butter, you’ll wonder how you ever lived without it.
What Ingredients You Will Need
This recipe calls for straightforward, wholesome ingredients that let the natural flavors shine through. Most of these are pantry staples, and the fresh corn is the star of the show.
- Fresh corn on the cob: Choose ears with bright green husks and plump kernels — freshness makes all the difference.
- Unsalted butter, softened: I like using Land O Lakes for a creamy texture, but any good-quality butter works.
- Fresh garlic, minced: Fresh beats jarred here for that punchy garlic flavor.
- Fresh parsley, finely chopped: Adds a pop of color and fresh herbiness (optional but recommended).
- Lemon juice: Just a splash to cut through the richness and brighten the butter.
- Salt and black pepper: To taste, enhancing every bite.
- Olive oil: A light brush on the corn before grilling helps prevent sticking and boosts flavor.
If you want to switch things up, you can swap parsley for fresh cilantro or add a pinch of smoked paprika into the butter for a smoky kick. For dairy-free options, coconut oil or vegan butter substitutes work well, though I prefer the richness that real butter brings.
Equipment Needed
Grilling this corn on the cob with garlic butter doesn’t require fancy gadgets. Here’s what you’ll want on hand:
- Grill: Charcoal, gas, or even an electric grill will do nicely. I prefer charcoal for that authentic smoky flavor.
- Tongs: Essential for turning the corn safely and easily.
- Small mixing bowl: For whisking up the garlic butter.
- Knife and cutting board: To mince garlic and chop herbs.
- Basting brush: Useful for applying olive oil and butter evenly, but a spoon or spatula works too.
If you’re on a budget or grilling indoors, a grill pan on the stovetop is a fine alternative. Just keep an eye on the corn and turn frequently to avoid burning. In my experience, using good tongs with a sturdy grip makes all the difference when handling hot corn.
Detailed Preparation Method
- Preheat your grill: Heat to medium-high, around 375–400°F (190–204°C). This usually takes about 10 minutes.
- Prepare the corn: Peel back the husks without removing them entirely, then remove the silk threads from each ear. Fold the husks back into place. If you like, soak the corn in cold water for 15 minutes to keep them extra moist while grilling.
- Make the garlic butter: In a small bowl, combine ½ cup (115 g) softened unsalted butter, 2 cloves minced garlic, 1 tablespoon fresh lemon juice, 1 tablespoon chopped parsley, and a pinch of salt and pepper. Mix until smooth and set aside.
- Oil the corn: Brush each ear lightly with olive oil to prevent sticking to the grill grates.
- Grill the corn: Place the ears on the grill, husks on, turning every 3–4 minutes for about 15 minutes total. The husks will char, but don’t worry; this helps steam the corn inside while imparting a smoky flavor.
- Finish grilling without husks (optional): For extra charred kernels, carefully peel back the husks after 15 minutes and grill the corn directly for another 2–3 minutes per side. Watch closely so it doesn’t burn.
- Butter it up: Remove the corn from the grill and, while still hot, slather the garlic butter generously all over each ear.
- Serve immediately: Garnish with extra parsley or a sprinkle of chili flakes for some heat if you like. Serve warm for the best flavor.
Pro tip: If your garlic butter is too hard to spread, pop it in the microwave for 10 seconds to soften. Also, watch the grill carefully during the final char step — corn can burn quickly once exposed.
Cooking Tips & Techniques
Grilled corn on the cob seems simple, but a few tricks make it truly shine. First, don’t underestimate the power of soaking the corn in water — it keeps the kernels juicy and prevents the husks from burning too fast. I learned this the hard way after one smoky disaster!
When applying garlic butter, use softened butter rather than melted; this helps it cling better to the corn without running off. If your butter is too cold, it’ll just clump and create uneven patches.
Timing is everything: turning the corn every few minutes ensures even cooking and prevents scorching. I often multitask by prepping the butter and setting the table while the corn grills, making the process flow smoothly.
For a smoky flavor without a grill, try using a cast-iron skillet and a bit of smoked paprika in the butter. It’s not quite the same, but it’s a great fix when the weather isn’t cooperating.
Variations & Adaptations
If you want to mix things up, here are some ideas I’ve tried or recommend:
- Spicy Garlic Butter: Add a pinch of cayenne pepper or chipotle powder to the butter for a smoky heat that wakes up your taste buds.
- Cheesy Twist: After buttering, sprinkle grated Parmesan or Cotija cheese on top for a savory finishing touch.
- Herb Variations: Swap parsley for basil, cilantro, or chives depending on your mood or what’s fresh in your garden.
- Vegan Option: Use vegan butter or coconut oil and skip the cheese for a plant-based version that’s just as tasty.
- Different Cooking Methods: Not near a grill? Roast the corn in the oven at 400°F (204°C) wrapped in foil for about 25 minutes, then finish under the broiler for a few minutes to mimic that char.
I once tried adding a squeeze of lime and a sprinkle of chili powder — honestly, an unexpected combo that brought the flavors to life. Feel free to get creative!
Serving & Storage Suggestions
Serve your grilled corn on the cob with garlic butter hot off the grill for the best melt-in-your-mouth experience. I like to place the ears on a colorful platter garnished with fresh herbs for a festive look. It pairs beautifully with grilled meats, fresh salads, or even a chilled summer drink like iced tea or lemonade.
If you have leftovers (rare but possible!), wrap them tightly in foil or store in an airtight container in the fridge for up to 2 days. Reheat by placing wrapped corn in a warm oven (350°F/175°C) for about 10 minutes or briefly in the microwave. Note that the texture is best fresh, but reheated corn still makes a tasty snack.
Flavors tend to mellow and meld overnight if you pre-butter the corn before storing, so sometimes I prepare the garlic butter in advance and slather the corn just before serving for that fresh garlic punch.
Nutritional Information & Benefits
This grilled corn on the cob with garlic butter is not just delicious but packs a nutritious punch. One ear of corn contains roughly 90–100 calories, offering fiber, essential vitamins like B-complex, and antioxidants. The garlic adds immune-boosting properties and anti-inflammatory benefits, while butter provides satisfying fats to keep you full.
For those watching carbs, corn is moderate, so portion control helps. The recipe can easily be made gluten-free and dairy-free with suitable butter alternatives. In my experience, this side dish strikes a nice balance between comfort and nutrition, making it a winner for family meals or casual gatherings.
Conclusion
Grilled corn on the cob with garlic butter is one of those simple recipes that never fails to impress. It’s quick, easy, and the perfect way to enjoy summer’s bounty with minimal effort but maximum flavor. What I love most is how it brings people together — no fancy plating needed, just good food and good company.
Feel free to make this recipe your own by tweaking the herbs, spices, or cooking method to suit your taste. I’d love to hear how you put your spin on it, so please leave a comment or share your experience! Now grab some fresh corn, fire up the grill, and get ready to enjoy this unbelievably tasty treat.
FAQs
Can I use frozen corn for this grilled corn on the cob with garlic butter recipe?
While fresh corn is best for grilling, you can use frozen corn if you thaw it and grill it in a grill basket or on skewers. However, the texture and flavor won’t be quite the same as fresh ears.
How do I prevent the garlic butter from burning on the grill?
Apply the garlic butter after grilling the corn rather than before. If you want to baste while grilling, do so sparingly and keep the heat moderate to avoid burning the garlic.
Can I prepare the garlic butter ahead of time?
Yes! Make the garlic butter a day ahead and store it in the fridge. Bring it to room temperature before spreading it on the hot corn for the best flavor and texture.
What if I don’t have a grill?
No worries! You can roast the corn in the oven or cook it on a grill pan on the stovetop. Just keep an eye on it to avoid burning and turn frequently.
How do I reheat leftover grilled corn without drying it out?
Wrap the corn tightly in foil and warm it in a 350°F (175°C) oven for about 10 minutes. This helps keep the moisture locked in and preserves the buttery garlic flavor.
Pin This Recipe!
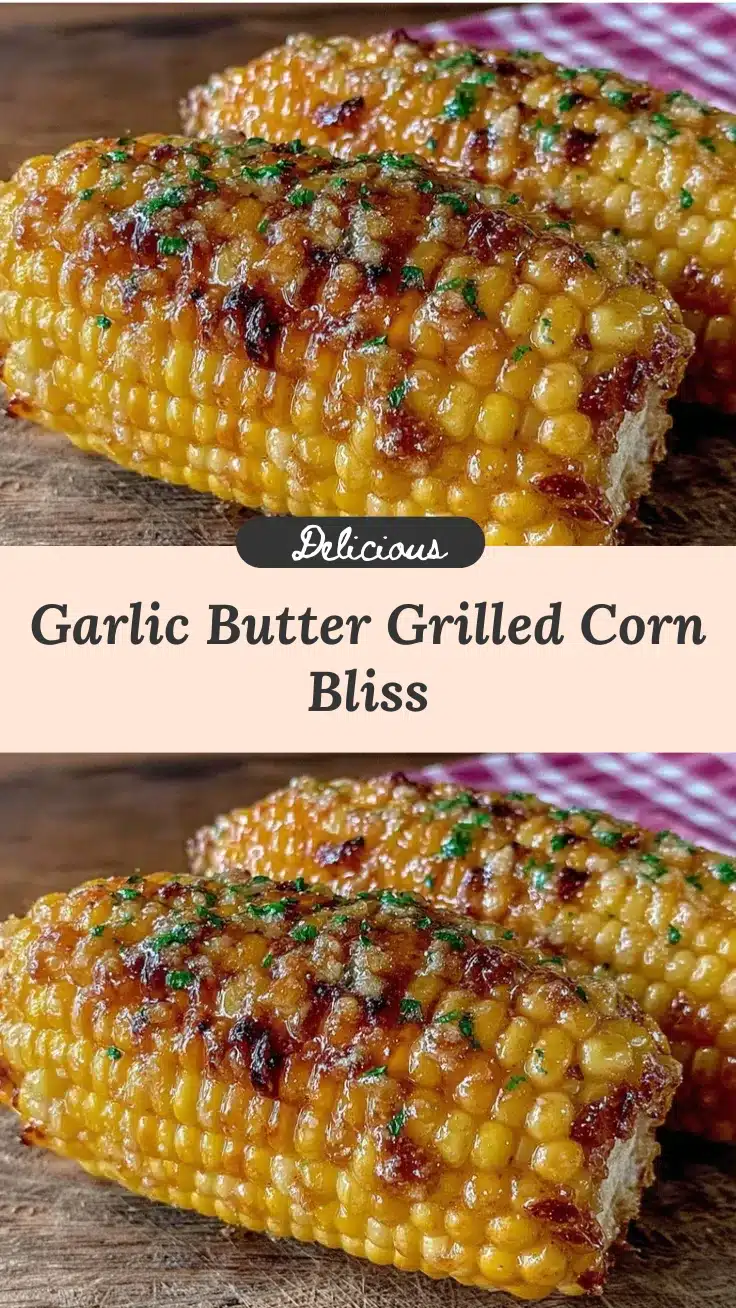
Grilled Corn on the Cob with Garlic Butter

A quick and easy summer recipe featuring fresh corn grilled to perfection and slathered with a flavorful homemade garlic butter.
- Prep Time: 15 minutes
- Cook Time: 15 minutes
- Total Time: 30 minutes
- Yield: 4 servings 1x
- Category: Side Dish
- Cuisine: American
Ingredients
- 4 ears fresh corn on the cob with husks
- 1/2 cup (115 g) unsalted butter, softened
- 2 cloves fresh garlic, minced
- 1 tablespoon fresh lemon juice
- 1 tablespoon fresh parsley, finely chopped (optional)
- Salt, to taste
- Black pepper, to taste
- Olive oil, for brushing
Instructions
- Preheat your grill to medium-high heat, about 375–400°F (190–204°C), which takes approximately 10 minutes.
- Peel back the husks of each ear of corn without removing them entirely, then remove the silk threads. Fold the husks back into place. Optionally, soak the corn in cold water for 15 minutes to keep them moist while grilling.
- In a small bowl, combine the softened butter, minced garlic, lemon juice, chopped parsley, salt, and pepper. Mix until smooth and set aside.
- Brush each ear of corn lightly with olive oil to prevent sticking to the grill.
- Place the ears on the grill with husks on, turning every 3–4 minutes for about 15 minutes total. The husks will char, which helps steam the corn inside and adds smoky flavor.
- Optional: For extra charred kernels, carefully peel back the husks after 15 minutes and grill the corn directly for another 2–3 minutes per side, watching closely to avoid burning.
- Remove the corn from the grill and, while still hot, generously slather the garlic butter all over each ear.
- Serve immediately, garnished with extra parsley or chili flakes if desired.
Notes
If garlic butter is too hard to spread, soften it in the microwave for 10 seconds. Soaking corn in water before grilling keeps kernels juicy and prevents husks from burning. Turn corn every few minutes for even cooking. For a smoky flavor without a grill, use a cast-iron skillet and add smoked paprika to the butter.
Nutrition
- Serving Size: 1 ear of corn
- Calories: 190
- Sugar: 6
- Sodium: 150
- Fat: 14
- Saturated Fat: 8
- Carbohydrates: 16
- Fiber: 2
- Protein: 3
Keywords: grilled corn, garlic butter, summer recipe, easy side dish, barbecue, corn on the cob