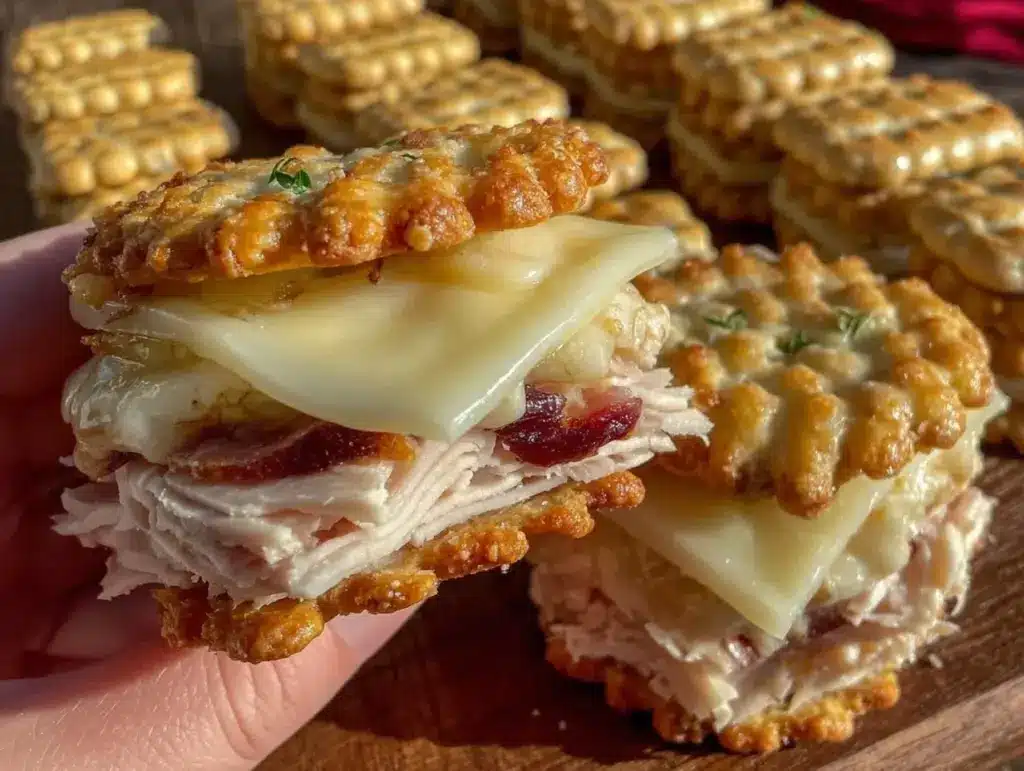
Rummaging through the pantry while the clock’s ticking down to lunch and the kids are already hovering, sounding off on what’s “not good enough” for today’s meal. Half a pack of turkey slices and a lonely block of cheddar staring back at me—no fancy lunchbox kits in sight and definitely no time for a supermarket run. It’s that kind of chaos that birthed these Easy DIY Lunchables with Turkey, Cheese, and Crackers. Honestly, I wasn’t aiming for Pinterest-perfect, but somehow this quick grab-and-go lunch ended up a staple in our weekly routine.
There’s something about assembling your own little compartments of turkey, cheese, and crunchy crackers that just makes lunch feel special—without the stress of prepping something complicated. Plus, the kids get to pick their combos, which means fewer complaints and more smiles. It’s funny how the simplest meals often become the most trusted go-tos when life gets hectic.
What stuck with me, beyond the ease, was how this little DIY idea transformed lunch from a dreaded negotiation into a quick, almost fun task. No more scrambling or last-minute drive-thrus; just a few ingredients, some trusty crackers, and a dash of creativity. If you’ve ever found yourself staring down an empty fridge or needing an easy yet satisfying kid-friendly lunch, this recipe is a quiet lifesaver you’ll want in your back pocket.
Why You’ll Love This Recipe
Trust me, once you try these Easy DIY Lunchables with Turkey, Cheese, and Crackers, they’ll be a staple in your lunch prep arsenal. I’ve tested this recipe on busy school mornings, hectic weekends, and even spontaneous park picnics, and it never disappoints. Here’s why you and your family will love it:
- Quick & Easy: Comes together in under 10 minutes, perfect for busy mornings or last-minute lunches.
- Simple Ingredients: No fancy or hard-to-find items—just turkey, cheese, and crackers you probably already have in your kitchen.
- Perfect for Kids’ Lunches: Fun, customizable, and mess-free—kids love assembling their own little lunch boxes.
- Crowd-Pleaser: Both picky eaters and adults enjoy the familiar flavors and easy texture combo.
- Unbelievably Delicious: The salty crunch of crackers paired with savory turkey and creamy cheese hits all the right notes.
This isn’t just another turkey and cheese plate. The secret is in the balance—the right crackers that hold up without sogging, the cheese sliced just thick enough to melt a little warmth but still stay firm, and turkey that’s sliced thin and tender. I’ve even swapped in some unexpected extras (like a smear of honey mustard or a slice of crunchy pickle) for a grown-up twist. If you’ve ever made ham and cheese sticks for parties, like the crispy ham and cheese sticks, you know these simple combos can be surprisingly satisfying.
What Ingredients You Will Need
This recipe uses simple, wholesome ingredients to deliver bold flavor and satisfying texture without the fuss. Most are pantry staples, making it easy to pull together anytime. Here’s what you’ll want on hand:
- Deli Turkey Slices: About 8 ounces (225 grams), thinly sliced. I prefer Boar’s Head oven-roasted turkey for its tender, flavorful profile.
- Cheese: 6 ounces (170 grams) of cheddar, Colby Jack, or your kid’s favorite. Sliced about ¼ inch thick works best.
- Crackers: 1 sleeve (about 30 crackers) of sturdy crackers like Wheat Thins, Triscuit, or buttery Ritz. Choose crackers that won’t crumble easily.
- Optional Extras:
- Honey mustard or ranch dip (for a little zing)
- Pickles or sliced cucumbers (adds crunch and freshness)
- Grapes or apple slices (for a sweet contrast)
For a dairy-free twist, swap the cheese with a plant-based cheese option like Daiya or Follow Your Heart. Gluten-free crackers work well too if you need to avoid gluten. In summer, adding fresh berries or crisp apple slices pairs beautifully with the savory elements. I sometimes toss in a small container of hummus or guacamole for extra flavor and nutrients.
Equipment Needed
- Cutting Board and Sharp Knife: For slicing cheese and any optional veggies or fruits.
- Lunch Containers or Bento Boxes: Compartments help keep crackers crisp and ingredients separate.
- Small Bowls or Snack Cups: Useful for dips or smaller add-ons like pickles or grapes.
- Measuring Scale or Cups: Handy to portion out ingredients consistently.
- Optional: Cheese slicer if you want perfectly even cheese slices without fuss.
For budget-friendly lunches, any reusable plastic or glass containers with lids work fine. I’ve found that keeping the crackers separate until ready to eat really helps avoid sogginess, so containers with multiple sections or little snack cups are a lifesaver. If you don’t have a sharp knife handy, kitchen scissors can work surprisingly well to cut cheese and deli slices.
Preparation Method
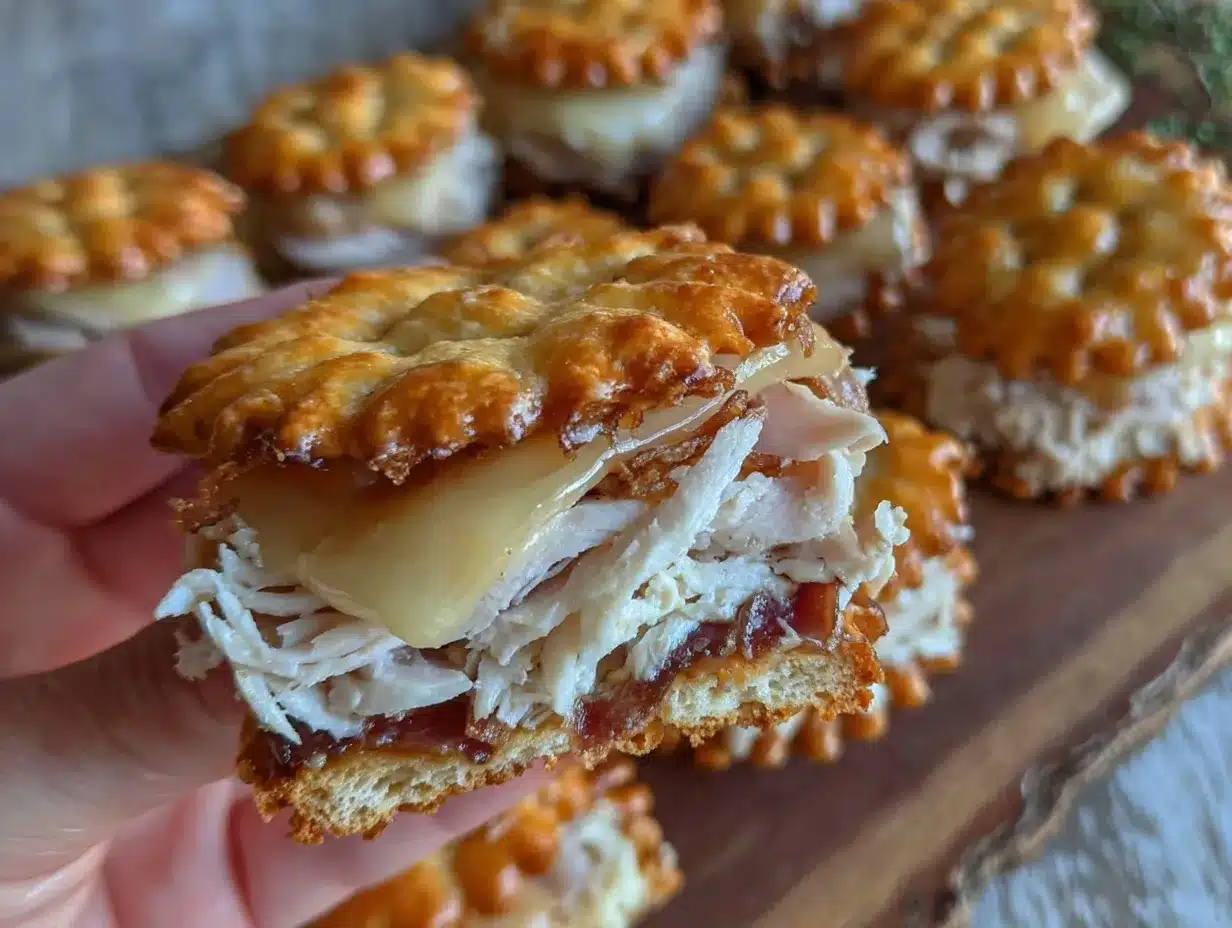
- Prepare your work surface. Lay out a clean cutting board and gather all your ingredients. This prep takes about 2 minutes.
- Slice the cheese. Cut your cheese into roughly ½-inch (1.25 cm) squares or thin rectangles, about ¼-inch (0.6 cm) thick. This helps them fit nicely on crackers and be manageable for little hands. Set aside.
- Arrange turkey slices. Lay out the turkey on the board and cut into bite-sized pieces or strips about 2 inches (5 cm) long. If your turkey is thicker, slicing it thinner helps keep the lunchables easy to eat.
- Portion crackers. Count out about 10-12 crackers per lunchbox. Choose ones that won’t easily crumble to keep the texture enjoyable.
- Optional: Prep extras. Slice pickles, cucumbers, or fruit if using. Keep dips in small separate containers to avoid sogginess.
- Assemble the lunchables. In each lunch container, place crackers in one compartment, turkey pieces in another, and cheese slices in a third. Add optional extras in small cups or compartments.
- Seal and store. Close containers tightly and refrigerate if not eating immediately. These hold well for up to 24 hours.
Watch out for moisture buildup—if your cheese or turkey feels too wet, pat dry with a paper towel before packing. When I first tried this, my crackers got soggy fast, so keeping everything separated was a game changer. And a quick tip: slice cheese just before packing to keep it fresh and firm.
Cooking Tips & Techniques
Honestly, there’s no cooking here, but technique matters for the best lunchable experience. First, picking the right crackers is key—too flimsy and they’ll crumble, too hard and they’re tough for kids to bite. I’ve learned that wheat-based crackers with a bit of texture hold up best.
When slicing turkey and cheese, aim for uniform pieces so everything stacks nicely and is easy to grab. I used to cut cheese slabs too thick, and it was a struggle for little fingers. Also, avoid stacking wet ingredients directly on crackers to prevent sogginess—keeping dips separate is a must.
Timing is everything. Assemble lunches right before heading out or shortly before serving to keep crackers crisp and cheese fresh. If prepping for lunchboxes the night before, store crackers separately and add them in the morning. This simple multitasking saves me a ton of stress on busy school days.
Variations & Adaptations
- Vegetarian Version: Replace turkey with sliced avocado or roasted chickpeas for protein. Pair with your favorite cheese or vegan cheese.
- Gluten-Free Option: Use gluten-free crackers like Simple Mills or Blue Diamond nut thins. Everything else stays the same.
- Seasonal Twist: Add fresh apple or pear slices in fall, or fresh berries and cucumber in summer for a refreshing bite.
- Flavor Boost: Mix in a little pesto or cranberry sauce spread on crackers before adding turkey and cheese for a flavor pop.
- Personal Favorite: I sometimes swap cheddar for pepper jack cheese and add a few slices of mild jalapeño to give it a little kick—kids surprisingly love it!
For those who want a heartier lunch, pairing these DIY lunchables with a side salad like the fresh southwest chipotle salad offers a nice balance. Or add some crunchy veggie sticks from your fridge for extra nutrition and color.
Serving & Storage Suggestions
Serve these Easy DIY Lunchables chilled or at room temperature. They’re perfect for packing in lunchboxes or serving as a quick snack during the day. Presentation-wise, keeping ingredients separated in compartments keeps things neat and appetizing.
Leftovers? Store any assembled lunchables in an airtight container in the refrigerator for up to 24 hours. Crackers are best kept separate and added just before eating to stay crisp. Reheat is not really needed here, but if you want a warm snack, melt the cheese and turkey together on a cracker for a mini open-faced bite.
The flavors actually develop nicely as the turkey and cheese sit together, so if you don’t mind a slightly softer cracker, prepping these the night before works well. Just keep moisture in check.
Nutritional Information & Benefits
Each serving of these Easy DIY Lunchables with Turkey, Cheese, and Crackers provides approximately 300-350 calories, with around 20 grams of protein and moderate fats depending on cheese type. This combo supports energy and satiety, which is great for active kids.
Turkey is a lean protein packed with essential vitamins like B6 and niacin, supporting metabolism and brain health. Cheese adds calcium and vitamin D, both important for growing bones. Choosing whole grain crackers adds fiber, aiding digestion.
This recipe can be adapted to fit gluten-free and dairy-free diets easily by swapping ingredients. From a wellness perspective, it’s a well-rounded, minimally processed meal option that keeps kids fueled and happy without added sugars or artificial additives.
Conclusion
These Easy DIY Lunchables with Turkey, Cheese, and Crackers are more than just a quick fix—they’re a reliable, fuss-free way to keep lunchtime simple and satisfying. They allow you to customize, mix, and match, so no one feels stuck with the same old sandwich day after day. Personally, I love how this recipe quietly turned a hectic morning into a smooth moment with the kids.
Feel free to tweak the ingredients, try new cheeses or crackers, and add your own favorite extras. The beauty is in the flexibility and the ease. If you ever want to pair these lunchables with a cozy dessert afterwards, you might consider something like the soft sugar cookies with creamy icing—a sweet treat that’s just the right finish.
Give this simple recipe a go and let me know how your family likes to personalize their lunchboxes!
Frequently Asked Questions
Can I make these lunchables ahead of time?
Yes, but keep crackers separate until just before eating to avoid sogginess. Turkey and cheese can be prepped and stored in airtight containers for up to 24 hours.
What cheeses work best for DIY lunchables?
Cheddar, Colby Jack, Monterey Jack, and mild Swiss are great choices. For dairy-free, try plant-based cheese slices that melt well.
Are there good alternatives to turkey?
Absolutely! Sliced chicken breast, ham, or even roasted veggies like zucchini strips work nicely if your family prefers.
How can I keep crackers from getting soggy?
Keep crackers in their own compartment or container. Avoid stacking wet ingredients directly on top, and add dips separately.
Can these lunchables be frozen?
Not recommended. Crackers and cheese texture change when frozen. It’s best to prepare fresh or refrigerate for short-term storage.
Pin This Recipe!
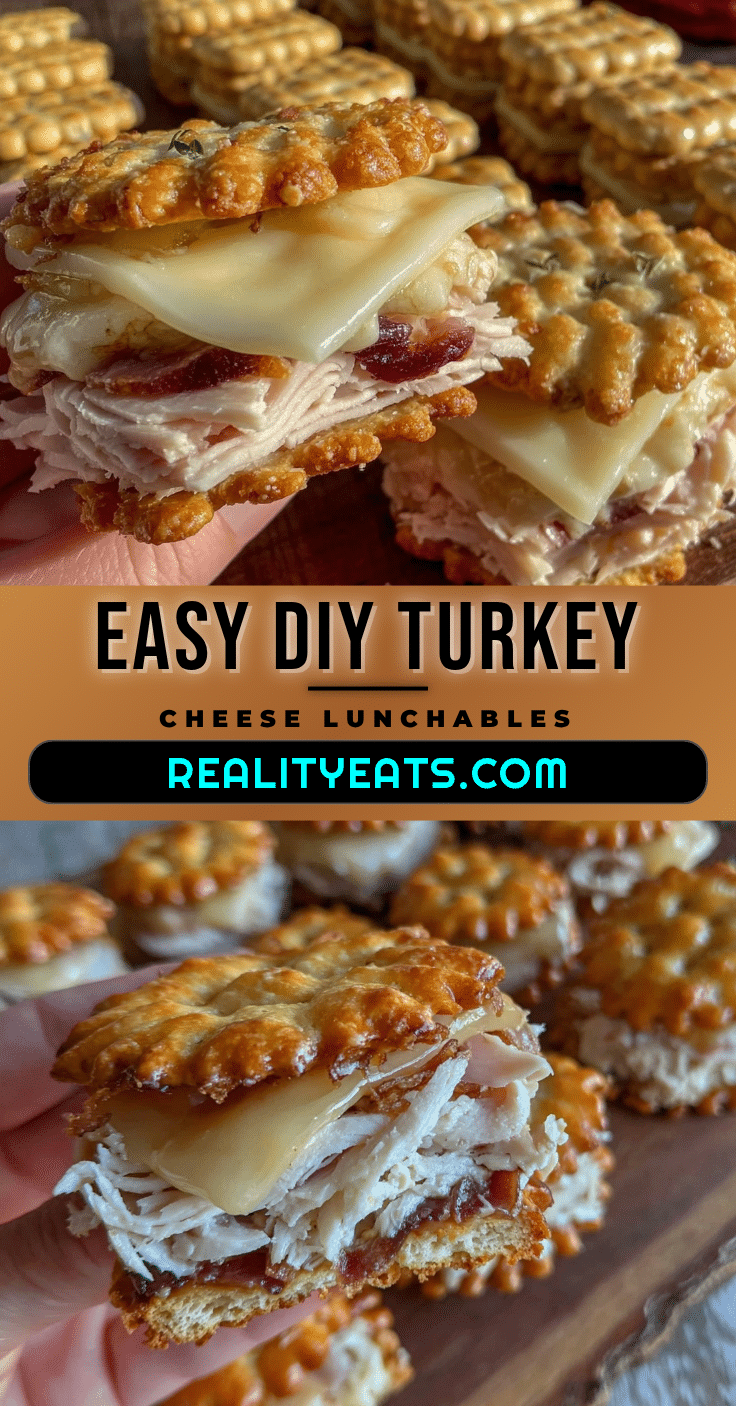
Easy DIY Lunchables with Turkey Cheese Crackers Perfect for Kids Lunches

A quick and customizable lunch option featuring turkey, cheese, and crackers that kids love assembling themselves. Perfect for busy mornings and mess-free lunches.
- Prep Time: 5 minutes
- Cook Time: 0 minutes
- Total Time: 5 minutes
- Yield: 2-3 servings 1x
- Category: Lunch
- Cuisine: American
Ingredients
- 8 ounces deli turkey slices, thinly sliced
- 6 ounces cheddar, Colby Jack, or preferred cheese, sliced about 1/4 inch thick
- 1 sleeve (about 30 crackers) sturdy crackers like Wheat Thins, Triscuit, or Ritz
- Optional extras: honey mustard or ranch dip, pickles or sliced cucumbers, grapes or apple slices
Instructions
- Prepare your work surface by laying out a clean cutting board and gathering all ingredients.
- Slice the cheese into roughly 1/2-inch squares or thin rectangles about 1/4 inch thick.
- Arrange turkey slices and cut into bite-sized pieces or strips about 2 inches long.
- Portion out about 10-12 crackers per lunchbox, choosing ones that won’t easily crumble.
- Optional: Slice pickles, cucumbers, or fruit if using. Keep dips in small separate containers.
- Assemble the lunchables by placing crackers in one compartment, turkey pieces in another, and cheese slices in a third. Add optional extras in small cups or compartments.
- Seal containers tightly and refrigerate if not eating immediately. Consume within 24 hours.
Notes
Keep crackers separate until just before eating to avoid sogginess. Slice cheese just before packing to keep it fresh and firm. Use sturdy crackers that hold up well. Store assembled lunchables in airtight containers and consume within 24 hours. For dairy-free or gluten-free diets, swap cheese and crackers accordingly.
Nutrition
- Serving Size: One lunchbox contain
- Calories: 300350
- Sugar: 2
- Sodium: 600
- Fat: 15
- Saturated Fat: 7
- Carbohydrates: 25
- Fiber: 2
- Protein: 20
Keywords: DIY lunchables, turkey lunch, kids lunch, easy lunch, cheese and crackers, quick lunch, healthy kids lunch