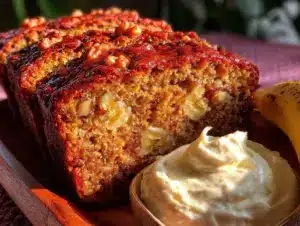
The first time I made this no-bake peanut butter pie, I was blown away by how creamy and rich it turned out without even turning on the oven. Honestly, the smell of peanut butter mixed with a hint of vanilla and chocolate just takes me right back to those lazy weekend afternoons, where dessert felt like a cozy hug. This irresistible no-bake peanut butter pie recipe has since become my go-to for impressing guests or indulging in a little self-care treat.
What makes this no-bake peanut butter pie so special? It’s the perfect blend of creamy, nutty, and sweet, all wrapped up in an easy-to-make crust that doesn’t require baking. If you’re like me—someone who loves peanut butter but hates waiting around for dessert to bake—this recipe will feel like a dream come true. Plus, it’s great for busy families or last-minute dessert emergencies. I’ve tested it more times than I can count, tweaking it just enough to get that silky texture and balanced sweetness that keeps everyone coming back for seconds.
Whether you’re a peanut butter fanatic or just craving a simple homemade dessert, this no-bake peanut butter pie recipe is a keeper. So grab your mixing bowl, and let’s make something deliciously effortless together!
Why You’ll Love This Recipe
- Quick & Easy: Comes together in under 20 minutes, making it perfect for busy weeknights or sudden dessert cravings.
- Simple Ingredients: No fancy or hard-to-find items; you probably already have everything in your pantry and fridge.
- Perfect for Every Occasion: Whether it’s a casual family dinner, a potluck, or a cozy night in, this pie fits right in.
- Crowd-Pleaser: Kids, adults, and peanut butter lovers alike always rave about its creamy texture and perfect sweetness.
- Unbelievably Delicious: The combination of smooth peanut butter filling with a crunchy crust creates a satisfying bite every time.
What really sets this no-bake peanut butter pie apart is the way the filling comes together—fluffy but rich, with a hint of vanilla that rounds out the peanut butter flavor without being overpowering. I’ve used everything from store-bought whipped topping to homemade whipped cream in this recipe, but blending the peanut butter with cream cheese and a touch of powdered sugar is my personal favorite trick for that silky, melt-in-your-mouth experience.
Honestly, this pie isn’t just dessert—it’s a little celebration in every slice. It’s that kind of recipe you want to keep in your back pocket for when you need a quick treat that feels fancy but is totally fuss-free.
What Ingredients You Will Need
This no-bake peanut butter pie recipe uses simple, wholesome ingredients to deliver bold flavor and a satisfying texture without any fuss. Most are pantry staples, and you can easily swap a few things based on your preferences or dietary needs.
- For the crust:
- 1 ½ cups (150g) graham cracker crumbs (or crushed digestive biscuits)
- 6 tablespoons (85g) unsalted butter, melted (adds richness)
- 2 tablespoons (25g) granulated sugar (balances the buttery crust)
- For the filling:
- 1 cup (250g) creamy peanut butter (I prefer natural, unsweetened for best flavor)
- 8 oz (225g) cream cheese, softened (for that silky texture)
- 1 cup (120g) powdered sugar, sifted (sweetens without graininess)
- 1 teaspoon vanilla extract (adds depth)
- 1 cup (240ml) heavy whipping cream, cold (whipped to stiff peaks)
- For the topping (optional):
- Chocolate shavings or mini chocolate chips (for a nice crunch and contrast)
- Chopped peanuts (adds texture and extra peanut flavor)
- Whipped cream dollops (for extra creaminess)
If you want a gluten-free crust, almond flour mixed with melted butter works beautifully. Also, swapping heavy cream with coconut cream is a great dairy-free alternative that still whips well. I’ve found using chilled heavy cream straight from the fridge is key—it whips up faster and holds shape better.
Equipment Needed
- 9-inch (23 cm) pie dish — glass or ceramic works best for even cooling.
- Mixing bowls — one large for filling, one smaller for whipping cream.
- Electric mixer or hand whisk — an electric mixer speeds things up, but a sturdy whisk works if you’re patient.
- Spatula — for folding whipped cream into the peanut butter mixture gently.
- Measuring cups and spoons — accuracy helps the pie come out just right.
If you don’t have a pie dish, a springform pan is a handy alternative for easy removal. For those on a budget, a simple metal or silicone pie pan will do just fine. Just be mindful that some materials affect cooling time slightly. When it comes to whipping cream, using a chilled metal bowl can make whipping easier and faster.
Detailed Preparation Method
- Prepare the crust: In a medium bowl, combine 1 ½ cups (150g) graham cracker crumbs, 6 tablespoons (85g) melted unsalted butter, and 2 tablespoons (25g) granulated sugar. Mix with a fork until all crumbs are evenly coated and the mixture feels like wet sand. Press firmly into the bottom and up the sides of your 9-inch (23 cm) pie dish. Use the back of a spoon or a flat-bottomed glass to compact it well. Chill in the fridge for at least 15 minutes to set while you prepare the filling.
- Mix the peanut butter base: In a large mixing bowl, beat 8 oz (225g) softened cream cheese with 1 cup (250g) peanut butter until smooth and creamy. Add 1 cup (120g) sifted powdered sugar and 1 teaspoon vanilla extract. Continue beating until fully combined and no lumps remain. The mixture should be thick but spreadable.
- Whip the cream: In a cold bowl, whip 1 cup (240ml) heavy cream with an electric mixer on medium-high speed until stiff peaks form. This usually takes about 3-4 minutes. Be careful not to overwhip, or it will turn grainy.
- Fold the whipped cream into the peanut butter mixture: Using a spatula, gently fold about one-third of the whipped cream into the peanut butter base to lighten it up. Then fold in the remaining whipped cream carefully to keep the mixture airy and fluffy. This step ensures your pie filling is smooth and light, not dense.
- Assemble and chill: Pour the filling into the chilled crust, smoothing the top with a spatula. Cover with plastic wrap and refrigerate for at least 4 hours, preferably overnight. This allows the flavors to meld and the filling to firm up.
Pro tip: If your peanut butter is thick or a bit grainy, warm it slightly in the microwave for 10-15 seconds before mixing for smoother blending. If the crust seems too soft, pop it back in the fridge for longer to get that satisfying crunch. When folding the whipped cream, don’t rush—gentle motions keep the filling light and airy.
Cooking Tips & Techniques
One thing I learned the hard way is that rushing through the folding of whipped cream into the peanut butter mixture can deflate the filling, leaving it dense and less enjoyable. Take your time, and use slow, gentle strokes from the bottom up to keep all that air trapped inside.
Another trick is to always chill your mixing bowl and beaters before whipping the cream. It makes a world of difference in how quickly and well the cream whips. I keep a metal bowl in the freezer so it’s ready to go whenever I need it.
Also, don’t skip chilling the crust before adding the filling. It helps the crust hold together and prevents it from getting soggy once the filling is added. If you’re short on time, a quick 10-minute stint in the freezer works too.
When you want to slice the pie, dip your knife in hot water and wipe it dry before each cut. This simple step gives you clean, neat slices instead of messy ones.
Lastly, if you’re tempted to taste the filling before chilling, go for it! But remember, the flavors mellow and deepen after refrigeration, so it might taste a little sweeter and smoother post-chill.
Variations & Adaptations
- Chocolate Peanut Butter Pie: Fold in ½ cup (90g) melted dark chocolate into the peanut butter mixture before adding whipped cream for a rich twist.
- Low-Sugar Version: Use powdered erythritol instead of powdered sugar and natural peanut butter with no added sugars. Consider sugar-free whipped toppings to keep it guilt-free.
- Vegan Adaptation: Swap cream cheese for vegan cream cheese (like Kite Hill), use coconut cream whipped to stiff peaks instead of heavy cream, and use a vegan gluten-free crust (almond flour and coconut oil work well).
I once added a swirl of homemade raspberry jam on top for a pop of tangy brightness, which cut through the richness beautifully. You can also sprinkle crushed pretzels on the crust for a salty crunch contrast. The beauty is that this no-bake peanut butter pie recipe welcomes creativity and personal touches with open arms.
Serving & Storage Suggestions
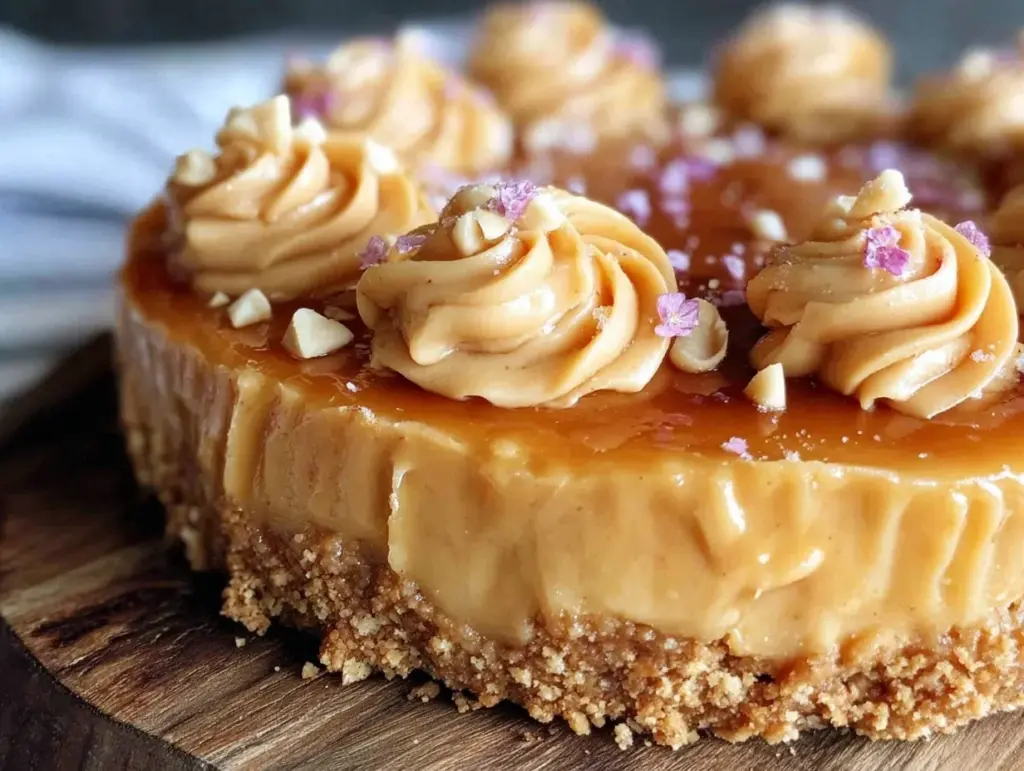
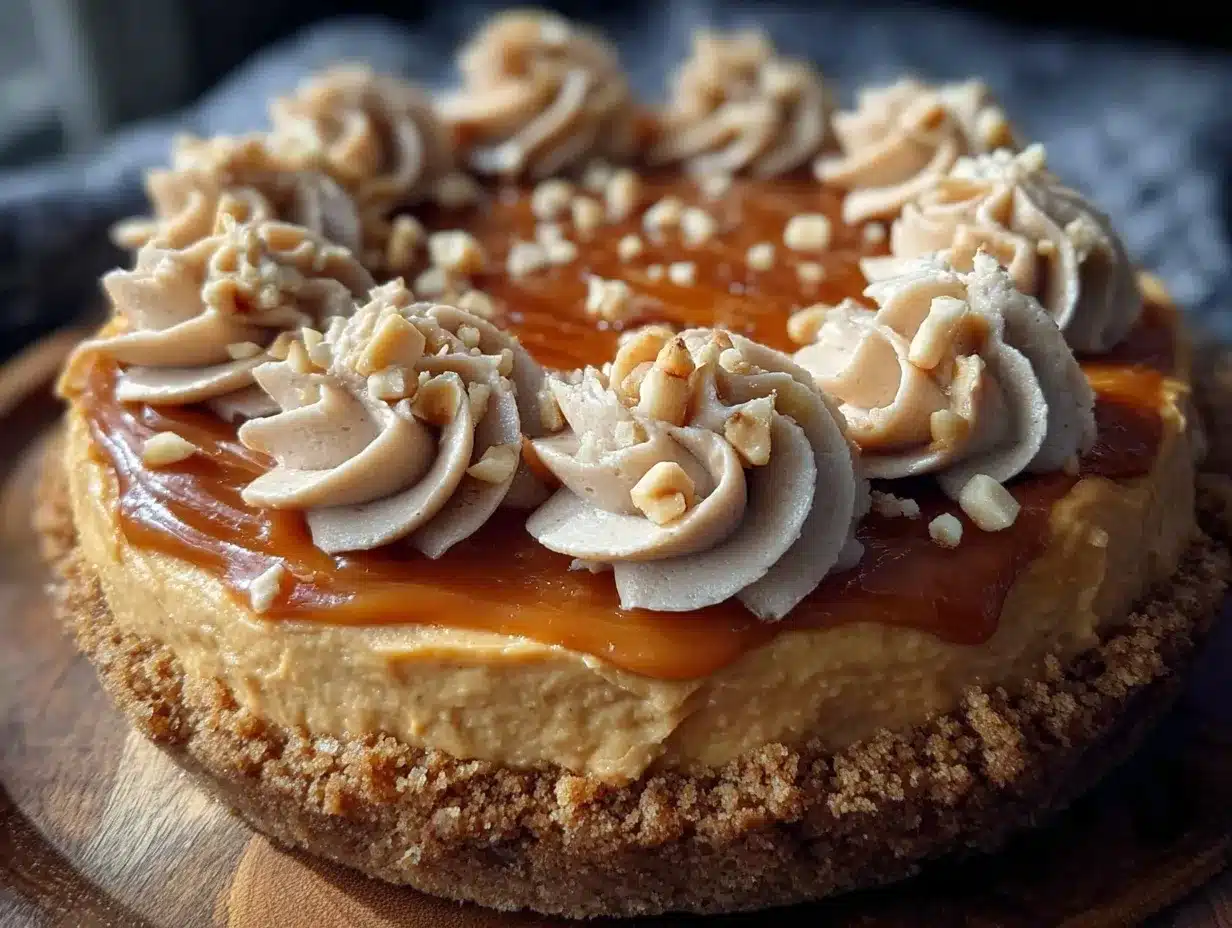
This pie is best served chilled—straight from the fridge—so the filling holds its shape and the flavors are fresh. I like to add a dollop of whipped cream and a sprinkle of chopped peanuts or chocolate shavings on top just before serving for that extra wow factor.
Pair it with a cup of strong coffee or a cold glass of milk to balance the richness. It also goes great with fresh berries on the side for a fruity contrast.
Store leftovers covered in the refrigerator for up to 4 days. The filling firms up nicely over time, so bites get creamier and more luscious after a day or two. If you want to freeze it, wrap tightly with plastic wrap and place in an airtight container. Thaw overnight in the fridge before serving, but note that the crust might soften slightly.
When reheating slices for a warm treat, a quick 10-15 second zap in the microwave softens the filling just enough without melting the crust.
Nutritional Information & Benefits
This no-bake peanut butter pie packs a good dose of protein and healthy fats thanks to peanut butter and cream cheese. One slice (1/8 of the pie) roughly contains:
| Calories | 380 |
|---|---|
| Protein | 8g |
| Fat | 28g |
| Carbohydrates | 22g |
| Sugar | 15g |
Keep in mind this is an indulgent dessert with moderate sugar and fat but also offers the benefits of peanut butter’s heart-healthy monounsaturated fats. For those with dietary restrictions, this recipe can be modified to be gluten-free or vegan. It does contain dairy and nuts, so it’s not suitable for those with allergies to those ingredients.
From a personal wellness standpoint, I find this pie hits the spot when I want a treat that feels satisfying and homemade without overdoing processed sugars or additives. It’s a dessert I’m happy to share with friends and family who appreciate simple, honest ingredients.
Conclusion
So there you have it—an irresistibly creamy, no-fuss dessert that’s as simple as it is delicious. This no-bake peanut butter pie recipe is one of those kitchen staples that never disappoints, whether you’re feeding a crowd or sneaking a slice for yourself after a long day.
Feel free to tweak it to your liking—add a little chocolate, swap the crust, or try a vegan spin. I love how forgiving and adaptable this recipe is, which makes it perfect for cooks of all skill levels.
If you make this pie, I’d love to hear how it turned out! Drop a comment below, share your variations, or just tell me about your peanut butter obsession. Let’s make dessert time a little sweeter and a lot easier—one slice at a time.
Happy baking (or no-baking)!
FAQs
Can I make this no-bake peanut butter pie ahead of time?
Absolutely! In fact, chilling it overnight in the fridge enhances the flavor and texture, making it even better the next day.
What if I don’t have graham crackers for the crust?
You can use digestive biscuits, crushed vanilla wafers, or even a gluten-free cookie option depending on your preference.
How do I store leftover pie?
Cover it with plastic wrap or foil and store it in the fridge for up to 4 days. You can also freeze it for up to 2 months.
Can I use chunky peanut butter for this recipe?
You can, but smooth peanut butter blends better into the filling and results in a creamier texture.
Is there a dairy-free version of this no-bake peanut butter pie?
Yes! Use dairy-free cream cheese and coconut cream whipped to stiff peaks, and substitute the crust with a vegan alternative like almond flour and coconut oil.
Pin This Recipe!
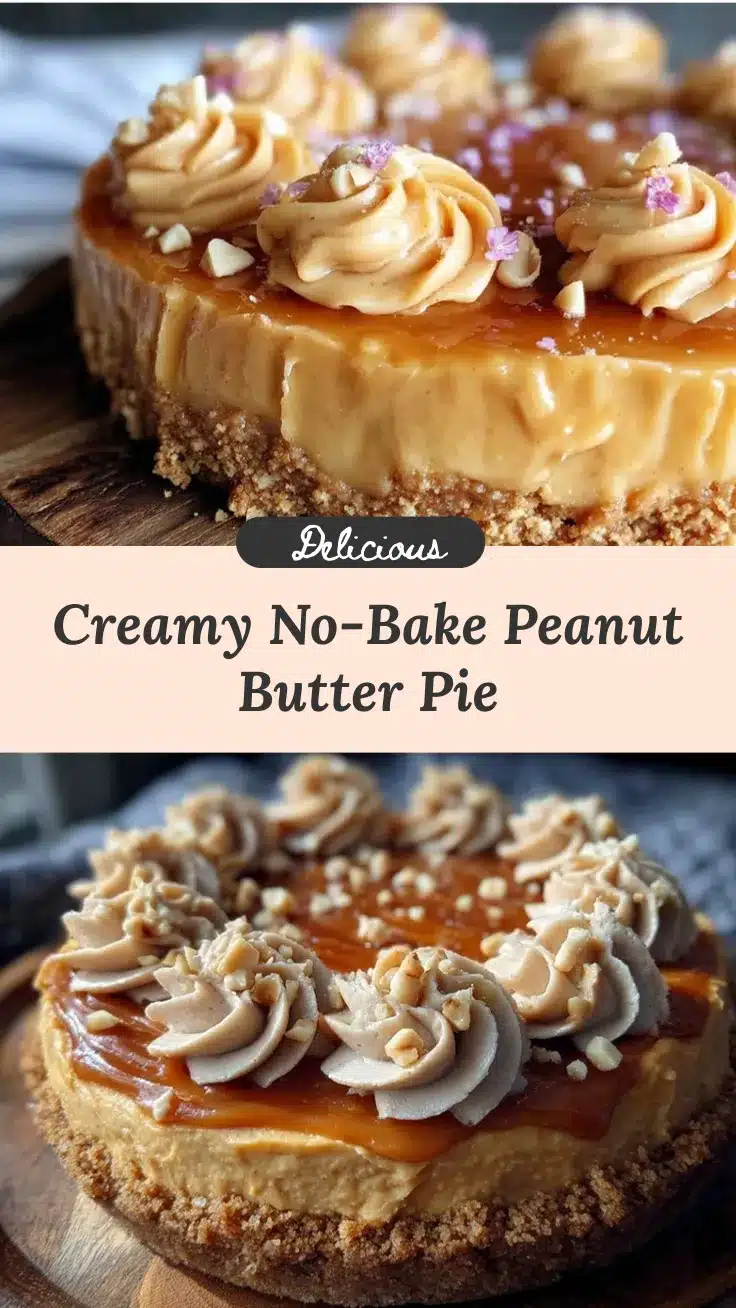
No-Bake Peanut Butter Pie

A creamy, rich, and easy-to-make no-bake peanut butter pie with a buttery crust and fluffy peanut butter filling, perfect for quick desserts and special occasions.
- Prep Time: 15 minutes
- Cook Time: 0 minutes
- Total Time: 4 hours 15 minutes
- Yield: 8 servings 1x
- Category: Dessert
- Cuisine: American
Ingredients
- 1 ½ cups (150g) graham cracker crumbs or crushed digestive biscuits
- 6 tablespoons (85g) unsalted butter, melted
- 2 tablespoons (25g) granulated sugar
- 1 cup (250g) creamy peanut butter (natural, unsweetened preferred)
- 8 oz (225g) cream cheese, softened
- 1 cup (120g) powdered sugar, sifted
- 1 teaspoon vanilla extract
- 1 cup (240ml) heavy whipping cream, cold
- Optional toppings: chocolate shavings or mini chocolate chips, chopped peanuts, whipped cream dollops
Instructions
- Prepare the crust: In a medium bowl, combine graham cracker crumbs, melted butter, and granulated sugar. Mix until crumbs are evenly coated and mixture feels like wet sand. Press firmly into the bottom and up the sides of a 9-inch pie dish. Chill in the fridge for at least 15 minutes.
- Mix the peanut butter base: Beat softened cream cheese with peanut butter until smooth and creamy. Add powdered sugar and vanilla extract, and beat until fully combined and smooth.
- Whip the cream: In a cold bowl, whip heavy cream with an electric mixer on medium-high speed until stiff peaks form, about 3-4 minutes.
- Fold the whipped cream into the peanut butter mixture gently in two additions to keep the filling light and fluffy.
- Assemble and chill: Pour the filling into the chilled crust, smooth the top, cover with plastic wrap, and refrigerate for at least 4 hours or overnight before serving.
Notes
Warm peanut butter slightly if thick or grainy for smoother blending. Chill crust well before adding filling to prevent sogginess. Use slow, gentle folding motions to keep filling airy. Chill mixing bowl and beaters before whipping cream for best results. Dip knife in hot water and dry before slicing for clean cuts.
Nutrition
- Serving Size: 1 slice (1/8 of pie)
- Calories: 380
- Sugar: 15
- Fat: 28
- Carbohydrates: 22
- Protein: 8
Keywords: no-bake peanut butter pie, easy peanut butter dessert, no-bake pie, creamy peanut butter pie, quick dessert, peanut butter recipe