“You’ve got to try these bars!” That’s what my coworker insisted, waving a foil-wrapped tray during a hectic afternoon at the office. Honestly, I was skeptical — cookie bars? Could they really be as good as the classic drop cookie? But one bite, and I was hooked. The magic wasn’t just the chocolate chips; it was the nutty, deep flavor from browned butter that transformed an everyday dessert into something quietly spectacular. The kind of treat you don’t just eat but savor, maybe with a cup of coffee or just by itself, no distractions.
That afternoon, the aroma of browned butter and melting chocolate stuck with me long after the snack break ended. I found myself making these bars multiple times in the following week — tweaking, perfecting, and sharing. Unlike regular cookies that can be fussy with shape and bake time, these bars were forgiving yet packed with flavor, a comforting constant in a chaotic week. It’s funny how a simple ingredient change can turn a basic chocolate chip cookie into an irresistible dessert bar that friends ask for again and again.
What really got me was how the browned butter added a toasty caramel note, balancing the sweetness without overwhelming it. I still remember thinking, “Why haven’t I been doing this all along?” These bars have since become my go-to for quick desserts, potlucks, or just those moments when you need a little indulgence without fuss. And the best part? You don’t need any special skills or fancy ingredients — just some patience and a good skillet. It’s a humble, delicious reminder that sometimes the simplest tweaks make all the difference.
So, if you’re looking for a dessert that feels both cozy and a little bit special, these Irresistible Brown Butter Chocolate Chip Cookie Bars are exactly that. They’ve stuck with me not because they’re flashy, but because they deliver that warm, satisfying hit of nostalgia and comfort—one buttery, chocolaty bite at a time.
Why You’ll Love This Recipe
Honestly, these cookie bars are one of those recipes that make you feel like a kitchen pro without breaking a sweat. Over the years, I’ve tested this recipe multiple times, adjusting butter browning times and chocolate types until it landed just right. If you want dessert that’s both comforting and a little fancy, this is your ticket.
- Quick & Easy: Ready in under 40 minutes, perfect for busy weeknights or when you need an instant crowd-pleaser.
- Simple Ingredients: No need for specialty stores — pantry staples like brown sugar, flour, and chocolate chips do the heavy lifting.
- Perfect for Any Occasion: Whether it’s a casual family dinner, a holiday potluck, or a last-minute get-together, these bars fit right in.
- Crowd-Pleaser: Kids, coworkers, even picky eaters find them irresistible — they strike just the right balance of chewy and gooey.
- Unbelievably Delicious: The brown butter adds a nutty, caramelized depth that makes these bars feel way more indulgent than the effort suggests.
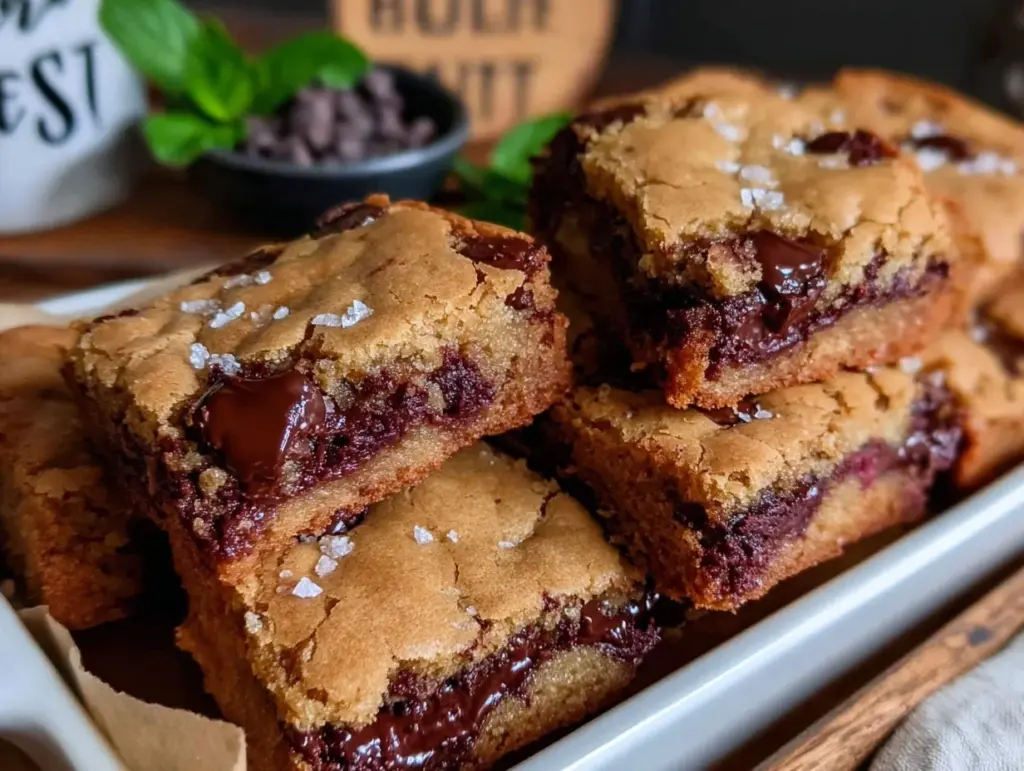
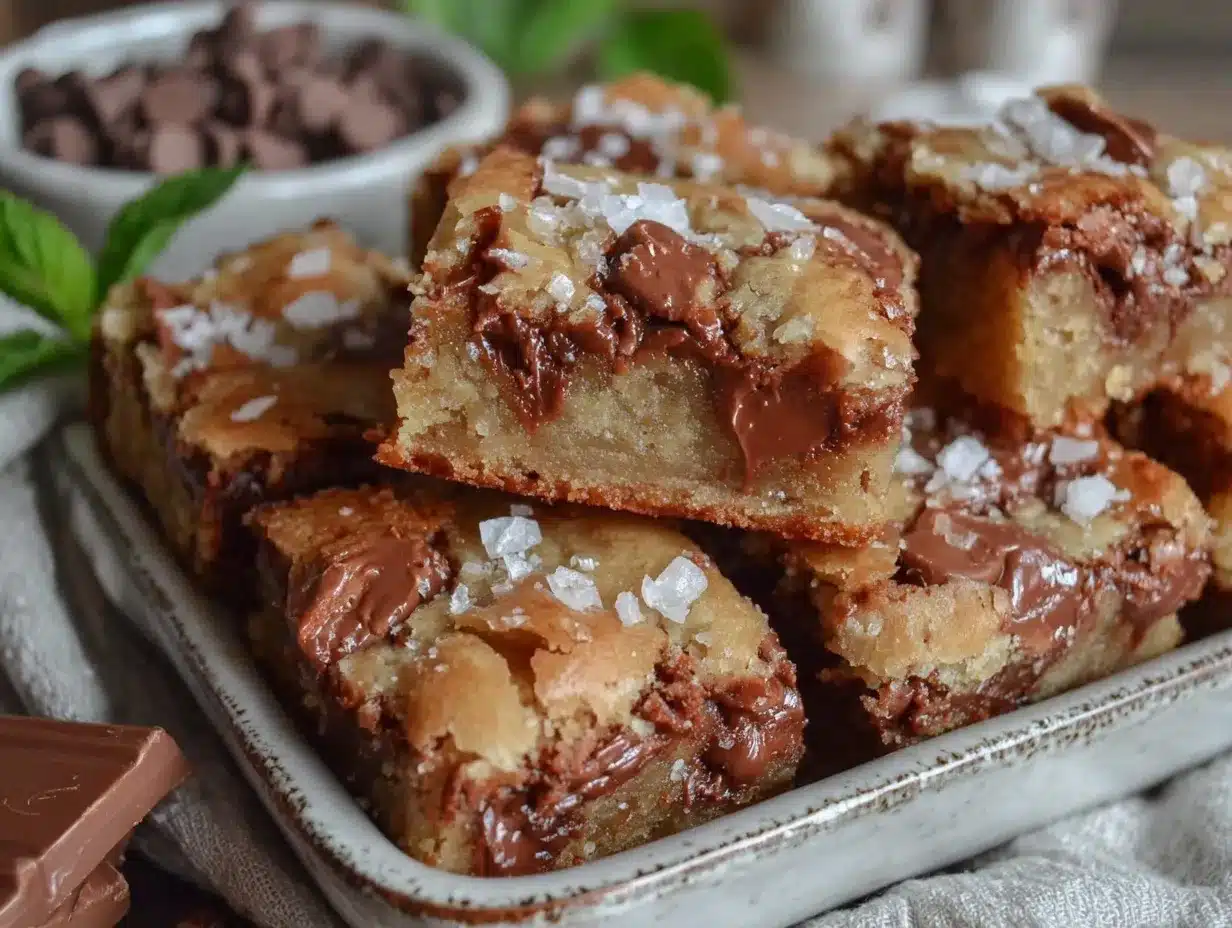
What sets this recipe apart is the browning of the butter — not just melting, but slow cooking until it’s golden and fragrant. This step adds a warm, almost toasted flavor that plays beautifully with the chocolate. Plus, the texture is spot on: a tender, chewy base with melty pockets of chocolate. It’s not your average cookie bar; it’s the kind you want to close your eyes and savor.
Honestly, it’s comfort food rethought — familiar but with a twist that makes it feel special. And if you’re worried about impressing guests without stress, these bars have your back. They’re the sweet ending that feels homemade but looks like you put in a little extra love.
What Ingredients You Will Need
This recipe calls for straightforward, wholesome ingredients that come together to create those rich, buttery flavors and perfect chewy texture. Most are pantry staples, and you can tweak a few depending on your preferences or what’s on hand.
- Unsalted butter (1 cup / 225 g) – browned slowly to bring out a nutty, caramel flavor.
- Brown sugar (1 cup / 200 g, packed) – adds moisture and depth; I prefer dark brown for that molasses hint.
- Granulated sugar (1/2 cup / 100 g) – balances sweetness and helps with that slight crisp on top.
- Large eggs (2, room temperature) – for binding and tenderness.
- Vanilla extract (2 tsp) – pure vanilla is best; it rounds out the flavors beautifully.
- All-purpose flour (2 1/4 cups / 280 g) – the sturdy base; I recommend sifting for lightness.
- Baking soda (1 tsp) – for just a touch of lift.
- Salt (1/2 tsp) – enhances the sweet and buttery notes.
- Semi-sweet chocolate chips (1 1/2 cups / 270 g) – classic choice; I like Ghirardelli for melt and flavor.
- Optional: chopped walnuts or pecans (1/2 cup / 60 g) – adds crunch and earthiness if you’re feeling fancy.
For a gluten-free version, swapping all-purpose flour with a 1:1 gluten-free baking flour blend works well, though texture might be slightly different. If dairy is a concern, you can try using a vegan butter substitute for browning, but the flavor won’t be quite the same (still tasty though!).
These ingredients come together to create a dessert bar that’s rich but balanced, with each component playing its part. The brown sugar and browned butter team up for that chewy, caramelized base, while the chocolate chips melt into pockets of pure bliss.
Equipment Needed
- Medium saucepan or skillet: For browning the butter. A light-colored pan helps you watch the butter’s color change without burning.
- Mixing bowls: A large one for dry ingredients and another for wet.
- Measuring cups and spoons: Accuracy matters here, especially for flour and baking soda.
- Rubber spatula or wooden spoon: For mixing the batter gently without overworking it.
- 9×13-inch baking pan: Ideal for bars. If you only have a smaller pan, adjust baking time accordingly.
- Parchment paper: Makes removing the bars a breeze and prevents sticking.
- Cooling rack: Important for letting the bars cool evenly and avoid sogginess.
If you don’t have parchment paper, greasing the pan well works too, but I’ve found parchment gives the best results when lifting the bars out whole. For browning butter, patience is key — a medium-low heat and constant stirring prevent burning. I usually keep a close eye and smell for that nutty aroma as my best indicator.
Preparation Method
- Brown the butter: Place 1 cup (225 g) of unsalted butter in a medium saucepan over medium-low heat. Stir frequently as it melts, then starts to foam and brown. Watch carefully to catch the color shifting to a golden amber with a nutty aroma — about 5-7 minutes. Remove from heat and pour into a heatproof bowl to cool slightly (about 10 minutes).
- Mix sugars and eggs: In a large bowl, combine 1 cup (200 g) packed brown sugar and 1/2 cup (100 g) granulated sugar. Add the cooled brown butter and whisk to combine. Then beat in 2 large eggs, one at a time, and add 2 teaspoons vanilla extract. This mixture should be glossy and smooth.
- Combine dry ingredients: In another bowl, whisk together 2 1/4 cups (280 g) all-purpose flour, 1 teaspoon baking soda, and 1/2 teaspoon salt.
- Fold dry into wet: Slowly add the dry ingredients to the wet mixture, folding gently with a rubber spatula until just combined. Don’t overmix — the batter should be thick and slightly sticky.
- Add chocolate chips and nuts: Stir in 1 1/2 cups (270 g) semi-sweet chocolate chips and, if using, 1/2 cup (60 g) chopped walnuts or pecans.
- Prepare baking pan: Line a 9×13-inch pan with parchment paper, leaving overhang on the sides for easy removal. Spread the batter evenly into the pan, smoothing the top gently.
- Bake: Preheat oven to 350°F (175°C). Bake for 25-30 minutes, or until the edges are golden and a toothpick inserted near the center comes out with a few moist crumbs (not wet batter). The bars will continue to set as they cool.
- Cool and slice: Let the bars cool completely in the pan on a wire rack (about 1 hour). Use the parchment overhang to lift the entire slab out, then cut into squares or rectangles.
Pro tip: If you want gooier bars, shave about 2-3 minutes off the baking time. For a firmer texture, give it a few extra minutes but watch closely to avoid drying out. The smell of browned butter and chocolate wafting through the kitchen is your best guide that something good is happening.
Cooking Tips & Techniques
Brown butter can be intimidating, but here’s the scoop from my kitchen trials: keep the heat medium-low and stir constantly to prevent scorching. The butter will foam up before settling down and turning a beautiful caramel color — that’s your cue to pull it off the heat.
One mistake I’ve made (more than once!) is rushing the cooling of the butter before mixing it with sugar and eggs. If it’s too hot, it can scramble the eggs and ruin the texture. Let it cool until you can hold the bowl comfortably.
When folding in the flour, never overdo it. Overmixing can make the bars tough instead of tender. Stop as soon as you see no dry streaks. Also, using a light hand helps keep the texture just right.
Multitasking tip: While the bars bake, it’s a perfect time to clean the kitchen or prep a quick side salad, like the fresh and zesty Southwest chipotle salad. The timing works out nicely!
Finally, resist the urge to cut into the bars while still warm — the chocolate melts and the structure is fragile. A good hour of cooling lets everything set perfectly for clean squares.
Variations & Adaptations
- Nut-free version: Simply omit the walnuts or pecans for a nut allergy-friendly bar. You can add extra chocolate chips or mini peanut butter cups instead.
- Seasonal twist: Swap half the chocolate chips for dried cranberries or cherries to add a tart contrast. It pairs wonderfully with the brown butter’s richness, especially in fall or winter.
- Salted caramel upgrade: Drizzle homemade or store-bought caramel sauce over the bars before baking and sprinkle with flaky sea salt for a sweet-salty combo that’s hard to beat.
- Gluten-free option: Use a one-to-one gluten-free flour blend, like Bob’s Red Mill, and add 1/4 teaspoon xanthan gum if the blend doesn’t already contain it to help with texture.
A personal favorite variation is mixing in chopped dark chocolate and a handful of toasted coconut flakes — adds texture and a tropical hint that surprises guests. If you want to try a different baking vessel, these bars adapt well to a square cake pan, but baking time may vary slightly.
Serving & Storage Suggestions
These bars taste best at room temperature, so plan to let them sit out for about 15 minutes before serving. They’re great on their own but even better with a scoop of vanilla ice cream or a drizzle of chocolate sauce for extra indulgence.
For a party, serve alongside savory bites like the crispy ham and cheese sticks to balance sweet and salty flavors. It’s a combo that always gets compliments.
To store, keep the bars in an airtight container at room temperature for up to 3 days. For longer storage, refrigerate for up to a week or freeze for up to 3 months. When reheating, a quick 10-15 second zap in the microwave brings back that fresh-baked warmth and melty chocolate.
Flavors tend to deepen after a day, so if you can wait, letting the bars rest overnight sealed in the fridge often gives the best taste experience.
Nutritional Information & Benefits
Each serving (assuming 12 bars) contains approximately 280 calories, 15 grams of fat, 32 grams of carbohydrates, and 3 grams of protein. The brown butter adds healthy fats and a rich taste without needing extra sugar.
Chocolate chips provide antioxidants, and if you add nuts, you get a dose of heart-healthy fats and protein. These bars are a treat, but using quality ingredients like real butter and pure vanilla adds wholesome flavor without artificial additives.
For those mindful of gluten, the recipe adapts well to gluten-free flours. While it’s not a low-sugar dessert, balancing it with nutrient-rich sides or salads, like the creamy church salad, can round out your meal nicely.
Conclusion
These Irresistible Brown Butter Chocolate Chip Cookie Bars have a quiet charm — they’re not complicated, but they deliver that wow factor at every bite. I love how the browned butter adds a toasty richness that makes this recipe stand apart from your everyday cookie bar. It’s become a staple for me whenever I want a dessert that feels both familiar and a little special.
Feel free to personalize the recipe with your favorite nuts, mix-ins, or a sprinkle of sea salt on top. Baking really is about making a recipe your own, and these bars are a perfect canvas.
If you give this a try, I’d love to hear how you make it yours or any tips you discover — sharing those moments is part of the fun. Here’s to buttery, chocolatey bites that bring a little joy to your day!
Frequently Asked Questions
Can I use regular melted butter instead of brown butter?
Yes, but you’ll miss out on that deep, nutty flavor brown butter provides. If you’re short on time, melted butter works, but browning adds a special touch.
How do I know when the brown butter is ready?
Look for a golden amber color and a nutty aroma. The butter will foam up and then clear as the solids brown. Remove it from heat promptly to avoid burning.
Can I make these bars ahead of time?
Absolutely! They keep well at room temperature for 3 days and even better refrigerated for up to a week. Just store in an airtight container.
What’s the best way to cut the bars cleanly?
Use a sharp knife and wait until the bars are completely cool. Wiping the knife with a warm damp cloth between cuts helps prevent sticking.
Can I substitute chocolate chips with chunks or other types of chocolate?
Yes, chopped chocolate bars or white chocolate chips work great. Just keep the total amount roughly the same for balance.
Pin This Recipe!
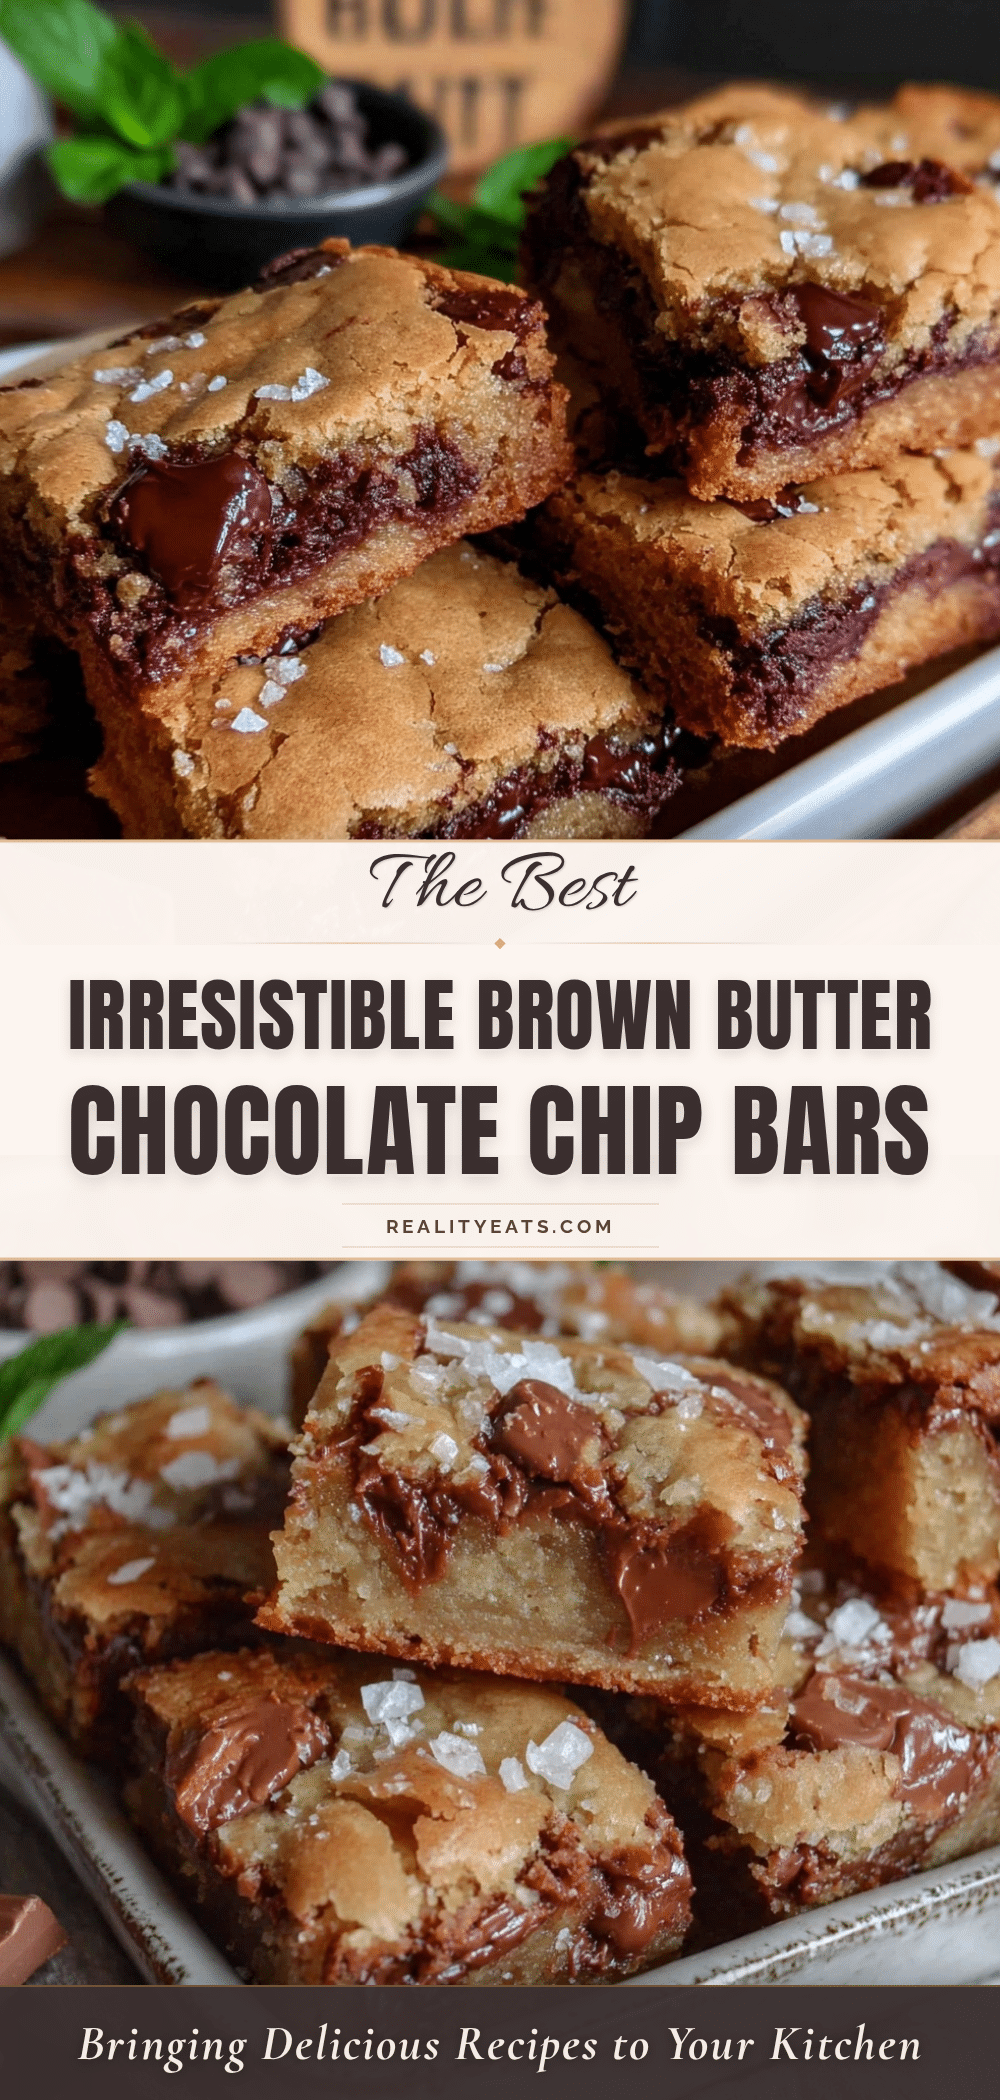
Irresistible Brown Butter Chocolate Chip Cookie Bars
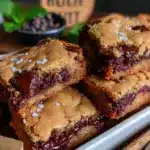
These cookie bars feature a nutty, caramel flavor from browned butter combined with melty chocolate chips, creating a comforting and indulgent dessert that’s easy to make and perfect for any occasion.
- Prep Time: 15 minutes
- Cook Time: 30 minutes
- Total Time: 45 minutes
- Yield: 12 servings 1x
- Category: Dessert
- Cuisine: American
Ingredients
- 1 cup (225 g) unsalted butter, browned
- 1 cup (200 g) packed brown sugar (preferably dark brown)
- 1/2 cup (100 g) granulated sugar
- 2 large eggs, room temperature
- 2 teaspoons vanilla extract
- 2 1/4 cups (280 g) all-purpose flour
- 1 teaspoon baking soda
- 1/2 teaspoon salt
- 1 1/2 cups (270 g) semi-sweet chocolate chips
- Optional: 1/2 cup (60 g) chopped walnuts or pecans
Instructions
- Brown the butter: Place 1 cup (225 g) of unsalted butter in a medium saucepan over medium-low heat. Stir frequently as it melts, then starts to foam and brown. Watch carefully to catch the color shifting to a golden amber with a nutty aroma—about 5-7 minutes. Remove from heat and pour into a heatproof bowl to cool slightly (about 10 minutes).
- Mix sugars and eggs: In a large bowl, combine 1 cup (200 g) packed brown sugar and 1/2 cup (100 g) granulated sugar. Add the cooled brown butter and whisk to combine. Then beat in 2 large eggs, one at a time, and add 2 teaspoons vanilla extract. This mixture should be glossy and smooth.
- Combine dry ingredients: In another bowl, whisk together 2 1/4 cups (280 g) all-purpose flour, 1 teaspoon baking soda, and 1/2 teaspoon salt.
- Fold dry into wet: Slowly add the dry ingredients to the wet mixture, folding gently with a rubber spatula until just combined. Don’t overmix—the batter should be thick and slightly sticky.
- Add chocolate chips and nuts: Stir in 1 1/2 cups (270 g) semi-sweet chocolate chips and, if using, 1/2 cup (60 g) chopped walnuts or pecans.
- Prepare baking pan: Line a 9×13-inch pan with parchment paper, leaving overhang on the sides for easy removal. Spread the batter evenly into the pan, smoothing the top gently.
- Bake: Preheat oven to 350°F (175°C). Bake for 25-30 minutes, or until the edges are golden and a toothpick inserted near the center comes out with a few moist crumbs (not wet batter). The bars will continue to set as they cool.
- Cool and slice: Let the bars cool completely in the pan on a wire rack (about 1 hour). Use the parchment overhang to lift the entire slab out, then cut into squares or rectangles.
Notes
Use medium-low heat and stir constantly when browning butter to avoid burning. Let browned butter cool before mixing with eggs to prevent scrambling. Do not overmix batter to keep bars tender. For gooier bars, reduce baking time by 2-3 minutes. Let bars cool completely before cutting for clean slices.
Nutrition
- Serving Size: 1 bar (assuming 12 b
- Calories: 280
- Fat: 15
- Carbohydrates: 32
- Protein: 3
Keywords: brown butter, chocolate chip, cookie bars, easy dessert, quick dessert, chewy cookie bars, chocolate chips, nutty flavor, homemade dessert


