Introduction
“Mom, why can’t mac and cheese ever be just the right size? Like, not a mountain or a puddle?” — and that was it. My kiddo’s honest frustration that evening sparked the whole idea behind these comforting warm mac and cheese cups. You know how picky eaters can be, especially when it comes to portion size and texture. They want that creamy, cheesy goodness but without the overwhelming giant heap on the plate. I remember standing there with a big pot of homemade mac and cheese, trying to figure out how to make it both comforting and manageable. Something that feels cozy but doesn’t scare off the “I’m not hungry” vibe.
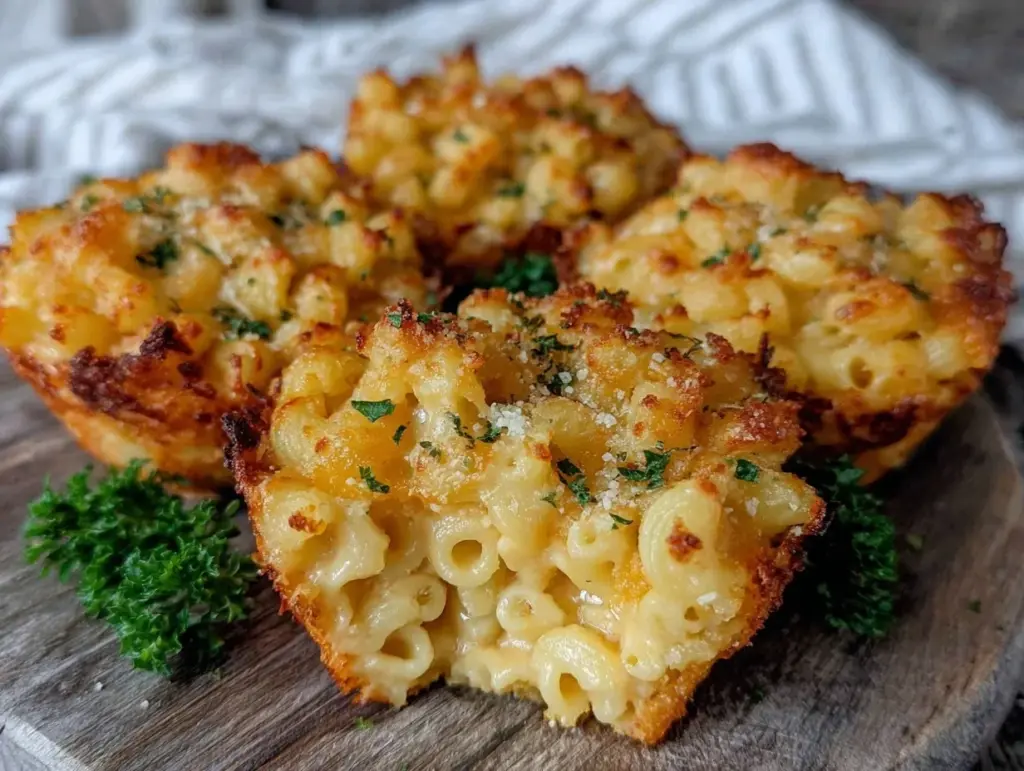
So I started playing around with muffin tins, scooping the mac and cheese in little cups that bake just enough to get a slight golden crust on top while staying ooey-gooey inside. It became a game changer. The smell of melting cheese mingling with a hint of toasted edges always brings the whole family to the kitchen. And honestly? It’s the kind of recipe that sticks close to your heart because it’s simple, warm, and perfectly kid-approved.
What I didn’t expect was how even the pickiest of eaters would come back for seconds — no coaxing, no fuss. There’s a quiet magic in that, and that’s why these warm mac and cheese cups have become my go-to comfort recipe when I want something easy but special enough to share.
Why You’ll Love This Recipe
Here’s the real scoop on why these mac and cheese cups quickly became a family favorite (and trust me, I’ve tested a ton of mac and cheese recipes):
- Quick & Easy: From start to finish, these cups are ready in about 30 minutes — perfect for those busy afternoons when you need dinner on the table fast without sacrificing flavor.
- Simple Ingredients: No need for fancy cheese blends or obscure pantry finds; most of these ingredients are staples you probably already have, which means fewer trips to the store.
- Perfect for Picky Eaters: The small portion size and fun, handheld presentation make eating mac and cheese less intimidating and way more appetizing.
- Crowd-Pleaser: Whether it’s a family dinner or a casual get-together, these cups always disappear fast — adults and kids both.
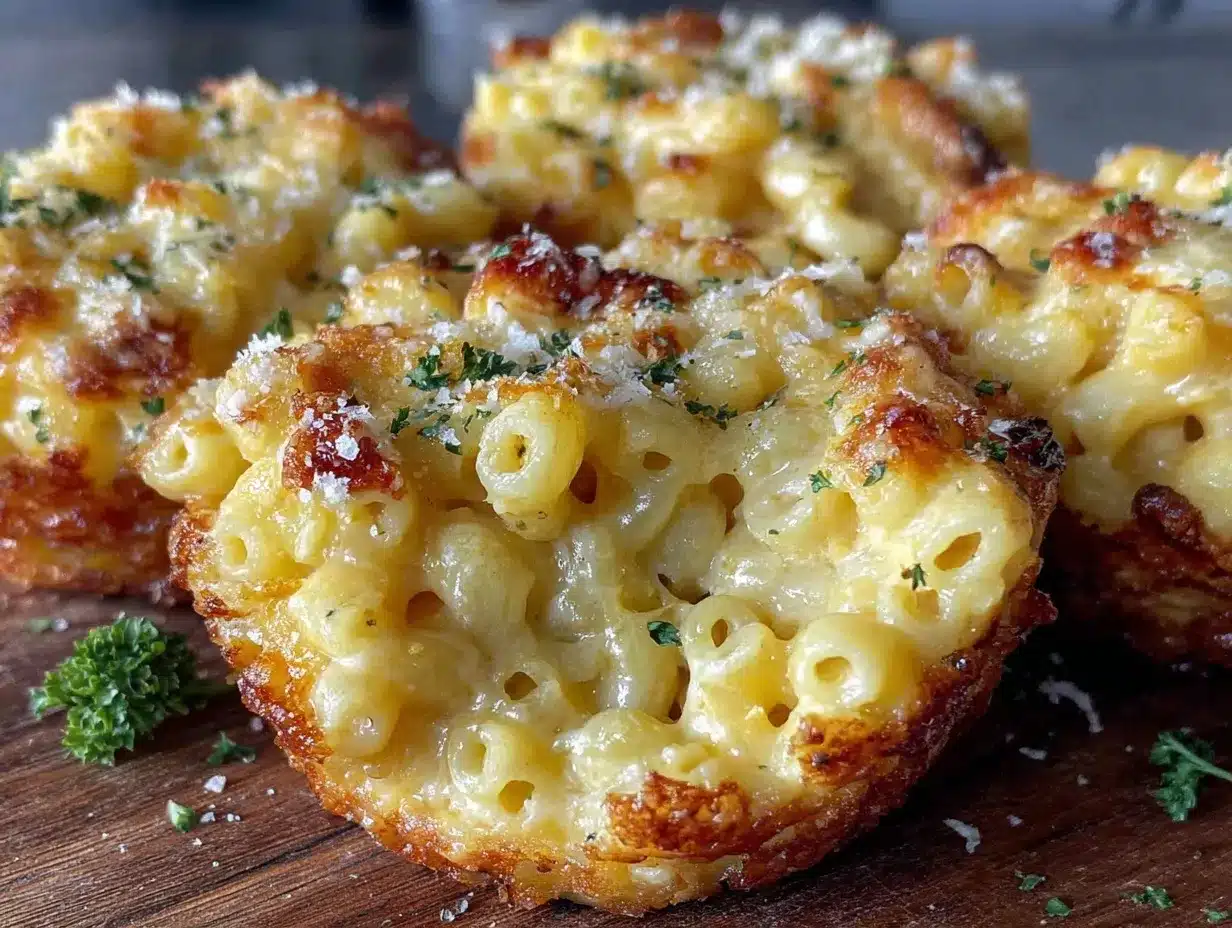
- Unbelievably Delicious: The creamy, cheesy interior paired with a slightly crispy top creates a texture combo that’s honestly addictive.
- A Unique Twist: Instead of the usual casserole or stovetop dish, baking the mac and cheese in muffin tins lets the edges get beautifully crisp while keeping the middle soft. It’s like comfort food with a little personality.
Plus, having these in cup form means you can easily pack them for lunchboxes or serve them as appetizers alongside something fresh and zesty — like the Fresh Southwest Chipotle Salad. Seriously, the balance of creamy and crisp is a quiet little win in my kitchen that keeps everyone smiling.
What Ingredients You Will Need
This recipe uses simple, wholesome ingredients to deliver bold flavor and satisfying texture without the fuss. Here’s what you’ll want to gather before you get started:
- Elbow Macaroni: 8 ounces (about 225 grams), cooked al dente — the classic shape holds the cheese sauce beautifully.
- Cheddar Cheese: 2 cups shredded sharp cheddar (I like using Cabot for that punchy flavor).
- Milk: 1 1/2 cups whole milk (for creaminess; you can swap with 2% if needed).
- Unsalted Butter: 3 tablespoons, melted (adds richness and helps with sauce consistency).
- All-Purpose Flour: 3 tablespoons (for the roux to thicken the cheese sauce).
- Salt: 1 teaspoon, or to taste.
- Black Pepper: 1/2 teaspoon freshly ground (for a subtle kick).
- Garlic Powder: 1/4 teaspoon (optional, but it adds a nice depth).
- Parmesan Cheese: 1/4 cup grated, for topping (gives a golden, slightly crispy finish).
- Breadcrumbs: 1/2 cup panko breadcrumbs (optional for extra crunch).
Feel free to swap the cheddar with a mix of mozzarella or gouda if you want a milder or creamier cheese profile. For a gluten-free option, use gluten-free flour and breadcrumbs. If you want to sneak in some veggies, finely chopped steamed broccoli works surprisingly well without altering the comforting vibe.
Equipment Needed
Here’s a quick rundown of what you’ll need to make these warm mac and cheese cups without hassle:
- Large Pot: For boiling the pasta — a good, sturdy pot helps cook evenly.
- Medium Saucepan: For making the cheese sauce (roux and all).
- Whisk: Essential for stirring the roux and milk to prevent lumps.
- Muffin Tin: Standard 12-cup muffin pan works perfectly for portioning.
- Mixing Spoon or Spatula: For combining pasta and sauce.
- Measuring Cups and Spoons: To get the ratios just right.
If you don’t have a whisk, a fork works in a pinch, but whisking really helps get the sauce silky smooth. For the muffin tin, silicone cups can be a nice alternative if you want easy cleanup or portability. I’ve also tried mini muffin tins for bite-sized party snacks, but the standard size feels just right for comfort food portions.
Preparation Method
- Cook the pasta: Bring a large pot of salted water to a boil. Add 8 ounces (225 g) of elbow macaroni and cook according to package instructions until just al dente, usually about 7-8 minutes. Drain and set aside. (Don’t overcook here; you want a slight bite since the pasta will bake again.)
- Make the roux: In a medium saucepan, melt 3 tablespoons of unsalted butter over medium heat. Once fully melted, sprinkle in 3 tablespoons of all-purpose flour. Whisk continuously for about 1-2 minutes until it forms a smooth paste and starts to smell slightly nutty — this cooks off the raw flour taste.
- Add milk: Slowly pour in 1 1/2 cups (360 ml) of whole milk while whisking to avoid lumps. Continue cooking and stirring until the sauce thickens and coats the back of a spoon, about 4-5 minutes.
- Cheese time: Remove the sauce from heat and stir in 2 cups (about 200 grams) of shredded sharp cheddar cheese, 1 teaspoon salt, 1/2 teaspoon black pepper, and 1/4 teaspoon garlic powder (if using). Mix until the cheese melts smoothly.
- Combine pasta and sauce: Fold the cooked elbow macaroni into the cheese sauce, ensuring every noodle is luxuriously coated.
- Prepare muffin tin: Lightly grease a 12-cup muffin pan with butter or non-stick spray. Spoon the mac and cheese mixture evenly into each cup — fill them about 3/4 full.
- Add topping: Mix 1/4 cup grated Parmesan cheese with 1/2 cup panko breadcrumbs. Sprinkle the mixture generously over each cup for a golden, crispy finish.
- Bake: Preheat your oven to 350°F (175°C). Bake the mac and cheese cups for 18-20 minutes until the tops are golden and the cheese is bubbling.
- Cool slightly: Let the cups rest for 5 minutes in the pan before carefully removing. This helps them set just enough for easy handling without losing that warm, gooey center.
Pro tip: If you find the cheese sauce a bit thick before baking, stir in a splash more milk to loosen it up. Also, watch the baking time closely — you want that perfect balance of crispy edges without drying the inside out.
Cooking Tips & Techniques
Getting mac and cheese right can be surprisingly tricky, but here are some tips I’ve picked up that made these cups foolproof:
- Don’t skip the roux: It’s the secret to a smooth, creamy sauce that clings to the pasta. Whisk constantly to avoid lumps and cook the flour long enough to remove any raw taste.
- Use sharp cheddar: It melts beautifully and gives that classic tangy flavor. Mixing in a little Parmesan in the topping adds a nice nutty contrast.
- Drain pasta well: Excess water makes the sauce runny. I usually let the pasta sit in a colander for a few minutes to steam off any moisture.
- Timing is everything: Bake just until the tops are golden. Overbaking dries out the cups, while underbaking leaves them too soft to hold shape.
- Multitasking tip: While the pasta cooks, start the roux and sauce to save time. The whole process flows smoothly if you keep everything ready to go.
- Experiment with textures: The panko breadcrumb topping is my favorite crunch, but crushed crackers or even crispy bacon bits can work wonders.
Honestly, the first time I tried baking mac and cheese in muffin tins, I was worried it’d be a mess. But with a little patience and attention to the sauce’s consistency, it turned into a dinner favorite with zero complaints — which is saying a lot in a picky eater household!
Variations & Adaptations
One of the best things about this recipe is how easy it is to make your own. Here are a few ways to switch things up:
- Veggie Boost: Stir in small steamed broccoli florets or finely diced roasted red peppers for a veggie surprise that still feels cozy.
- Dairy-Free: Use dairy-free milk like oat or almond milk and a dairy-free cheese alternative. Nutritional yeast can add that cheesy flavor punch.
- Spicy Kick: Add a pinch of cayenne pepper or stir in diced jalapeños for heat that wakes up the palate without overpowering.
- Different Cheese Blend: Swap cheddar for gouda, mozzarella, or Monterey Jack to change the flavor profile. I once tried a smoked gouda version for a subtle smoky twist that was surprisingly good.
- Mini Mac and Cheese Bites: Use a mini muffin tin to make bite-sized snacks — perfect for parties or lunchboxes, similar in spirit to the crispy ham and cheese sticks I love making for gatherings.
Serving & Storage Suggestions
These warm mac and cheese cups are best served fresh from the oven, with the cheese still molten and the topping crisp. They make an easy, comforting dinner paired with a bright side salad — I often reach for a simple green like the Classic Creamy Church Salad for a refreshing contrast.
If you have leftovers (though that’s rare), store them in an airtight container in the refrigerator for up to 3 days. To reheat, pop them in a 350°F (175°C) oven for about 10 minutes, or microwave on medium power for 1-2 minutes to keep them warm without drying out.
Over time, the flavors meld nicely, and reheating brings back that cozy comfort with less effort. Just don’t expect the topping to stay as crispy after refrigeration — it softens but still tastes great.
Nutritional Information & Benefits
Each mac and cheese cup provides a hearty serving of carbohydrates and protein, making it a satisfying comfort meal. The cheddar cheese offers a good dose of calcium and vitamin D, important for bone health. Using whole milk adds a creamy texture along with essential fats.
For families watching carbs, you can swap regular pasta for whole wheat or chickpea-based pasta to increase fiber and protein. Gluten-free flour and breadcrumbs make this recipe suitable for gluten-sensitive eaters as well.
Just a heads up — this recipe contains dairy and gluten by default, so be mindful if you have allergies. But overall, it’s a warming, nourishing dish that hits the spot when you want something simple and satisfying without compromising on taste.
Conclusion
These comforting warm mac and cheese cups have quietly become a staple in my kitchen, especially when picky eaters are around. They’re simple, approachable, and deliver that creamy, cheesy goodness in a perfectly portioned package that doesn’t intimidate. What I love most is how flexible the recipe is — you can tweak the cheese, add veggies, or even change up the toppings to suit your family’s taste without losing that cozy feeling.
If you’ve ever struggled to get kids (or even adults) excited about mac and cheese, this little twist might just do the trick. I’d love to hear how you make it your own — maybe with a spicy kick or a veggie surprise? Feel free to share your takes and stories in the comments below. Cooking together and sharing these easy comfort foods is what it’s all about.
Here’s to warm bites and happy plates!
FAQs
Can I make these mac and cheese cups ahead of time?
Yes! You can prepare the mac and cheese mixture, fill the muffin tins, and refrigerate for up to 24 hours before baking. Just add a couple of extra minutes to the baking time if baking straight from the fridge.
What’s the best way to reheat leftover mac and cheese cups?
Reheat them in a preheated oven at 350°F (175°C) for 10 minutes or until warmed through. Microwaving works too but can soften the crunchy topping.
Can I freeze the mac and cheese cups?
Absolutely. After baking and cooling, wrap each cup individually and freeze up to 2 months. Reheat from frozen in the oven at 350°F for about 20 minutes.
How can I make this recipe dairy-free?
Swap the milk for unsweetened almond or oat milk and use a dairy-free cheese alternative. Nutritional yeast can add cheesy flavor to the sauce.
What other cheeses work well in this recipe?
Besides sharp cheddar, try gouda, mozzarella, Monterey Jack, or a blend for different flavors and creaminess. Just make sure they melt well for the best texture.
Pin This Recipe!
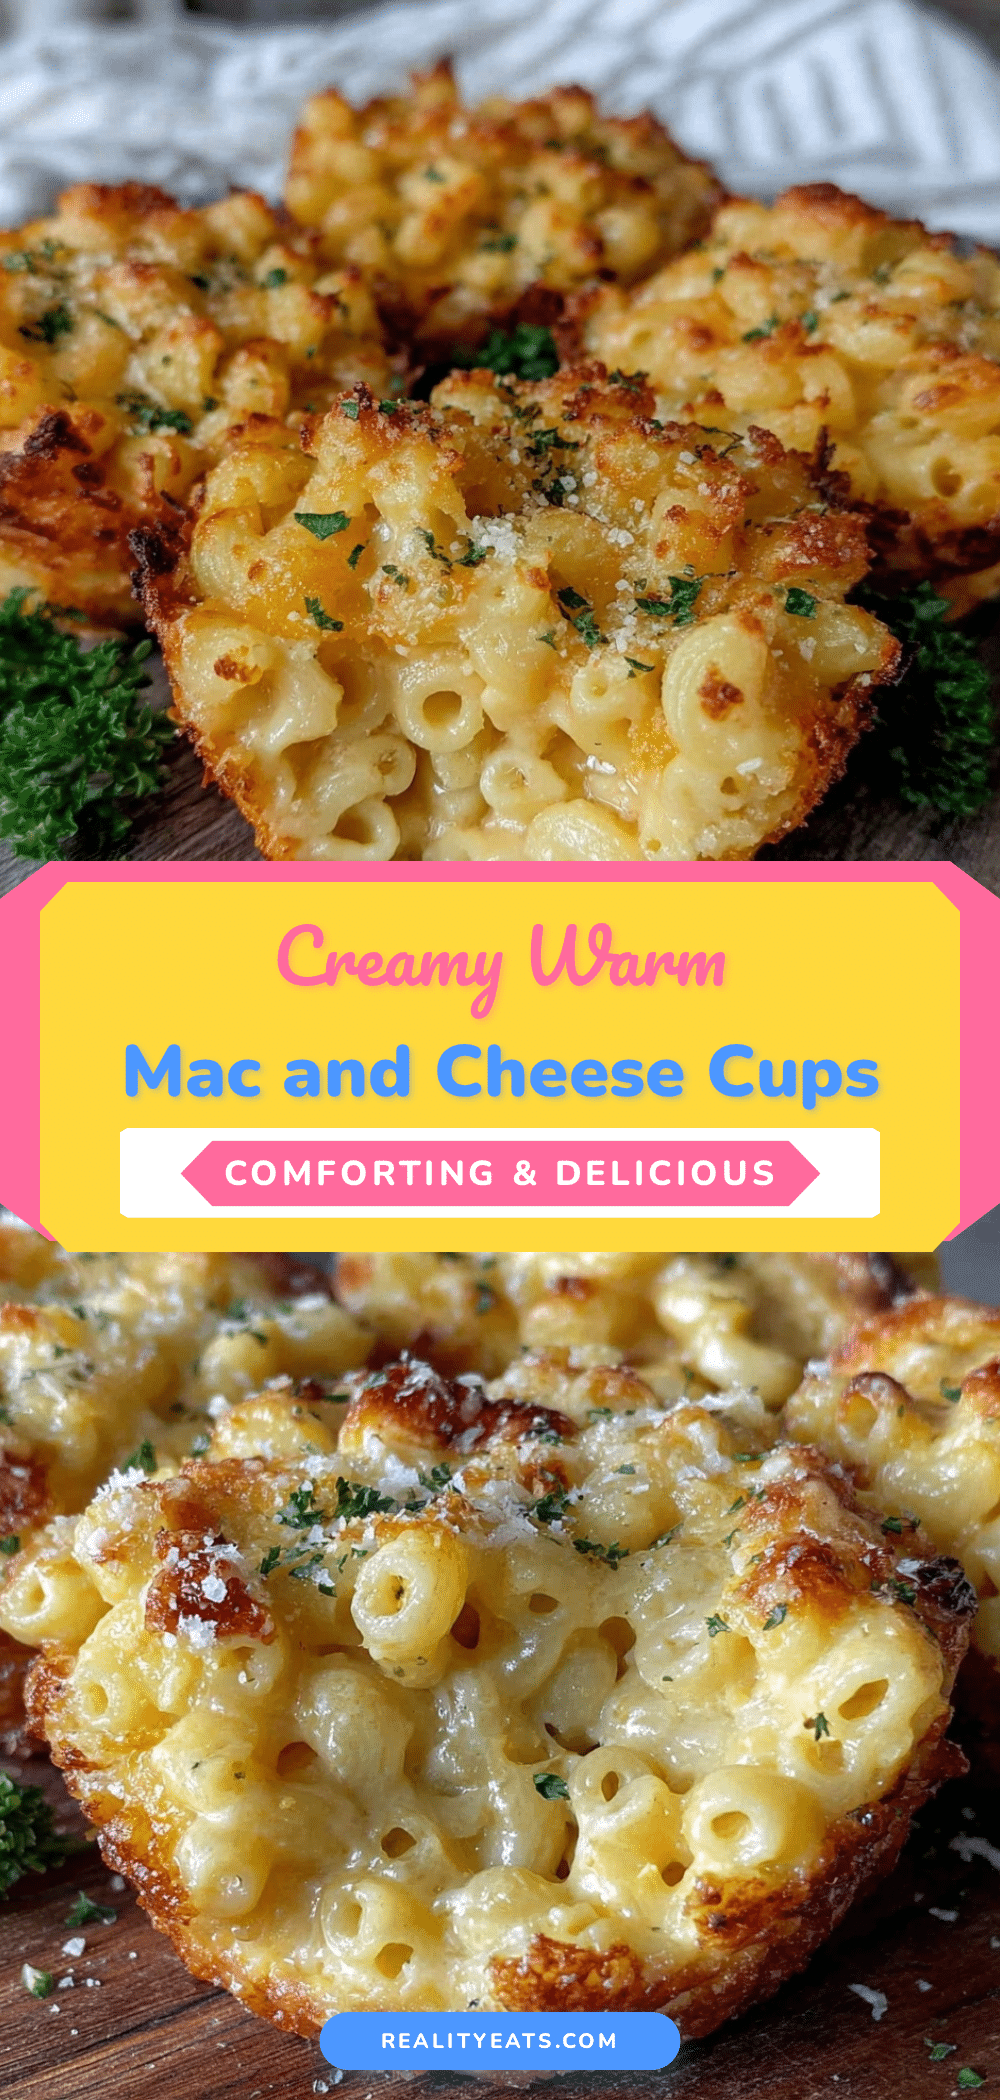
Comforting Warm Mac and Cheese Cups

These warm mac and cheese cups offer a perfectly portioned, creamy, and cheesy comfort food that’s ideal for picky eaters and quick family meals.
- Prep Time: 10 minutes
- Cook Time: 20 minutes
- Total Time: 30 minutes
- Yield: 12 servings 1x
- Category: Main Course
- Cuisine: American
Ingredients
- 8 ounces elbow macaroni, cooked al dente
- 2 cups shredded sharp cheddar cheese
- 1 1/2 cups whole milk
- 3 tablespoons unsalted butter, melted
- 3 tablespoons all-purpose flour
- 1 teaspoon salt, or to taste
- 1/2 teaspoon freshly ground black pepper
- 1/4 teaspoon garlic powder (optional)
- 1/4 cup grated Parmesan cheese
- 1/2 cup panko breadcrumbs (optional)
Instructions
- Bring a large pot of salted water to a boil. Add 8 ounces of elbow macaroni and cook until just al dente, about 7-8 minutes. Drain and set aside.
- In a medium saucepan, melt 3 tablespoons of unsalted butter over medium heat. Sprinkle in 3 tablespoons of all-purpose flour and whisk continuously for 1-2 minutes until smooth and slightly nutty.
- Slowly pour in 1 1/2 cups of whole milk while whisking to avoid lumps. Cook and stir until sauce thickens and coats the back of a spoon, about 4-5 minutes.
- Remove sauce from heat and stir in 2 cups shredded sharp cheddar cheese, 1 teaspoon salt, 1/2 teaspoon black pepper, and 1/4 teaspoon garlic powder if using. Mix until cheese melts smoothly.
- Fold the cooked elbow macaroni into the cheese sauce until fully coated.
- Lightly grease a 12-cup muffin pan. Spoon the mac and cheese mixture evenly into each cup, filling about 3/4 full.
- Mix 1/4 cup grated Parmesan cheese with 1/2 cup panko breadcrumbs and sprinkle generously over each cup.
- Preheat oven to 350°F (175°C). Bake the mac and cheese cups for 18-20 minutes until tops are golden and cheese is bubbling.
- Let the cups rest for 5 minutes before removing from the pan to set and cool slightly.
Notes
If the cheese sauce is too thick before baking, stir in a splash more milk to loosen it. Watch baking time closely to achieve crispy edges without drying out the inside. For gluten-free, use gluten-free flour and breadcrumbs. You can add steamed broccoli or roasted red peppers for a veggie boost.
Nutrition
- Serving Size: 1 mac and cheese cup
- Calories: 250
- Sugar: 3
- Sodium: 400
- Fat: 12
- Saturated Fat: 7
- Carbohydrates: 25
- Fiber: 1
- Protein: 10
Keywords: mac and cheese, comfort food, kid-friendly, cheesy, baked mac and cheese, easy dinner, picky eaters