The last cookie disappeared before I even finished pouring my coffee. Third time this week. Honestly, it was the quiet but knowing looks exchanged across the kitchen table that told me these chewy peanut butter chocolate chip lunchbox cookies had officially become a favorite around here. I hadn’t expected such a reaction when I first whipped them up on a whim one Saturday morning. It started with a jar of peanut butter that was nearly empty and a craving for something that could travel well in a lunchbox and still taste like a treat.
The smell of warm peanut butter mingled with melting chocolate chips filled the air as they baked, and I remember thinking, “Well, if these turn out half as good as they smell, I’m onto something.” What surprised me was how chewy they stayed even the next day, and how the kids came home asking if I’d packed enough for tomorrow’s snack, too. They’re not just any cookies; these are the ones that get devoured at school, passed around in secret, and sometimes, if I’m lucky, saved for after dinner.
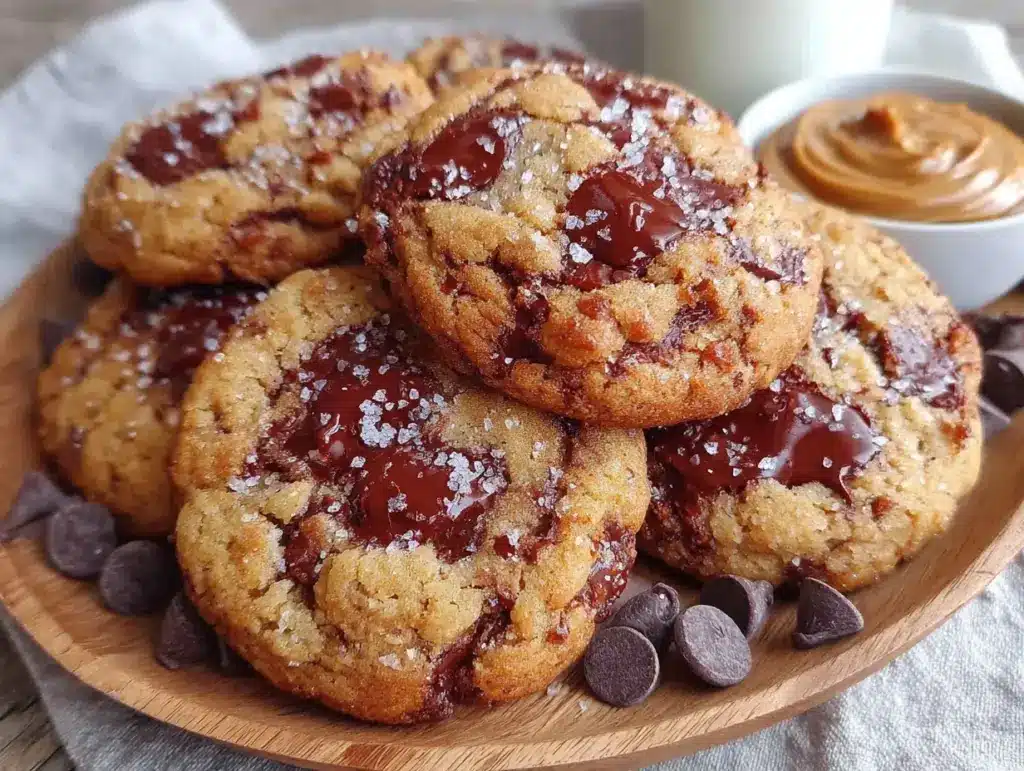
There’s a quiet comfort in knowing you’ve nailed a recipe that hits the sweet spot between peanut butter richness and chocolate chip joy, all wrapped up in a chewy, soft cookie that doesn’t crumble into a mess in a lunchbox. I think that’s why this recipe stuck—it feels like a little victory every time the cookie jar empties. And frankly, it’s one of those recipes you can trust to bring a smile, no fuss required.
Why You’ll Love This Recipe
Having made these chewy peanut butter chocolate chip lunchbox cookies countless times, I can say they’ve earned their spot in my baking rotation. Not just because they’re delicious, but because they’re the kind of snack that’s both satisfying and simple. Here’s why they stand out:
- Quick & Easy: Ready in under 30 minutes—ideal when you need a last-minute snack fix or batch to pack for school lunches.
- Simple Ingredients: No need for specialty stores; these cookies use pantry staples you probably already have on hand.
- Perfect for Kids’ Lunchboxes: They stay chewy and intact, so no crumb mess and no soggy edges by snack time.
- Crowd-Pleaser: From toddlers to adults, these cookies always get rave reviews around my kitchen table.
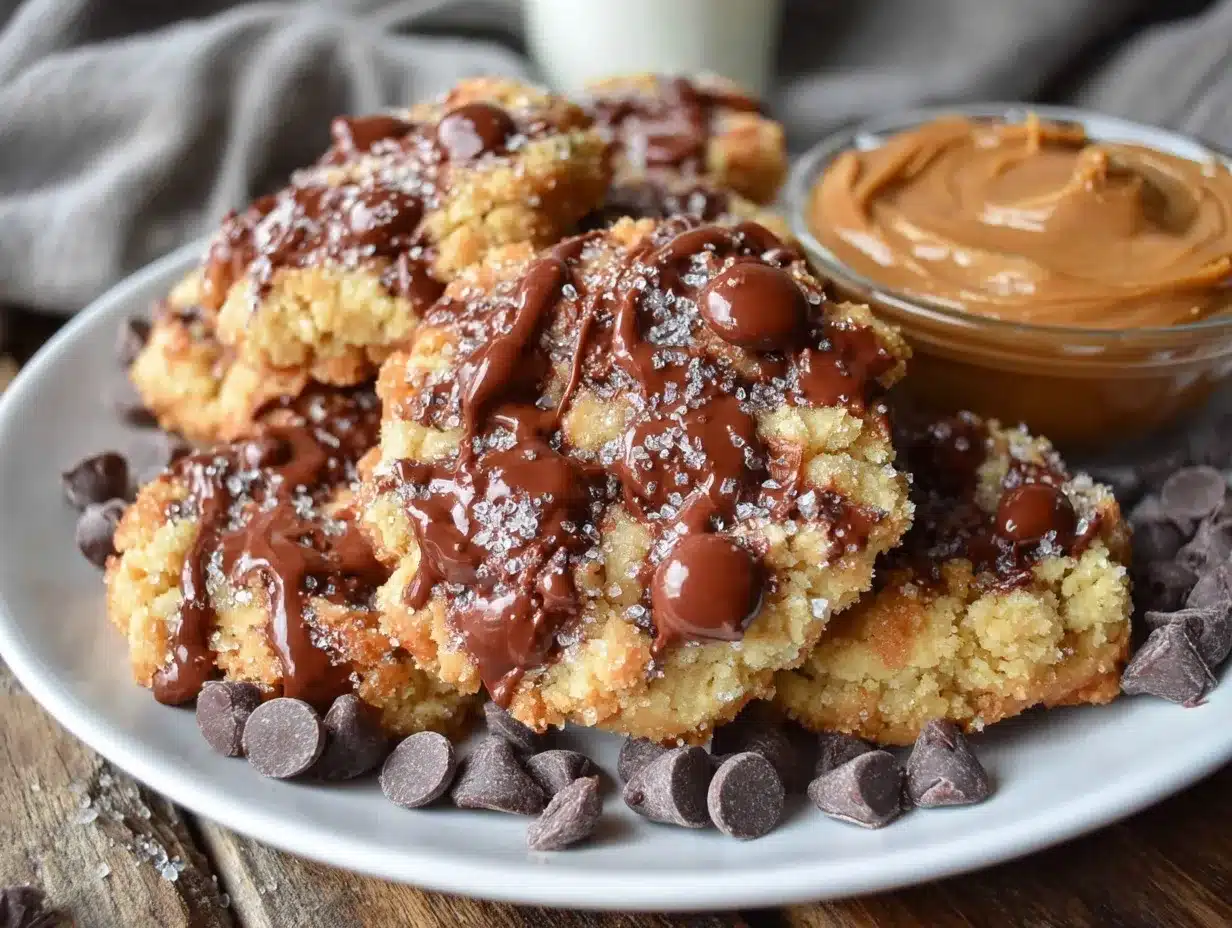
- Unbelievably Delicious: The soft, chewy texture combined with peanut butter’s nutty flavor and pockets of melty chocolate is just pure comfort food.
What sets this recipe apart is the little tweak I learned after a few tries—adding an extra egg yolk for moisture and swapping half the sugar for brown sugar to keep that chewiness. Plus, the peanut butter I use (I swear by Skippy Natural) brings just the right balance of creaminess without being too oily. It’s not just another peanut butter cookie; it’s the one that makes you close your eyes and savor every bite, and trust me, that feeling never gets old.
What Ingredients You Will Need
This recipe uses straightforward ingredients that come together to create a chewy, flavorful cookie without any fuss. You’ll find most of these in your pantry or fridge, with a few easy swaps if needed.
- Peanut Butter: 1 cup (240g) creamy peanut butter (I recommend a natural brand like Skippy Natural for the best texture)
- Sugars: 1/2 cup (100g) granulated sugar and 1/2 cup (110g) packed brown sugar (for that chewy softness)
- Eggs: 1 large whole egg plus 1 egg yolk (room temperature for better mixing and moisture)
- Vanilla Extract: 1 teaspoon (pure vanilla extract if possible—makes a noticeable flavor difference)
- Flour: 1 cup (125g) all-purpose flour (for a gluten-free option, try almond flour but expect a slightly different texture)
- Baking Soda: 1/2 teaspoon (helps with rise and texture)
- Salt: 1/4 teaspoon (balances sweetness and enhances flavor)
- Chocolate Chips: 1 cup (170g) semi-sweet chocolate chips (feel free to use mini chips for more chocolate pockets)
Optional additions you might consider:
- Chopped peanuts for extra crunch
- A pinch of cinnamon for a warm, subtle spice
- Dark chocolate chunks if you prefer a richer chocolate experience
Seasonally, you could swap the chocolate chips for white chocolate or butterscotch chips, but honestly, the classic combo is what really shines here. If allergies are a concern, swapping peanut butter for sunflower seed butter works surprisingly well and keeps that chewy texture intact.
Equipment Needed
Thankfully, this recipe doesn’t require anything fancy. Here’s what you’ll want to have on hand:
- Mixing bowls (one large and one medium-sized)
- Electric hand mixer or stand mixer (for easy creaming of peanut butter and sugars)
- Measuring cups and spoons (for precise ingredient amounts)
- Rubber spatula (to scrape down the sides of the bowl)
- Baking sheets (lined with parchment paper or silicone mats for easy clean-up)
- Cooling rack (helps cookies cool evenly and avoid sogginess)
- Spoon or cookie scoop (a medium-sized one, about 1.5 tablespoons, for uniform cookies)
If you don’t have a mixer, no worries—a sturdy wooden spoon and a bit of elbow grease works fine. I’ve made these with both and the difference is mostly in ease, not outcome. Silicone baking mats are a favorite investment of mine since they prevent sticking and reduce the need for extra greasing, but parchment paper is perfectly fine and budget-friendly.
Preparation Method
- Preheat your oven to 350°F (175°C). Line two baking sheets with parchment paper or silicone mats to prevent sticking.
- Cream the peanut butter and sugars: In a large mixing bowl, combine 1 cup creamy peanut butter, 1/2 cup granulated sugar, and 1/2 cup packed brown sugar. Use your electric mixer on medium speed for about 2-3 minutes, until the mixture is smooth and fluffy. If mixing by hand, beat vigorously until creamy and well combined.
- Add eggs and vanilla: Beat in 1 large egg and 1 egg yolk along with 1 teaspoon vanilla extract. The batter should become slightly lighter in color and very smooth. This step helps keep the cookies moist and chewy.
- Mix dry ingredients: In a separate bowl, whisk together 1 cup all-purpose flour, 1/2 teaspoon baking soda, and 1/4 teaspoon salt. This ensures even distribution of the leavening and salt.
- Combine wet and dry: Gradually add the dry ingredients to the peanut butter mixture, mixing on low speed or folding with a spatula just until incorporated. Be careful not to overmix—once the flour disappears, stop.
- Fold in chocolate chips: Gently stir in 1 cup semi-sweet chocolate chips. The dough will be thick and sticky, perfect for chewy cookies.
- Portion the dough: Using a spoon or cookie scoop, drop rounded tablespoons of dough onto the baking sheets, spacing them about 2 inches apart. Press each mound down slightly with the back of a fork, creating a crisscross pattern classic to peanut butter cookies.
- Bake: Place the trays in the preheated oven and bake for 10-12 minutes. The edges should be set but the centers still soft. Resist the urge to overbake; these cookies continue to firm up as they cool.
- Cool: Let the cookies cool on the baking sheets for 5 minutes before transferring to a cooling rack. This helps them set while keeping that chewy texture.
- Enjoy or pack: Once cooled, these cookies are ready to be packed in lunchboxes or enjoyed with a glass of cold milk.
Pro tip: If your peanut butter is oily (some natural brands separate), give it a good stir before measuring to avoid greasy dough. Also, if your dough feels too soft or sticky to handle, chilling it for 10-15 minutes helps shape the cookies without affecting chewiness.
Cooking Tips & Techniques
Honestly, the key to these chewy peanut butter chocolate chip lunchbox cookies lies in the balance of ingredients and baking time. Here are some tips I’ve learned the hard way:
- Sugar choice matters: Using half brown sugar adds moisture and chew, while granulated sugar helps with structure and sweetness. Don’t skip the brown sugar!
- Egg yolk magic: Adding an extra egg yolk, not a whole egg, gives tenderness without making the dough too wet.
- Don’t overbake: The cookies may look slightly underdone when you pull them out—that’s perfect. They’ll firm up as they cool, keeping that much-loved chewiness.
- Peanut butter texture: Creamy peanut butter works best here. Chunky can be used, but it changes the texture, making the cookies less uniform.
- Fork press trick: Pressing the cookies with a fork not only gives a classic look but also gently flattens the dough for even baking.
- Batch baking: If you’re making a big batch, rotate your baking sheets halfway through to avoid uneven browning.
One time, I forgot to add the baking soda, and although they still tasted fine, the cookies were a bit too dense and lacked that slight rise that makes them just right. It’s the little details that count. Also, multitask by pre-measuring your dry ingredients first—that saves time and keeps your workflow smooth.
Variations & Adaptations
This recipe is pretty flexible, so feel free to make it your own. Here are some ways you can switch things up:
- Gluten-Free: Swap all-purpose flour for a 1:1 gluten-free baking blend. The texture will be slightly different but still delicious.
- Nut-Free: Use sunflower seed butter instead of peanut butter for a safe alternative that keeps the chew.
- Add-ins: Mix in chopped nuts like pecans or walnuts for extra crunch. Dried cranberries or raisins can add a nice tart contrast.
- Chocolate Variations: Try white chocolate chips or peanut butter chips instead of semi-sweet for a sweeter twist.
- Spiced Up: Add 1/4 teaspoon cinnamon or a dash of cayenne pepper for a surprising flavor kick.
Personally, I once made a double batch and added mini marshmallows for a gooey surprise that kids absolutely loved. For a more decadent version, swapping half the peanut butter for almond butter gave a unique nutty flavor, though it made the dough a bit softer, so chilling was essential.
Serving & Storage Suggestions
These chewy peanut butter chocolate chip lunchbox cookies are best served at room temperature. They pair wonderfully with a cold glass of milk, but I’ve also found they’re a hit alongside homemade lunch staples like a fresh Southwest chipotle salad or even a warm bowl of soup on chilly days.
Store the cookies in an airtight container at room temperature for up to 5 days—they stay soft and chewy without drying out. For longer storage, pop them in the freezer in a single layer on a baking sheet, then transfer to a freezer bag once frozen. They keep well for up to 3 months this way. To enjoy, thaw at room temperature or warm briefly in the microwave (about 10 seconds) to revive that fresh-baked softness.
One neat trick I’ve noticed is that the flavors actually deepen after a day or two, so if you can wait, the cookies taste even better the next day. Just don’t wait too long; they rarely last that long around here!
Nutritional Information & Benefits
Each cookie (based on 24 cookies per batch) contains approximately:
| Calories | 140 kcal |
|---|---|
| Protein | 4 g |
| Fat | 7 g |
| Carbohydrates | 17 g |
| Fiber | 2 g |
| Sugar | 10 g |
Peanut butter brings protein and healthy fats, making these cookies more than just a sweet treat—they provide a bit of energy and satiety, perfect for an active kid’s afternoon. The dark chocolate chips add antioxidants, and the moderate sugar keeps these cookies indulgent but not over-the-top.
For those mindful of dietary needs, they can be adapted to gluten-free or nut-free diets, as mentioned earlier. Just remember they do contain eggs and chocolate, which are common allergens to consider.
Conclusion
Why do these chewy peanut butter chocolate chip lunchbox cookies keep coming back to the top of my recipe list? Because they effortlessly combine simple ingredients into something unexpectedly good, the kind of cookie that travels well and makes snack time a little happier. They’re forgiving, easy to tweak, and honestly, they remind me that homemade treats don’t need to be complicated to be memorable.
Feel free to customize the recipe to fit your kitchen style or dietary preferences. I love how it acts as a blank canvas for flavors and textures while still delivering that classic peanut butter and chocolate combo we all crave. If you give them a try, I’d love to hear how you make them your own—comments and tweaks are always welcome here.
So go ahead, bake a batch, and let these cookies become a small but sweet part of your day.
FAQs About Chewy Peanut Butter Chocolate Chip Lunchbox Cookies
Can I use natural peanut butter in this recipe?
Yes, but natural peanut butter tends to be oilier and less stable, so you might want to stir it well before measuring and chill the dough briefly to make shaping easier.
How do I keep the cookies chewy instead of crunchy?
Using a mix of brown and granulated sugar, adding an extra egg yolk, and avoiding overbaking are key to that soft, chewy texture.
Can I freeze these cookies?
Absolutely! Freeze them on a baking sheet first, then transfer to a freezer-safe bag. They keep well for up to 3 months and thaw quickly at room temperature.
What’s the best way to store these cookies?
Store in an airtight container at room temperature for up to 5 days to maintain softness. Avoid refrigeration as it can dry them out.
Are these cookies suitable for school lunches?
Definitely. They hold up well in lunchboxes without crumbling or becoming soggy, making them a perfect grab-and-go snack for kids.
Pin This Recipe!
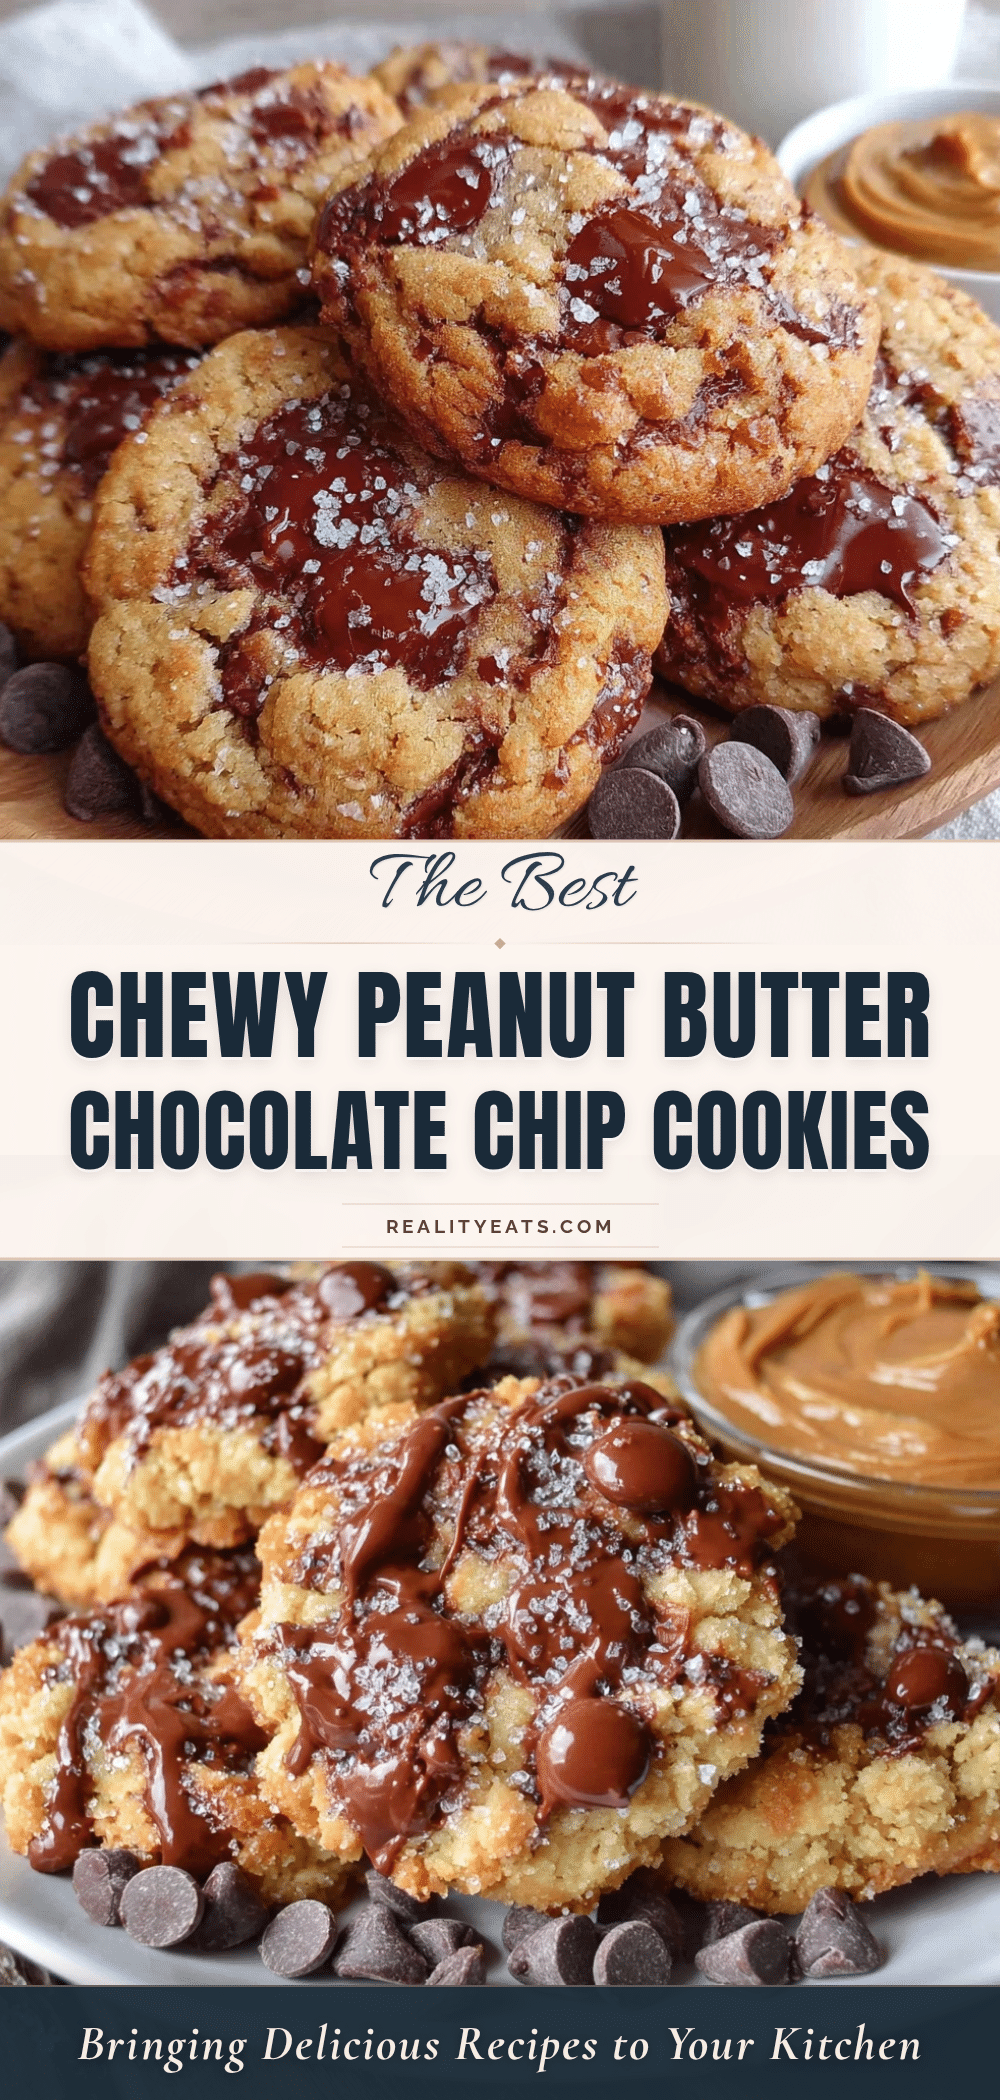
Chewy Peanut Butter Chocolate Chip Lunchbox Cookies

These chewy peanut butter chocolate chip cookies are perfect for kids’ lunchboxes, staying soft and intact without crumbling. Made with simple pantry staples, they offer a delicious balance of peanut butter richness and melty chocolate.
- Prep Time: 10 minutes
- Cook Time: 12 minutes
- Total Time: 22 minutes
- Yield: 24 cookies 1x
- Category: Snack
- Cuisine: American
Ingredients
- 1 cup (240g) creamy peanut butter (natural brand like Skippy Natural recommended)
- 1/2 cup (100g) granulated sugar
- 1/2 cup (110g) packed brown sugar
- 1 large egg
- 1 egg yolk
- 1 teaspoon pure vanilla extract
- 1 cup (125g) all-purpose flour (or almond flour for gluten-free option)
- 1/2 teaspoon baking soda
- 1/4 teaspoon salt
- 1 cup (170g) semi-sweet chocolate chips
Instructions
- Preheat your oven to 350°F (175°C). Line two baking sheets with parchment paper or silicone mats.
- In a large mixing bowl, cream together peanut butter, granulated sugar, and brown sugar using an electric mixer on medium speed for 2-3 minutes until smooth and fluffy. If mixing by hand, beat vigorously until creamy.
- Beat in the whole egg, egg yolk, and vanilla extract until the batter is lighter in color and smooth.
- In a separate bowl, whisk together flour, baking soda, and salt.
- Gradually add the dry ingredients to the peanut butter mixture, mixing on low speed or folding with a spatula just until incorporated. Do not overmix.
- Fold in the chocolate chips gently.
- Drop rounded tablespoons of dough onto the prepared baking sheets about 2 inches apart. Press each mound down slightly with the back of a fork to create a crisscross pattern.
- Bake for 10-12 minutes until edges are set but centers are still soft. Avoid overbaking.
- Let cookies cool on the baking sheets for 5 minutes, then transfer to a cooling rack to cool completely.
- Enjoy immediately or pack in lunchboxes.
Notes
If using natural peanut butter, stir well before measuring to avoid oily dough. Chill dough for 10-15 minutes if too soft or sticky to handle. Avoid overbaking to maintain chewiness. Press cookies with a fork for classic pattern and even baking. Rotate baking sheets halfway through if baking multiple trays.
Nutrition
- Serving Size: 1 cookie
- Calories: 140
- Sugar: 10
- Fat: 7
- Carbohydrates: 17
- Fiber: 2
- Protein: 4
Keywords: peanut butter cookies, chocolate chip cookies, chewy cookies, lunchbox snacks, kids snacks, easy cookies, homemade cookies