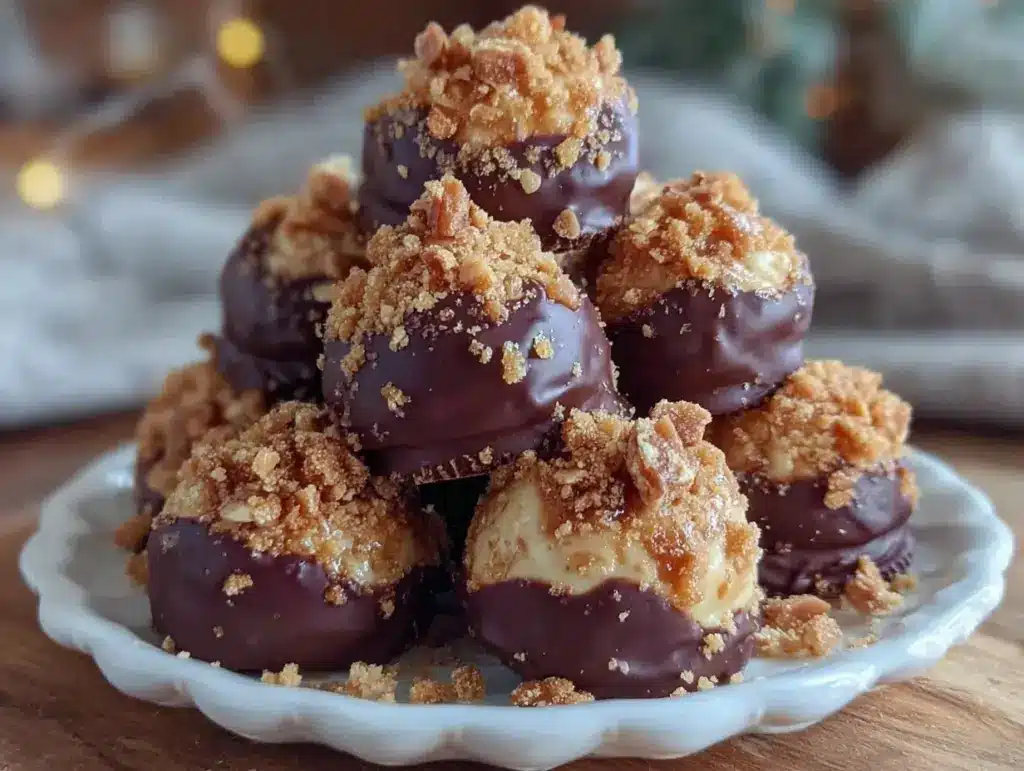
The first time I bit into a creamy Butterfinger ball, I was instantly hooked. You know that perfect blend of crunchy peanut butter candy and smooth, rich creaminess all rolled into one little bite? Yeah, that’s what these treats deliver—every single time. Honestly, the smell of crushed Butterfingers mixed with cream cheese and chocolate takes me right back to cozy holiday kitchens filled with laughter and the clatter of cookie sheets. I first whipped up this recipe during a cold December, looking for something quick yet indulgent to satisfy my sweet tooth. After a few tasty experiments, I landed on this version that’s now my go-to holiday dessert. Whether you’re making them for a festive party or just sneaking a treat after dinner, these creamy Butterfinger balls are just plain irresistible.
What I love most about this creamy Butterfinger balls recipe is how it balances ease with flavor. It’s not one of those complicated desserts that needs hours or a million ingredients. Nope. It’s all about simple steps and a handful of ingredients that come together to create something special. Plus, they’re perfect for anyone who loves a little crunch paired with creamy sweetness. If you’re hunting for a homemade holiday dessert treat that’s both fun to make and share, this recipe is definitely the one to try. I’ve made these over several seasons now, tweaking the texture and sweetness until it felt just right for my family and friends. Trust me, you’ll want to keep this recipe in your back pocket for every holiday gathering.
Why You’ll Love This Recipe
After making creamy Butterfinger balls dozens of times, I can confidently say this recipe nails the sweet spot between simple and spectacular. Here’s why you’ll want to keep this recipe handy:
- Quick & Easy: Ready in under 30 minutes, these treats save you from the holiday hustle without skimping on taste.
- Simple Ingredients: No need for specialty stores — just grab some Butterfinger candy bars, cream cheese, and a few pantry staples.
- Perfect for Holidays: These balls are a festive hit for Christmas parties, cookie exchanges, or even New Year’s celebrations.
- Crowd-Pleaser: Whether you’ve got kids, adults, or a mix of both, these creamy Butterfinger balls always get rave reviews.
- Unbelievably Delicious: The creamy, slightly tangy base paired with crunchy candy bits creates a next-level dessert experience.
What sets this recipe apart is how it blends the iconic Butterfinger crunch into a luscious, creamy ball without any fuss. I usually crush the candy finely to get just the right texture—too coarse, and it’s tough to bite; too fine, and you lose that satisfying crunch. Plus, the addition of cream cheese is a game changer, giving the balls a smooth, rich mouthfeel that keeps you coming back for more. It’s kind of like comfort food dressed up for the holidays—fancy enough to impress guests yet easy enough for a last-minute treat. Honestly, once you try these, plain old candy bars just won’t cut it anymore.
What Ingredients You Will Need
This recipe uses simple, wholesome ingredients to deliver bold flavor and satisfying texture without the fuss. Most of what you need is probably already sitting in your pantry or fridge.
- Butterfinger candy bars (3 full bars, about 4.4 oz / 125 g each): Finely crushed for that signature crunch and peanut butter flavor. I prefer the classic Butterfinger brand for authenticity.
- Cream cheese (8 oz / 225 g, softened): This adds creaminess and binds the mixture together. Use full-fat for best richness.
- Powdered sugar (1 cup / 120 g): To sweeten and help firm up the balls without grit.
- Vanilla extract (1 tsp): Just a splash to enhance all the flavors.
- Milk chocolate chips or melting chocolate (8 oz / 225 g): For coating the balls. I often go with a good-quality chocolate like Ghirardelli for smooth melting.
- Optional: Chopped peanuts or sprinkles: For decorating or adding extra crunch on top.
Looking for substitutions? You can swap cream cheese with mascarpone for an even richer bite, or use dairy-free cream cheese to make these vegan-friendly. If you can’t find Butterfinger bars, similar peanut butter candy bars work, but the taste might differ slightly. For a gluten-free option, double-check the candy bar ingredients, as some may contain wheat.
Equipment Needed
- Mixing bowl: A medium-sized bowl to combine your ingredients smoothly. I often use glass or stainless steel for easy cleanup.
- Electric mixer or hand mixer: Optional but helpful to get that cream cheese super smooth before mixing in the candy bits.
- Food processor or sturdy plastic bag and rolling pin: To crush the Butterfinger bars finely. I’ve tried both methods, and a food processor is faster and more uniform, but the rolling pin works fine if you don’t have one.
- Baking sheet or tray: For chilling the balls before dipping.
- Parchment paper or silicone baking mat: To line the tray and keep the balls from sticking.
- Double boiler or microwave-safe bowl: For melting the chocolate coating. I prefer the double boiler method to avoid scorching.
- Toothpicks or fork: For dipping and coating the balls evenly.
If you’re on a budget, a plastic bag and rolling pin can replace the food processor. Just be patient crushing the candy. Also, keep your cream cheese at room temperature—it makes mixing way easier and ensures a smoother texture. Trust me, I learned the hard way after ending up with lumpy balls!
Detailed Preparation Method
- Prepare the Butterfinger crumbs (10 minutes): Break the Butterfinger bars into chunks and place them in a food processor. Pulse until you get fine crumbs with some small crunchy bits—avoid turning it into powder. If you don’t have a processor, put the bars in a sealed plastic bag and gently crush with a rolling pin.
- Soften the cream cheese (5 minutes): Leave the cream cheese out at room temperature until soft. This step is crucial for smooth mixing—cold cream cheese will cause lumps.
- Mix cream cheese and powdered sugar (5 minutes): In a medium bowl, use an electric mixer or sturdy spoon to combine the softened cream cheese with powdered sugar and vanilla extract until smooth and creamy. The mixture should be light and fluffy.
- Fold in Butterfinger crumbs (3 minutes): Gently fold the crushed candy into the cream cheese mixture. Make sure it’s evenly distributed but don’t overmix, or you’ll crush the candy too much.
- Chill the mixture (30 minutes): Cover the bowl with plastic wrap and refrigerate to firm up the mixture. This helps when rolling into balls.
- Roll into balls (10 minutes): Once chilled, scoop tablespoon-sized amounts and roll them between your palms to form smooth balls. Place them on a parchment-lined tray. If the mixture feels sticky, dust your hands with a little powdered sugar.
- Chill again (15 minutes): Pop the tray back into the fridge to firm the balls before dipping.
- Melt the chocolate (5-7 minutes): Using a double boiler or microwave in short bursts, melt the chocolate chips until silky smooth. Stir frequently to prevent burning.
- Dip the balls (10 minutes): Use a toothpick or fork to dip each ball into the melted chocolate, coating fully. Let the excess drip off, then place back on the parchment paper.
- Optional decoration: Before the chocolate sets, sprinkle chopped peanuts or holiday sprinkles on top for extra flair.
- Final chill (30 minutes): Refrigerate the coated balls until the chocolate hardens completely. Then, they’re ready to enjoy or package for gifting.
Pro tip: Keep your chocolate warm but not hot while dipping to maintain a smooth coating. If it cools and thickens, gently rewarm. And don’t rush the chilling steps—they really make rolling and coating easier.
Cooking Tips & Techniques
When making creamy Butterfinger balls, timing and temperature are your best friends. I’ve learned that starting with room-temp cream cheese is critical—cold cream cheese just won’t blend well and ruins the texture. Also, crushing the Butterfinger bars to the right consistency takes practice. Too coarse and it’s a challenge to roll; too fine and you lose that crunch we all crave.
Melting chocolate can be tricky. Use a double boiler if you have one; it provides gentle heat and prevents burning. Microwaving in short 20-second bursts with stirring in between works too, but watch it carefully. I once scorched a whole batch of chocolate by walking away for “just a minute.” Rookie mistake!
Rolling the balls with slightly powdered hands prevents sticking. If the mixture feels too soft, pop it back in the fridge for a bit. When dipping, keep your chocolate warm enough for a smooth coat but not so hot it melts the balls. I sometimes multitask during the chill times by prepping other holiday treats—keeps the kitchen buzzing without wasting time.
Variations & Adaptations
Want to switch things up? Here are some tasty variations I’ve tried and loved:
- Peanut Butter Swap: Replace the Butterfinger bars with chopped peanut butter cups or Reese’s for a different peanut butter-chocolate vibe.
- Nut-Free Version: Use sunflower seed butter candy bars or crushed crisped rice cereal mixed with peanut butter for allergy-friendly treats.
- White Chocolate Coating: Swap the milk chocolate for white chocolate and add a touch of orange zest to the mixture for a bright holiday twist.
- Spiced Version: Add a pinch of cinnamon or cayenne pepper to the cream cheese mix for a subtle warmth and kick.
- Gluten-Free Option: Confirm the candy bars are gluten-free or substitute with homemade peanut butter crumble made from gluten-free cookies.
Personally, I once tried adding a splash of bourbon to the cream cheese mixture for a boozy adult version—it was a hit at my holiday party! Just remember to keep the mixture chilled well to handle the extra liquid.
Serving & Storage Suggestions
These creamy Butterfinger balls are best served chilled or at cool room temperature. I like to arrange them on a festive platter lined with holiday-themed parchment paper or a pretty doily for parties. Pair them with a strong coffee or a glass of cold milk to balance the sweetness. They also make adorable edible gifts when packed in small clear boxes tied with ribbon.
Store leftovers in an airtight container in the refrigerator for up to one week. They’ll keep their texture and flavor nicely. If you want to keep them longer, freeze the balls (before dipping in chocolate) in a single layer on a tray, then transfer to a freezer-safe bag for up to three months. When ready to serve, thaw in the fridge and dip just before guests arrive.
Reheating isn’t necessary, but if you prefer softer bites, let them sit at room temperature for 10-15 minutes before serving. Over time, the flavors meld beautifully, making them taste even more indulgent the next day.
Nutritional Information & Benefits
Each creamy Butterfinger ball contains approximately 150-180 calories, depending on size and coating. They offer a satisfying treat with some protein and fat from the cream cheese and peanut butter candy. While these are definitely a dessert, using cream cheese adds a bit of richness without relying on heavy butter or oils.
Key ingredients like cream cheese provide calcium and vitamin A, while the peanut butter candy delivers that addictive peanut flavor we all love. Keep in mind, these treats do contain dairy, peanuts, and gluten (from the candy bars), so they aren’t suitable for everyone. For those mindful of sugar, consider enjoying these in moderation or experimenting with sugar-free candy bars.
From a wellness standpoint, these Butterfinger balls make a fun occasional indulgence that satisfies sweet cravings without dragging you into a sugar crash spiral. Plus, making them at home means you know exactly what’s inside—no mystery additives or preservatives.
Conclusion
If you’re looking for a holiday dessert that’s quick, fun, and downright delicious, these creamy Butterfinger balls are exactly what you need. They strike the perfect balance of creamy, crunchy, and sweet with minimal effort. Plus, you can easily tweak the recipe to fit your taste or dietary needs.
I love this recipe because it brings back warm memories of festive kitchens and sharing sweet moments with loved ones. It’s simple enough for a last-minute treat but special enough to impress holiday guests. Give it a try, and I bet it’ll become a staple in your holiday dessert lineup, just like it did in mine.
Don’t forget to drop a comment below if you try the recipe or have your own variations to share—I’m always excited to hear your twists! Happy holidays and happy baking!
FAQs About Creamy Butterfinger Balls
Can I make creamy Butterfinger balls ahead of time?
Absolutely! You can prepare and roll the balls up to 2 days in advance, keep them refrigerated, and dip in chocolate just before serving to keep them fresh.
What’s the best way to crush Butterfinger bars?
The easiest way is using a food processor for even, fine crumbs. If you don’t have one, put the bars in a sealed plastic bag and crush gently with a rolling pin.
Can I freeze these dessert balls?
Yes, freeze the rolled balls (before dipping) on a tray, then transfer to a freezer-safe bag for up to 3 months. Thaw in the fridge before dipping and serving.
Are these Butterfinger balls gluten-free?
Traditional Butterfinger bars contain gluten, so these aren’t gluten-free unless you use gluten-free candy alternatives.
Can I substitute cream cheese with something else?
You can try mascarpone for a richer texture or dairy-free cream cheese for a vegan option. Just keep in mind texture and flavor may slightly change.
Pin This Recipe!
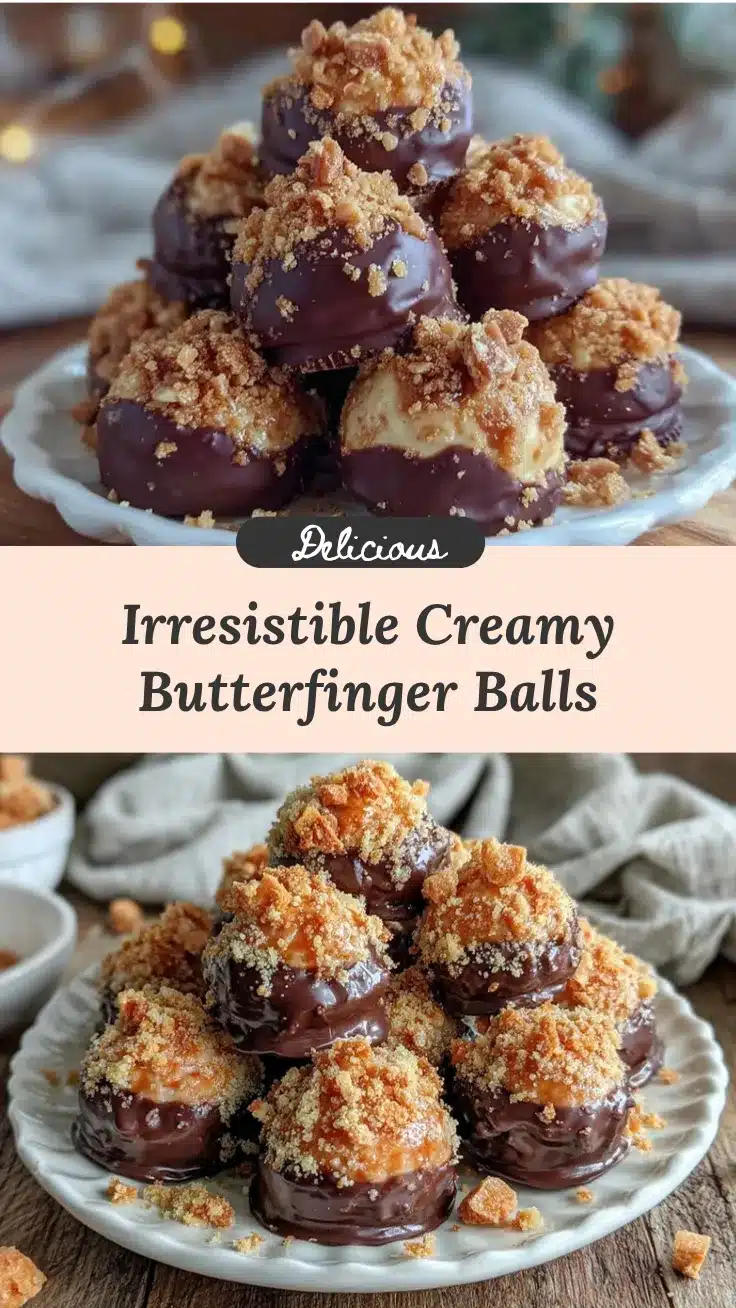
Creamy Butterfinger Balls Recipe Easy Homemade Holiday Dessert Treats

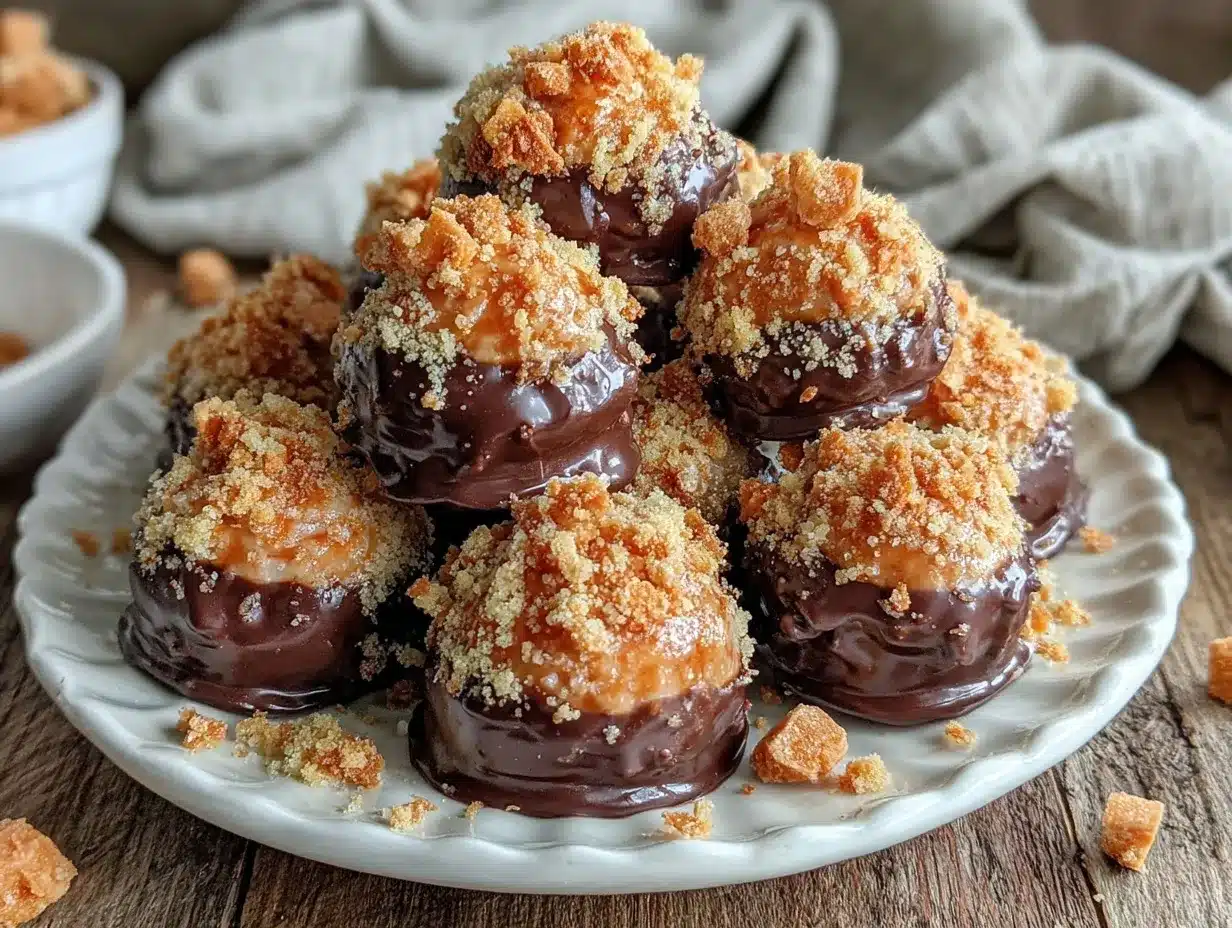
These creamy Butterfinger balls combine crunchy peanut butter candy with smooth cream cheese and a chocolate coating for an irresistible holiday dessert treat that’s quick and easy to make.
- Prep Time: 20 minutes
- Cook Time: 15 minutes
- Total Time: 45 minutes
- Yield: 24 servings 1x
- Category: Dessert
- Cuisine: American
Ingredients
- 3 full Butterfinger candy bars (about 4.4 oz / 125 g each), finely crushed
- 8 oz (225 g) cream cheese, softened (full-fat recommended)
- 1 cup (120 g) powdered sugar
- 1 tsp vanilla extract
- 8 oz (225 g) milk chocolate chips or melting chocolate
- Optional: chopped peanuts or sprinkles for decoration
Instructions
- Break the Butterfinger bars into chunks and pulse in a food processor until fine crumbs with some small crunchy bits remain. Alternatively, crush in a sealed plastic bag with a rolling pin.
- Soften the cream cheese by leaving it at room temperature for about 5 minutes.
- In a medium bowl, mix the softened cream cheese, powdered sugar, and vanilla extract until smooth and creamy using an electric mixer or spoon.
- Gently fold the crushed Butterfinger crumbs into the cream cheese mixture until evenly distributed.
- Cover the bowl with plastic wrap and refrigerate for 30 minutes to firm up the mixture.
- Scoop tablespoon-sized amounts and roll into smooth balls. Place on a parchment-lined tray. Dust hands with powdered sugar if mixture is sticky.
- Refrigerate the balls for another 15 minutes to firm before dipping.
- Melt the chocolate chips using a double boiler or microwave in short bursts, stirring frequently until smooth.
- Use a toothpick or fork to dip each ball into the melted chocolate, coating fully. Let excess drip off and place back on parchment paper.
- Optionally sprinkle chopped peanuts or holiday sprinkles on top before the chocolate sets.
- Refrigerate the coated balls for 30 minutes until the chocolate hardens completely.
Notes
Keep cream cheese at room temperature for smooth mixing. Crush Butterfinger bars to fine crumbs but not powder for best texture. Use double boiler to melt chocolate gently. Chill mixture and balls thoroughly for easier rolling and coating. Rewarm chocolate gently if it thickens during dipping.
Nutrition
- Serving Size: 1 ball (approx. 1 ta
- Calories: 165
- Sugar: 15
- Sodium: 90
- Fat: 10
- Saturated Fat: 5
- Carbohydrates: 18
- Fiber: 1
- Protein: 2
Keywords: Butterfinger balls, holiday dessert, easy dessert, creamy candy balls, chocolate coated treats, peanut butter candy, holiday treats