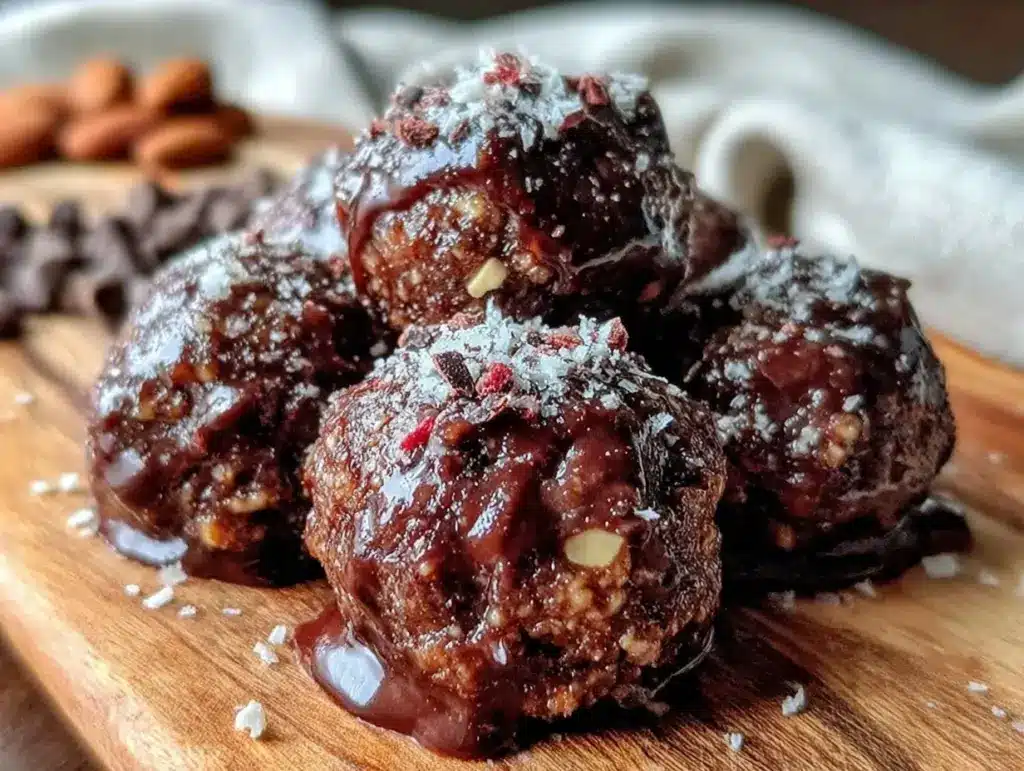
For a while, I just accepted that quick, healthy snacks weren’t going to taste like anything more than just “okay.” I mean, protein balls existed everywhere, but most of the ones I tried felt like chalky bites or a jumble of too many odd ingredients that didn’t quite come together. I wasn’t in search of a perfect protein ball with dozens of fancy add-ins—just something simple, chocolatey, and actually good enough to grab on a hectic morning or toss in my bag for a mid-afternoon pick-me-up.
One afternoon, while rummaging through the pantry with a vague hope of finding a snack that wouldn’t require turning on the oven or a food processor, I pulled together a handful of ingredients. It wasn’t a big deal, really—just four things I had on hand. The mixture was quick to come together, and honestly, I was skeptical. But after rolling those little no-bake chocolate protein balls, I found myself sneaking a bite here and there, impressed by how rich and satisfying they felt without any fuss.
There’s no fanfare here, no complicated steps—just a straightforward recipe that quietly stuck with me. It’s the kind of snack that doesn’t demand attention but somehow makes you feel like you’ve got your act together. And that’s why these easy 4-ingredient no-bake chocolate protein balls have become my go-to treat when life’s running fast and I want something that tastes good and does good at the same time.
Why You’ll Love This Recipe
Honestly, these protein balls are a little lifesaver in my routine. Here’s why this recipe stands out:
- Quick & Easy: Ready in under 15 minutes, no baking or special equipment required—perfect for busy mornings or last-minute snacks.
- Simple Ingredients: You probably have everything in your kitchen—no need for fancy health food stores or obscure items.
- Perfect for On-the-Go: Great for throwing in your bag before work, workouts, or even for kids’ lunchboxes.
- Crowd-Pleaser: The chocolate flavor hits the spot every time, and even my picky eaters give these a thumbs-up.
- Unbelievably Delicious: The texture is just right—chewy but not dry, with a subtle sweetness that feels indulgent but without the guilt.
What really sets this apart from other recipes I’ve tried is the balance between richness and simplicity. The secret? Using a smooth chocolate protein powder that melts into the mix just enough to bind everything without needing extra syrups or oils. Plus, the no-bake method means the protein powder keeps its integrity, giving you that punch of flavor and nutrition every single time.
It’s not just a snack—it’s a little moment of calm in a busy day, a nudge toward healthy habits without feeling like a chore. That’s why I keep coming back to this recipe, and why I think you might find it quietly satisfying, too.
What Ingredients You Will Need
This recipe uses simple, wholesome ingredients to deliver bold chocolate flavor and a satisfying texture without any hassle. Each item plays its part, creating a balanced, protein-packed snack that’s easy to enjoy anytime.
- Chocolate Protein Powder (1 cup / 90g): Choose a smooth, high-quality brand that you like—I’ve had great results with Orgain Organic or Garden of Life for texture and taste.
- Rolled Oats (1 cup / 90g): Adds chewiness and fiber; quick oats work too if you’re pressed for time.
- Natural Peanut Butter (½ cup / 125g): Creamy or chunky, depending on your texture preference; I prefer unsweetened for less sugar, but a lightly sweetened version is fine.
- Honey (¼ cup / 85g): Acts as a natural sweetener and binder; you can swap with maple syrup if vegan-friendly.
Optional but recommended for a subtle twist:
- Chia Seeds (1 tbsp): For added omega-3 and a bit of crunch.
- Sea Salt (a pinch): To balance the sweetness and enhance the chocolate notes.
Most of these ingredients are pantry staples, so it’s easy to whip these up without planning ahead. If you want a gluten-free version, just make sure your oats are certified gluten-free.
Equipment Needed
- Mixing Bowl: A medium-sized bowl is ideal for combining all ingredients.
- Spoon or Spatula: For mixing; a sturdy rubber spatula works best to scrape down the sides.
- Measuring Cups and Spoons: Accuracy helps with consistency, especially for the protein powder and oats.
- Baking Sheet or Plate: To place the rolled balls on while setting.
- Plastic Wrap or Parchment Paper: For easy cleanup and covering the balls while chilling.
If you don’t have a baking sheet, any flat plate or tray will do just fine. I’ve also used my hands to mix and shape, which makes it feel a bit more hands-on and satisfying. No fancy gadgets needed, which is why this recipe feels so approachable.
Preparation Method
- Combine Peanut Butter and Honey: In your mixing bowl, stir together the peanut butter (½ cup / 125g) and honey (¼ cup / 85g) until smooth and well combined. This usually takes about 2-3 minutes. If the peanut butter is too stiff, warming it slightly in the microwave for 15 seconds helps it blend better.
- Add Dry Ingredients: Add 1 cup (90g) of rolled oats and 1 cup (90g) of chocolate protein powder to the peanut butter mixture. Stir gently but thoroughly to coat the oats and protein powder in the sticky mixture. It should start to come together without being crumbly. This step takes about 3-4 minutes.
- Optional Add-ins: If you’re including chia seeds (1 tbsp) or a pinch of sea salt, sprinkle them in now and fold gently. These little extras make a noticeable difference in texture and flavor.
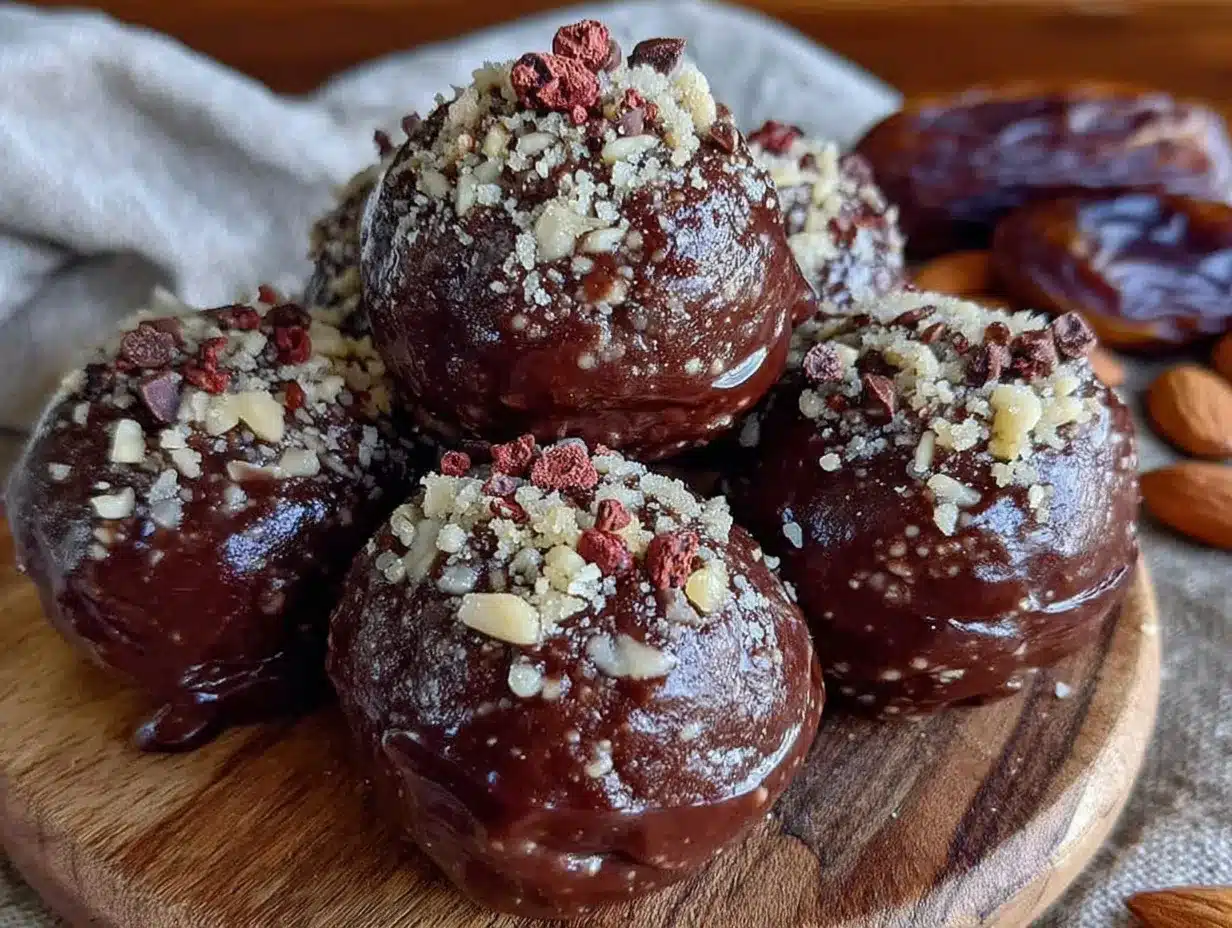
- Form the Balls: With clean hands, scoop about 1 tablespoon (15g) of the mixture and roll into tight balls. The mixture should be sticky enough to hold shape without crumbling—if it’s too dry, add a little more honey or peanut butter, a teaspoon at a time.
- Set and Chill: Place the balls on a baking sheet or plate lined with parchment paper. Refrigerate for at least 30 minutes to help them firm up. You’ll notice the texture becomes pleasantly chewy and holds together well.
- Store: Transfer the protein balls to an airtight container. They keep well in the fridge for up to a week, or freeze for longer storage.
Pro tip: If you want to speed things up, you can pop them in the freezer for 15 minutes instead of the fridge. Just watch that they don’t freeze solid if you prefer a softer bite.
Cooking Tips & Techniques
Making these chocolate protein balls is straightforward, but a few tricks help get the texture just right:
- Choosing Protein Powder: Some powders can be chalky or overly sweet. I’ve found that whey or plant-based powders with a mild chocolate flavor work best. If you want to test your powder’s texture, mix a small amount with water first—it should dissolve smoothly.
- Mixing Consistency: Aim for a sticky but not wet dough. If it’s too dry, the balls will crumble; too wet, and they’ll be sticky messes. Adjust honey or peanut butter gradually.
- Rolling Technique: Use your palms to roll in gentle, circular motions. If the mixture sticks to your hands too much, dampen them slightly with water.
- Storage Tips: Keep the balls chilled to maintain firmness. If they soften on warm days, a quick chill refreshes them.
- Multitasking: While these chill, you can prep other simple dishes like the fresh southwest chipotle salad for a quick lunch.
From personal experience, skipping the chill step made the balls fall apart too easily. Patience pays off here, even if it’s just a short wait.
Variations & Adaptations
These protein balls are a versatile base for lots of tasty variations:
- Nut-Free Version: Swap peanut butter for sunflower seed butter or tahini for a different flavor and allergy-friendly option.
- Flavor Boost: Add a teaspoon of instant espresso powder for a mocha twist or a drop of peppermint extract for a refreshing note.
- Texture Play: Mix in chopped nuts, shredded coconut, or mini chocolate chips for added crunch and interest.
- Sweetener Swap: Use maple syrup or agave nectar instead of honey to keep it vegan.
- Seasonal Add-in: Stir in dried cranberries or chopped dried apricots for a fruity contrast—these pair nicely with the chocolate, much like the seasonal fruit in my cranberry orange pecan crisp.
Personally, I once tried adding a spoonful of cocoa nibs to give a subtle bitterness that balanced the sweetness perfectly. It was a small tweak but made the snack feel a little more grown-up.
Serving & Storage Suggestions
These protein balls are best served chilled or at room temperature. They make a perfect grab-and-go snack for busy mornings, a quick post-workout bite, or an afternoon treat that won’t weigh you down.
Pair them with a cup of black coffee or a glass of milk for a satisfying mini-meal. They also complement fresh fruit or a light salad, such as the easy-to-make creamy church salad, if you want a fuller snack spread.
Store leftovers in an airtight container in the refrigerator for up to one week. For longer storage, freeze the protein balls in a single layer on a baking sheet, then transfer to a freezer-safe container. Thaw in the fridge overnight or enjoy semi-frozen for a refreshing treat.
Flavors tend to deepen after a day or two, so if you can wait, letting them rest a bit in the fridge really brings out the chocolate and peanut butter notes.
Nutritional Information & Benefits
Each chocolate protein ball (makes about 20) offers roughly:
| Calories | 90-100 kcal |
|---|---|
| Protein | 5-6 grams |
| Fat | 5 grams (mostly healthy fats from peanut butter) |
| Carbohydrates | 8-9 grams (including fiber from oats) |
Key health perks come from the protein powder and peanut butter, which together provide muscle-supporting nutrients and healthy fats. Oats add fiber, which helps with digestion and sustained energy release. Using natural sweeteners like honey avoids processed sugars, keeping the snack wholesome.
This recipe is gluten-free if you use certified oats and dairy-free if your protein powder is plant-based. Just watch for nut allergens if serving to others.
Conclusion
In the end, these easy 4-ingredient no-bake chocolate protein balls offer a simple, satisfying snack that never feels like a compromise. They’re quick to make, use ingredients you likely already have, and deliver on flavor and nutrition without any fuss. I love that they can be adapted to whatever I have on hand or my mood, and they always come through when I need a little boost.
Feel free to tweak the mix to suit your tastes or dietary needs—you might find your own favorite spin on this humble recipe. If you give them a try, I’d love to hear how you made them your own or how they fit into your busy day.
Here’s to easy snacks that just work and don’t overcomplicate life.
FAQs
Can I use different nut butters instead of peanut butter?
Yes! Almond butter, cashew butter, or sunflower seed butter work well. Just keep an eye on the texture as some nut butters are thinner and may require less honey.
How long do these protein balls last in the fridge?
They stay fresh for about one week in an airtight container. For longer storage, freeze them for up to 3 months.
Can I make these protein balls without oats?
Oats provide texture and fiber, but you can try substituting with ground flaxseed or coconut flakes. The texture will be different but still tasty.
Is it okay to use flavored protein powder?
Absolutely. Chocolate-flavored protein powder is best here, but vanilla or mocha can work if you want a different flavor profile.
Do I need to refrigerate the protein balls before eating?
Chilling helps firm them up and improves texture, but if you’re in a hurry, you can eat them right away. Just expect a softer consistency.
Pin This Recipe!
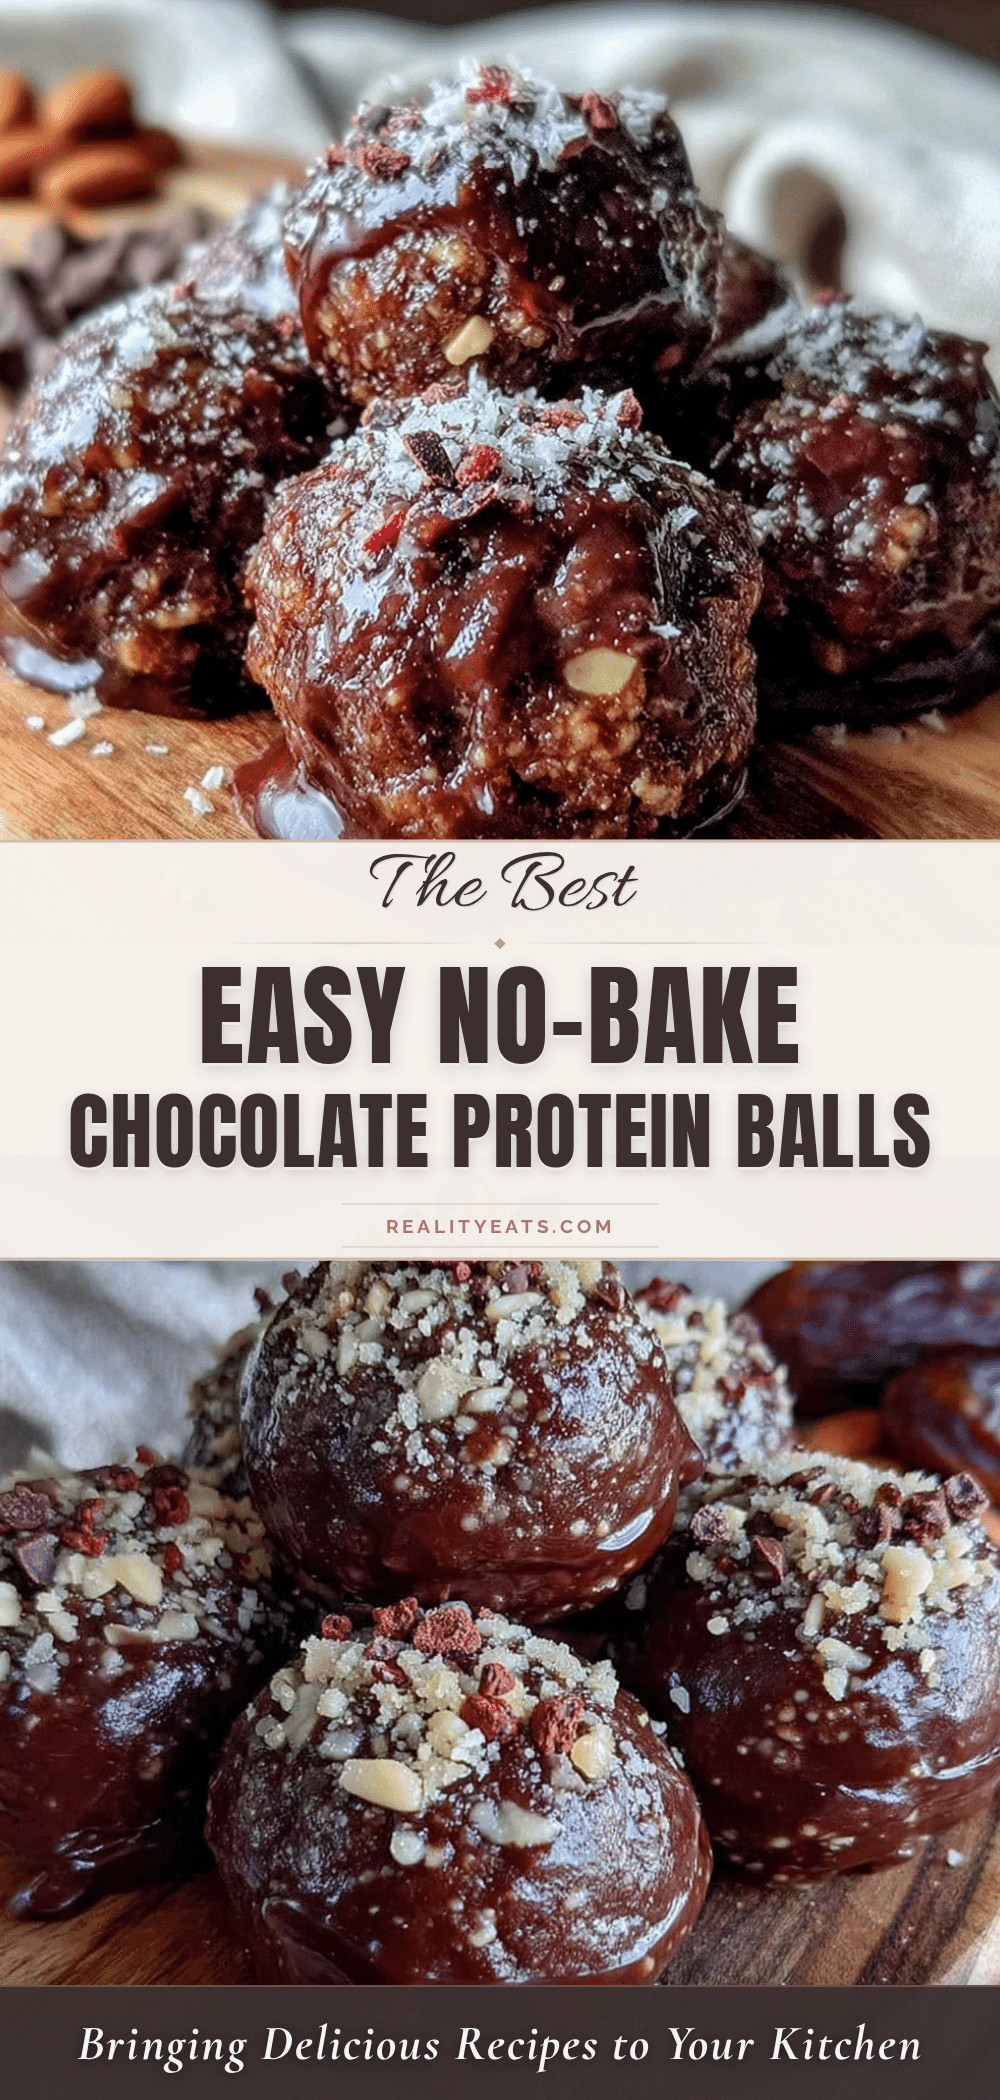
Easy 4-Ingredient No-Bake Chocolate Protein Balls

A quick and simple no-bake recipe for chocolate protein balls using just four ingredients, perfect for healthy on-the-go snacks.
- Prep Time: 10 minutes
- Cook Time: 0 minutes
- Total Time: 40 minutes
- Yield: 20 servings 1x
- Category: Snack
- Cuisine: American
Ingredients
- 1 cup (90g) chocolate protein powder
- 1 cup (90g) rolled oats
- ½ cup (125g) natural peanut butter
- ¼ cup (85g) honey
- Optional: 1 tbsp chia seeds
- Optional: pinch of sea salt
Instructions
- In a mixing bowl, stir together the peanut butter and honey until smooth and well combined (about 2-3 minutes). Warm peanut butter slightly if too stiff.
- Add rolled oats and chocolate protein powder to the peanut butter mixture. Stir gently but thoroughly to coat the oats and protein powder.
- If using, sprinkle in chia seeds and sea salt, then fold gently.
- Scoop about 1 tablespoon (15g) of the mixture and roll into tight balls with clean hands. Adjust texture with more honey or peanut butter if needed.
- Place the balls on a baking sheet or plate lined with parchment paper and refrigerate for at least 30 minutes to firm up.
- Store the protein balls in an airtight container in the refrigerator for up to one week or freeze for longer storage.
Notes
Warm peanut butter slightly if too stiff for easier mixing. Adjust honey or peanut butter to achieve sticky but not wet dough. Chill protein balls for at least 30 minutes to firm up. Freeze for 15 minutes to speed up chilling but avoid freezing solid if softer texture is preferred. Use certified gluten-free oats for gluten-free version. Nut-free option: substitute peanut butter with sunflower seed butter or tahini.
Nutrition
- Serving Size: 1 protein ball (abou
- Calories: 90100
- Sugar: 5
- Sodium: 50
- Fat: 5
- Saturated Fat: 1
- Carbohydrates: 89
- Fiber: 2
- Protein: 56
Keywords: protein balls, no-bake, chocolate, healthy snack, quick snack, peanut butter, easy recipe