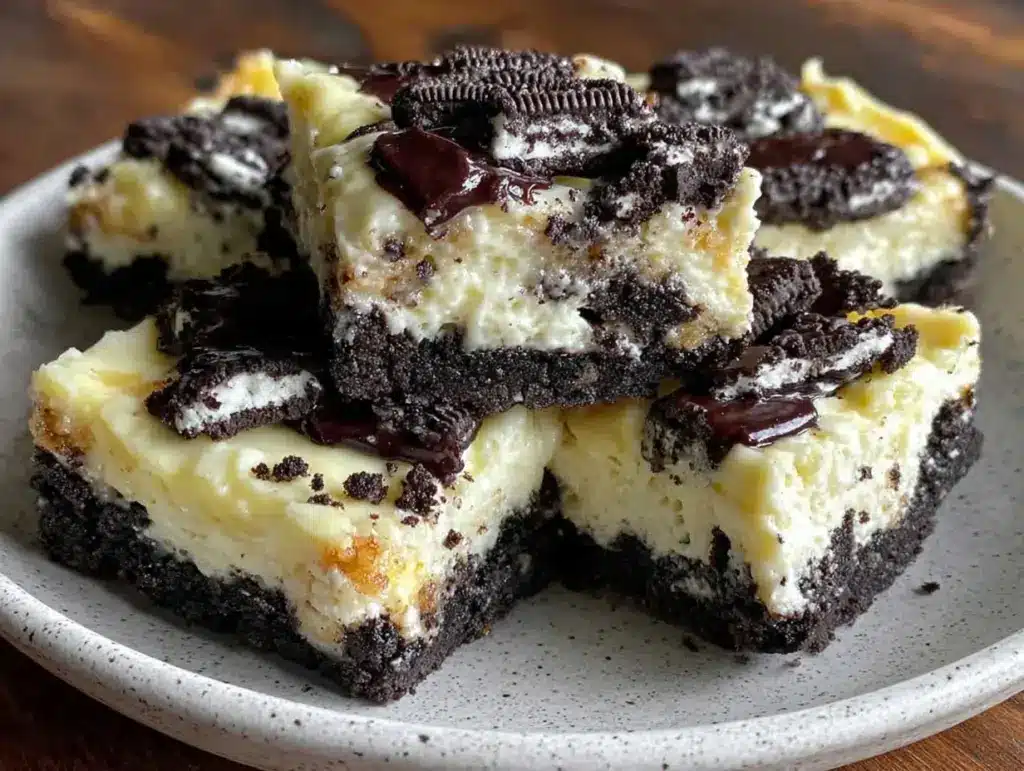
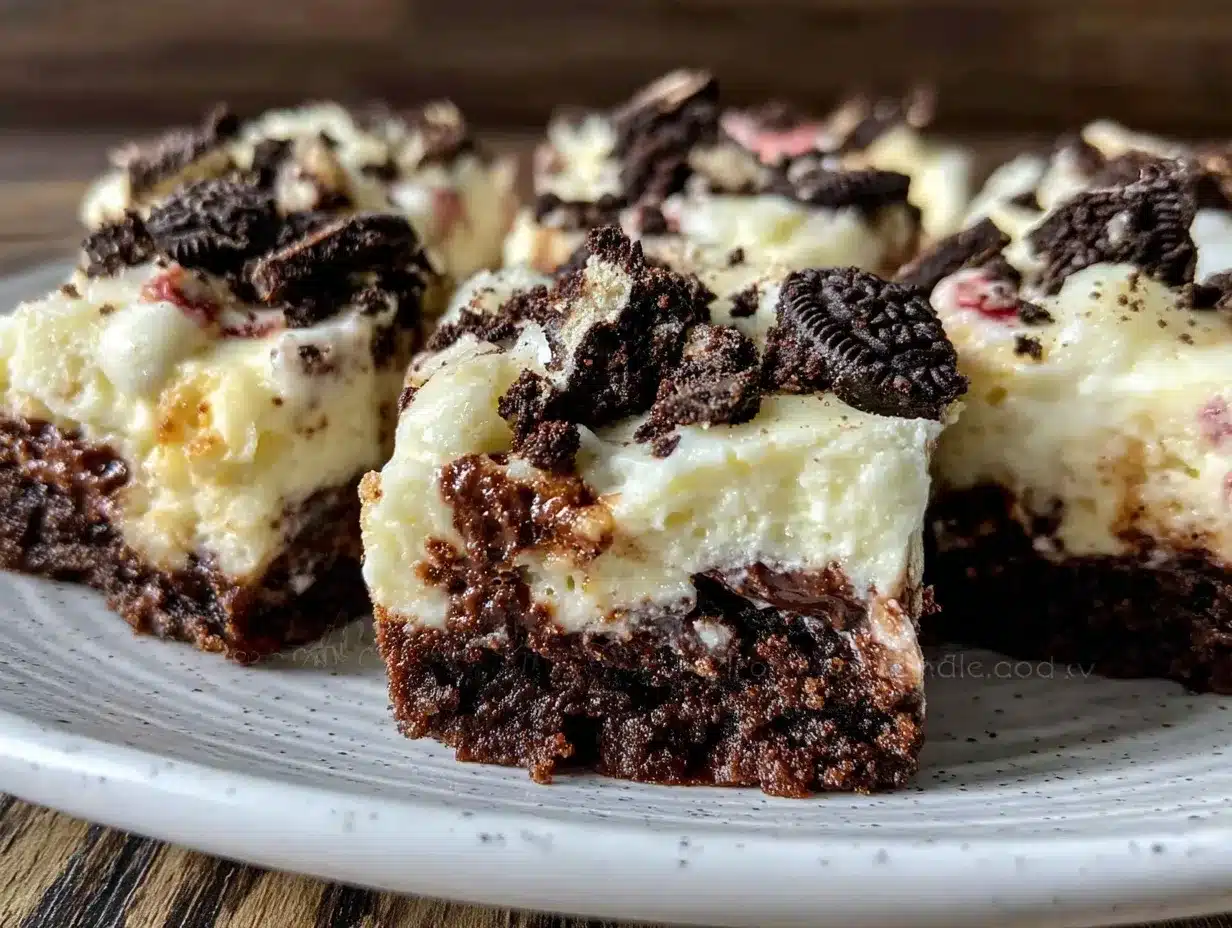
The smell of crushed Oreo cookies mixed with creamy cheesecake filling is honestly one of those sweet little joys that instantly brightens my day. I first whipped up these no-bake Oreo cheesecake bars during a hectic weekend when I wanted something indulgent but fuss-free. Since then, they’ve become my go-to dessert for parties, last-minute guests, or just because—because, well, life’s too short not to have cake when it calls. This recipe blends the classic Oreo crunch with velvety cheesecake goodness, and the best part? No oven required, which means you don’t have to sweat the heat or the timing.
What’s really cool about these no-bake Oreo cheesecake bars is how they balance rich flavor with an easy prep time, making it a perfect treat for anyone who wants to impress without the stress. Whether you’re a beginner baker or a seasoned dessert fan, this recipe is straightforward and foolproof. Plus, it’s versatile enough to tweak with your favorite toppings or add-ins.
I’ve tested this recipe over several gatherings, and it never fails to get rave reviews. If you’re looking for a dessert that’s creamy, crunchy, and totally irresistible, these no-bake Oreo cheesecake bars just might become your new obsession.
Why You’ll Love This No-Bake Oreo Cheesecake Bars Recipe
Let me share why this recipe has stuck around in my kitchen rotation and why you’ll want to try it ASAP:
- Quick & Easy: Comes together in under 30 minutes, perfect for busy days or spontaneous dessert cravings.
- Simple Ingredients: No rare or fancy items here—just basics you likely have on hand, like cream cheese, Oreos, and a bit of sugar.
- Perfect for Any Occasion: Whether it’s a birthday bash, a casual get-together, or a cozy night in, these bars hit the spot every time.
- Crowd-Pleaser: Kids adore the cookie crunch, and adults appreciate the creamy cheesecake layer—always a winning combo.
- Unbelievably Delicious: The contrast between crunchy crust and smooth filling is what sets this apart from your average cheesecake.
What makes this no-bake Oreo cheesecake bars recipe stand out? It’s the method of folding crushed Oreos into the cheesecake filling for extra texture and flavor, rather than just using them as a base. That little trick adds a surprise crunch in every bite. I also find chilling it overnight really helps the flavors meld and the texture set just right. It’s comfort dessert without the oven drama, and honestly, it feels like a small celebration every time I dig in.
What Ingredients You Will Need
This no-bake Oreo cheesecake bars recipe uses simple, wholesome ingredients to deliver bold flavor and satisfying texture without any fuss. Most are pantry staples, and you can easily swap a few to suit your taste or dietary needs.
- Crust & Base:
- 24 Oreo cookies, finely crushed (use original or double-stuff for extra creaminess)
- 6 tablespoons unsalted butter, melted (adds richness and helps bind the crust)
- Cheesecake Filling:
- 16 ounces (450g) cream cheese, softened (I prefer Philadelphia brand for smooth texture)
- 1 cup (240ml) heavy whipping cream, chilled
- ¾ cup (90g) powdered sugar, sifted
- 1 teaspoon vanilla extract (pure vanilla makes a difference here)
- 10 Oreo cookies, coarsely chopped or crushed (folded into the filling for extra texture)
Substitution tips: For a lighter version, swap half the heavy cream with Greek yogurt, but keep in mind the texture will be less fluffy. Use dairy-free cream cheese and coconut cream for a vegan twist. Gluten-free Oreo alternatives also work well for those avoiding gluten.
Equipment Needed
- 8×8 inch (20×20 cm) square baking pan (glass or metal both work well)
- Mixing bowls (one large for filling, one small for crust)
- Electric mixer or stand mixer (hand whisking is possible but takes more elbow grease)
- Food processor or zip-top bag and rolling pin (to crush Oreos finely)
- Spatula for folding and spreading the cheesecake mixture
- Measuring cups and spoons for accuracy
If you don’t have a food processor, placing Oreos in a sealed bag and smashing with a rolling pin or heavy pan works just fine. I’ve tried silicone baking pans too, and they make removing the bars easier once chilled. For budget-friendly options, a handheld mixer with beaters will do the job just as well as a stand mixer.
Detailed Preparation Method
- Prepare the crust: Combine the finely crushed 24 Oreos with the melted butter in a bowl. Mix until the crumbs are evenly coated and resemble wet sand. Press this mixture firmly into the bottom of your 8×8 inch pan, creating an even layer. Use the back of a spoon or a flat-bottomed glass to compact it well. Place the pan in the fridge to chill while you make the filling. (About 10 minutes prep, chilling is flexible.)
- Make the cheesecake filling: In a large mixing bowl, beat the softened cream cheese with an electric mixer on medium speed until smooth and creamy, about 2-3 minutes. Scrape down the sides as needed to avoid lumps.
- Add sweetness and flavor: Gradually add the powdered sugar and vanilla extract. Continue beating until the mixture is silky and well combined. (This step ensures no gritty sugar bits remain.)
- Whip the cream: In a separate cold bowl, beat the chilled heavy cream until stiff peaks form. This usually takes 3-5 minutes on high speed. Be careful not to overwhip, or the cream can turn grainy.
- Fold in cream and Oreos: Gently fold the whipped cream into the cream cheese mixture using a spatula, preserving as much airiness as possible. Then fold in the coarsely chopped 10 Oreos for that irresistible crunch throughout the filling.
- Assemble and chill: Pour the cheesecake filling over the chilled crust and smooth the surface with your spatula. Cover with plastic wrap and refrigerate for at least 4 hours, ideally overnight. This chilling time lets the bars firm up and the flavors marry beautifully.
- Serve: Once set, cut into 12 bars and serve chilled. Use a sharp knife and wipe it clean between cuts for neat slices.
Pro tip: If the cheesecake feels too soft after chilling, a little extra time in the fridge usually does the trick. Also, room temperature cream cheese is key to avoiding lumps in the filling.
Cooking Tips & Techniques
Here are some pointers I’ve picked up after making these no-bake Oreo cheesecake bars over and over:
- Softening Cream Cheese: Don’t rush this step. Let the cream cheese sit out for at least 30 minutes or microwave it for 10 seconds if you’re in a hurry. Cold cream cheese can make the filling lumpy.
- Crushing Oreos: For the crust, you want fine crumbs but not powder. For the filling, chunkier bits add texture. Mixing these two textures gives the bars their signature bite.
- Folding Technique: When combining whipped cream with cream cheese, fold gently with a spatula instead of stirring. Stirring knocks out air and makes the filling dense.
- Chilling Time: Patience pays off here. I’ve learned the bars taste and slice so much better after a full night in the fridge.
- Cutting Bars: Use a warm knife (dip in hot water and wipe dry) to slice cleanly without cracking the bars.
Honestly, the biggest mistake I made early on was skipping the chilling step or rushing the cream cheese softening. That produced a grainy, uneven texture that no one wanted to eat. Now, I always stick to these tips for reliable, delicious results.
Variations & Adaptations
This no-bake Oreo cheesecake bars recipe is flexible, so feel free to tweak it to your liking:
- Flavor Twists: Add a tablespoon of instant coffee powder to the filling for a mocha kick. Or swirl in some peanut butter for a nutty surprise.
- Seasonal Add-Ins: Fold in fresh raspberries or strawberries during summer for a fruity contrast to the chocolate.
- Dietary Adjustments: Use gluten-free Oreos and dairy-free cream cheese plus coconut cream to make these bars vegan and allergy-friendly.
- Cooking Method: If you want a firmer texture, try briefly freezing the bars after chilling in the fridge, but don’t leave them too long or they’ll get icy.
- Personal Variation: I once sprinkled chopped toasted pecans on top for extra crunch and flavor—it was a hit at Thanksgiving dinner!
Serving & Storage Suggestions
These no-bake Oreo cheesecake bars are best served chilled. Slice and serve them straight from the fridge for that perfect creamy texture with crunchy cookie bits.
They pair wonderfully with a hot cup of coffee or a scoop of vanilla ice cream for an extra indulgent treat. For gatherings, arranging them on a pretty platter with a few extra Oreo halves on top adds a nice visual touch.
To store, cover the bars tightly with plastic wrap or keep them in an airtight container. They’ll last up to 5 days in the refrigerator. If you want to keep them longer, freeze the bars for up to 2 months—just thaw overnight in the fridge before serving.
Reheating isn’t really necessary, but if you prefer softer bars, let them sit at room temperature for 10 to 15 minutes before cutting and serving. The flavors actually deepen and mellow the longer they chill, so leftovers can taste even better the next day.
Nutritional Information & Benefits
Each serving of these no-bake Oreo cheesecake bars is a delightful treat, with an estimated 320 calories, 22 grams of fat, 28 grams of carbohydrates, and 5 grams of protein. The cream cheese provides a good source of calcium and protein, while Oreos add a bit of indulgent sweetness.
While this dessert is definitely on the richer side, it’s a nicer option than many baked desserts since it doesn’t require added flours or excess sugar beyond the cookies and powdered sugar. You can adjust the sweetness by reducing the powdered sugar or choosing a light cream cheese variant.
For those watching gluten, dairy, or sugar intake, simple substitutions like gluten-free cookies and dairy-free cream cheese make these bars accessible without sacrificing much on flavor.
Conclusion
If you’re craving a dessert that’s creamy, crunchy, and unbelievably simple, these no-bake Oreo cheesecake bars are your ticket. They’re the kind of recipe that feels fancy but doesn’t demand hours in the kitchen. I love how flexible they are—you can tweak them to match your cravings or dietary needs without losing that classic Oreo cheesecake magic.
Give this recipe a try and see how it fits into your dessert lineup. Don’t be shy about making it your own—add your favorite mix-ins or toppings. And hey, I’d love to hear how your bars turn out or any fun twists you try!
Go ahead, whip up a batch, and enjoy every bite of this simple, crowd-pleasing treat.
Frequently Asked Questions
Can I use different cookies instead of Oreos?
Absolutely! Graham crackers, chocolate chip cookies, or even gluten-free cookie alternatives work well. Just crush them finely for the crust and coarser for the filling.
How long do the bars need to chill?
At least 4 hours is best, but overnight chilling gives the creamiest texture and easiest slicing.
Can I make these bars ahead of time?
Yes! They keep well in the fridge for up to 5 days and freeze nicely for up to 2 months.
What if I don’t have heavy cream?
You can substitute with full-fat coconut cream for a dairy-free version or use whipping cream if that’s what’s on hand.
How do I get clean slices when cutting the bars?
Use a sharp knife dipped in hot water and wiped dry before slicing. Wipe the knife between cuts for neat edges.
Pin This Recipe!
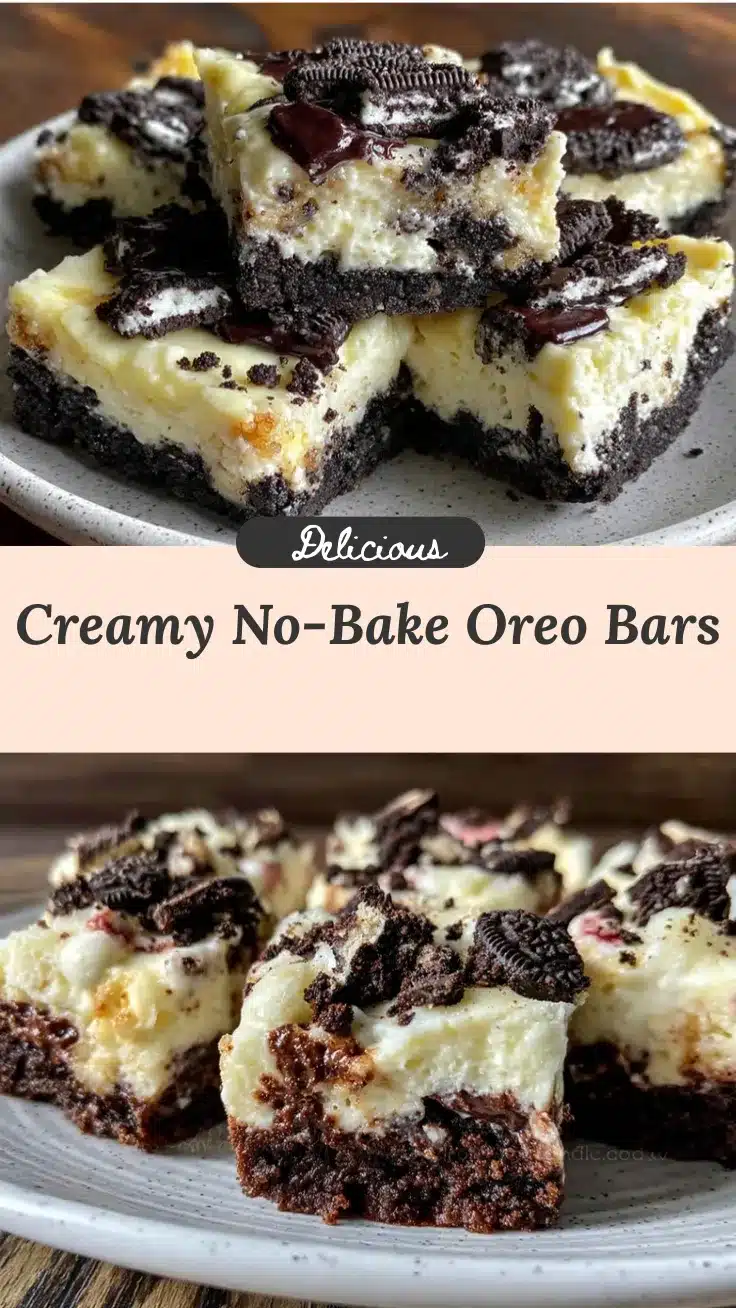
No-Bake Oreo Cheesecake Bars

These no-bake Oreo cheesecake bars combine the classic Oreo crunch with creamy cheesecake filling for an easy, indulgent dessert that requires no oven.
- Prep Time: 15 minutes
- Cook Time: 0 minutes
- Total Time: 4 hours 15 minutes
- Yield: 12 bars 1x
- Category: Dessert
- Cuisine: American
Ingredients
- 24 Oreo cookies, finely crushed (original or double-stuff)
- 6 tablespoons unsalted butter, melted
- 16 ounces (450g) cream cheese, softened
- 1 cup (240ml) heavy whipping cream, chilled
- 3/4 cup (90g) powdered sugar, sifted
- 1 teaspoon vanilla extract
- 10 Oreo cookies, coarsely chopped or crushed
Instructions
- Combine the finely crushed 24 Oreos with the melted butter in a bowl. Mix until the crumbs are evenly coated and resemble wet sand.
- Press this mixture firmly into the bottom of an 8×8 inch pan, creating an even layer. Use the back of a spoon or a flat-bottomed glass to compact it well. Place the pan in the fridge to chill while you make the filling.
- In a large mixing bowl, beat the softened cream cheese with an electric mixer on medium speed until smooth and creamy, about 2-3 minutes. Scrape down the sides as needed.
- Gradually add the powdered sugar and vanilla extract. Continue beating until the mixture is silky and well combined.
- In a separate cold bowl, beat the chilled heavy cream until stiff peaks form, about 3-5 minutes on high speed.
- Gently fold the whipped cream into the cream cheese mixture using a spatula, preserving as much airiness as possible.
- Fold in the coarsely chopped 10 Oreos for texture.
- Pour the cheesecake filling over the chilled crust and smooth the surface with a spatula.
- Cover with plastic wrap and refrigerate for at least 4 hours, ideally overnight.
- Once set, cut into 12 bars and serve chilled. Use a sharp knife wiped clean between cuts for neat slices.
Notes
Let cream cheese soften at room temperature for at least 30 minutes to avoid lumps. Use a warm knife dipped in hot water and wiped dry to cut bars cleanly. Chilling overnight improves texture and flavor. For vegan or dairy-free versions, substitute dairy-free cream cheese and coconut cream. Gluten-free Oreos can be used for gluten-free diet.
Nutrition
- Serving Size: 1 bar
- Calories: 320
- Fat: 22
- Carbohydrates: 28
- Protein: 5
Keywords: no-bake, Oreo, cheesecake, dessert, easy, bars, creamy, crunchy