For a while, I just accepted that homemade dill pickles meant days of waiting and planning ahead. You know, the kind where you brine, then wait, then wait some more, and by the time they’re ready, your craving has moved on or your patience is long gone. That slow pickle process always felt like a culinary project rather than a simple snack fix. I’d see all those recipes promising the “best” flavor but somehow none fit into my reality as a busy home cook who wanted something tangy, crisp, and ready to enjoy in a flash.
One evening, I found myself staring at a jar of cucumbers in the fridge, thinking, “There has to be a quicker way.” The smell of dill from my spice rack teased me, and the crunch I was imagining was practically audible. So, I tinkered quietly, testing vinegar ratios, salt levels, and little tweaks to the spice blend. What stuck with me was how this recipe worked with real-time urgency — it wasn’t about a distant reward but a pickled snack ready practically overnight.
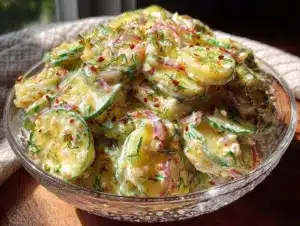
Honestly, the texture surprised me. Not mushy, not overly sour, but just right — crisp with a punch of dill that felt fresh, like summer in a jar. It’s the kind of pickle you find yourself reaching for between meals or adding to sandwiches without waiting for a “special occasion.” This quick refrigerator dill pickle recipe didn’t just fill a craving; it became a little ritual for those times I wanted something homemade but didn’t want to wait forever.
It’s quietly satisfying, the kind of thing you can trust to deliver every time you open the fridge. And maybe that’s why it stuck — because sometimes, good food doesn’t need fuss, just a little patience and a good jar.
Why You’ll Love This Recipe
Over the years of making pickles, I’ve learned what matters most: speed, flavor, and texture. This quick refrigerator dill pickles recipe hits all three without complicated steps or hard-to-find ingredients.
- Quick & Easy: Ready in just 24 hours, perfect for those last-minute cravings or when you want a fresh snack fast.
- Simple Ingredients: You probably already have everything in your kitchen — no special trips needed.
- Perfect for Snacking & Meals: Great on sandwiches, snacks, or even paired with crispy ham and cheese sticks for a quick appetizer.
- Crowd-Pleaser: Family and friends always ask for seconds because the flavor is fresh, tangy, and just right.
- Unbelievably Delicious: The crunchy texture and balanced dill flavor make it feel like a snack you bought at a deli — but homemade and fresher.
This recipe isn’t just a quick pickle; it’s the kind that has a perfect brine-to-cucumber ratio, a hint of garlic, and that unmistakable dill aroma. The trick is in the cold brining that gently softens the cucumbers while keeping them crisp. You’ll notice it’s not the overpowering vinegar bomb some quick pickles turn into. Instead, it’s a balanced, flavorful bite that pairs well with everything from summer salads to your favorite sandwiches.
What Ingredients You Will Need
This recipe uses simple, wholesome ingredients to deliver bold flavor and satisfying crunch without fuss. Most are pantry staples, and you can find fresh cucumbers at any grocery store or farmer’s market.
- Kirby cucumbers or pickling cucumbers: About 4 to 5 small-medium cucumbers, sliced into spears or rounds (choose firm, fresh cucumbers for the best crunch).
- White distilled vinegar: 1 cup (240 ml) – the base of the brine, providing that classic tang.
- Water: 1 cup (240 ml) – to balance the acidity and keep the pickles crisp.
- Kosher salt: 1 tablespoon – essential for flavor and texture; avoid iodized salt as it can cloud the brine.
- Granulated sugar: 1 teaspoon – just a touch to round out the sharpness of the vinegar.
- Fresh dill sprigs: 4 to 5 – the star herb, bringing that unmistakable pickle aroma and flavor (don’t skip this).
- Garlic cloves: 2, smashed (adds a subtle, savory depth).
- Black peppercorns: 1 teaspoon – for a gentle spice kick.
- Optional red pepper flakes: ¼ teaspoon – if you like a little heat.
If you want to swap things up, you can use apple cider vinegar instead for a slightly sweeter profile, or try adding mustard seeds for a different flavor note. For a gluten-free version, these ingredients are naturally safe, just double-check your vinegar brand. Honestly, I stick with a trusted brand like Heinz for vinegar to keep the flavor consistent.
Equipment Needed
- Mason jars or any clean glass jars with lids: Quart size (1 liter) jars work best for easy packing and storage.
- Measuring cups and spoons: For precise brine ratios.
- Mixing bowl: To combine the brine ingredients before pouring.
- Knife and cutting board: For slicing cucumbers.
- Small saucepan (optional): To warm the brine slightly if you want faster dissolving salt and sugar.
If you don’t have mason jars, any airtight container will work, but glass is best to avoid flavors leaching from plastics. I’ve tried this in a simple glass bowl with plastic wrap, but jars keep the pickles fresher longer in the fridge. Also, keeping your knives sharp helps with clean cuts — jagged edges can make cucumbers a bit soggy faster.
Preparation Method
- Wash and slice cucumbers: Rinse 4 to 5 pickling cucumbers thoroughly. Cut off the ends (the blossom end can cause softening), then slice into spears or rounds depending on your preference. I like spears for sandwiches and rounds for snacking. (10 minutes)
- Prepare the brine: In a bowl, combine 1 cup (240 ml) white vinegar, 1 cup (240 ml) water, 1 tablespoon kosher salt, and 1 teaspoon sugar. Stir until salt and sugar dissolve. If you want, warm the mixture gently on the stove for 1-2 minutes to speed dissolving, then cool before using. (5 minutes)
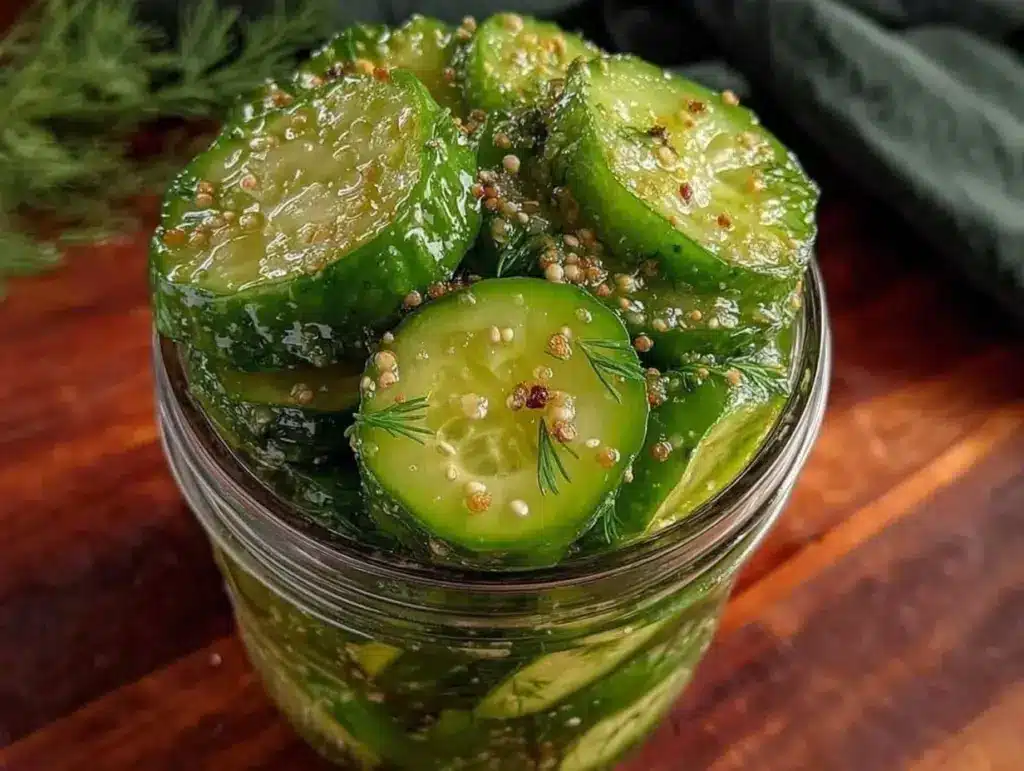
- Pack the jars: Place fresh dill sprigs, 2 smashed garlic cloves, 1 teaspoon black peppercorns, and optional ¼ teaspoon red pepper flakes into each clean jar. Then pack the cucumber slices tightly but without crushing. (5 minutes)
- Pour the brine: Pour the cooled brine over the cucumbers in the jar, making sure they’re fully submerged. Leave about ½ inch of headspace at the top. Seal the jars tightly. (2 minutes)
- Refrigerate: Place the sealed jars in the fridge for at least 24 hours. The flavors meld during this time, and the cucumbers soften slightly but remain crisp. After 24 hours, you can taste and decide if you want to leave them longer for stronger flavor. (24 hours minimum)
- Enjoy: Once ready, these quick refrigerator dill pickles are perfect for snacking, topping burgers, or pairing with your favorite dips like in this classic creamy church salad. Keep them refrigerated and consume within 2-3 weeks for best texture and flavor.
Tip: If your pickles taste too salty or sour after 24 hours, you can rinse them lightly before eating or adjust the brine next time by reducing salt slightly. Also, make sure cucumbers are fully submerged to avoid any soft spots.
Cooking Tips & Techniques
Honestly, the secret to good refrigerator dill pickles is patience paired with proper preparation. Letting the cucumbers sit in the brine for a full 24 hours is crucial. Less time means weaker flavor, more means stronger but potentially softer pickles.
One mistake I made early on was not trimming the blossom ends of the cucumbers. That part contains enzymes that can make pickles mushy quickly. So, slicing that off is a simple step that really helps the crispness last.
Another tip is using kosher salt instead of table salt. Table salt often has additives that can cloud the brine and affect flavor. Kosher salt dissolves cleanly and tastes cleaner.
Also, smashing garlic rather than mincing releases enough flavor without overpowering the pickles. If you want a stronger garlic taste, add an extra clove or two, but be cautious — it can get intense fast.
When you pack the jars, try not to crush the cucumbers. Packing them tightly keeps them submerged and ensures even brining, but crushing can create soft spots faster.
For multitasking, I like to prepare these quick pickles while making a simple meal like fresh southwest chipotle salad. The pickles add that extra zing on the side.
Variations & Adaptations
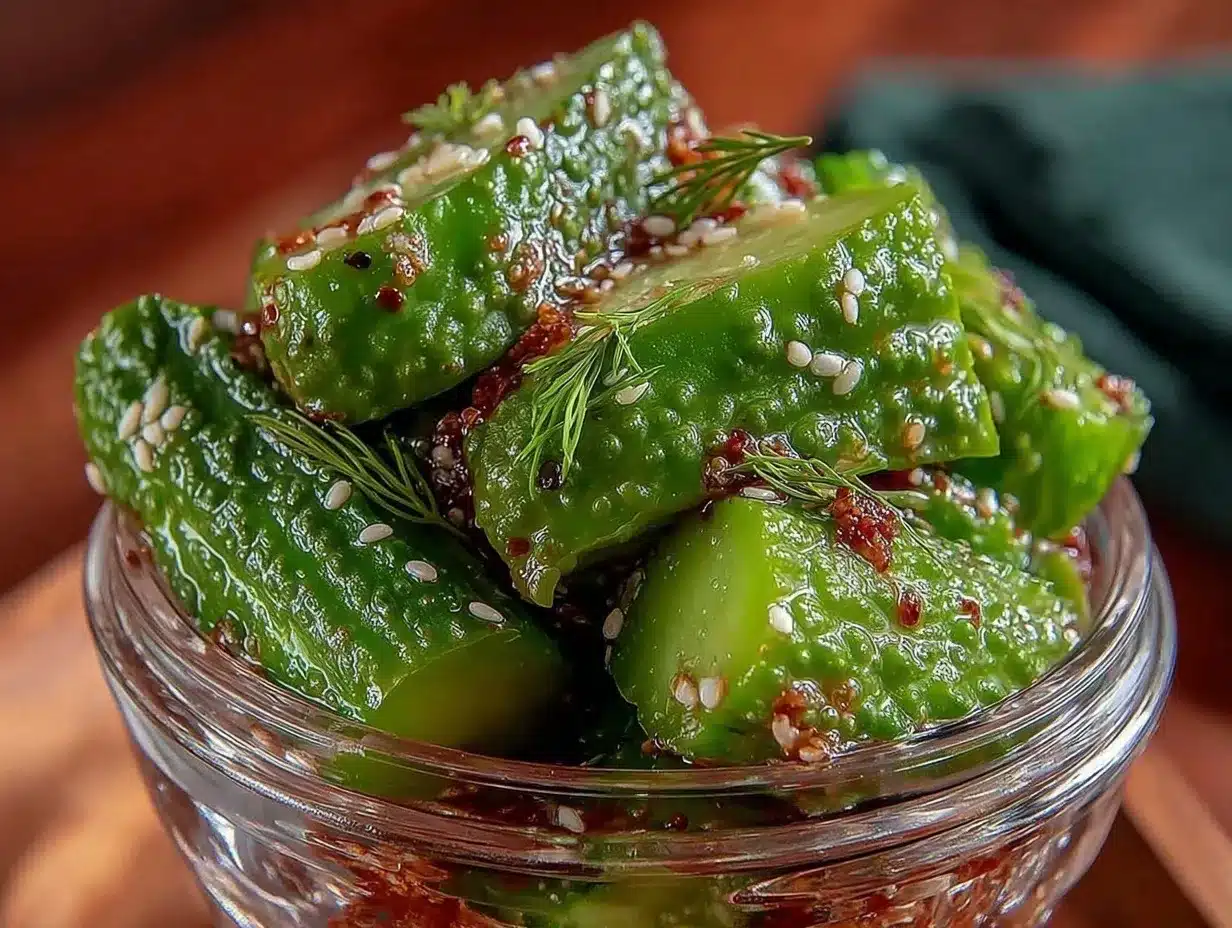
- Spicy Pickles: Add extra red pepper flakes or a sliced jalapeño pepper to the jar for a fiery kick.
- Garlic & Herb: Add fresh thyme or rosemary sprigs along with dill for a herbaceous twist.
- Sweet & Tangy: Increase sugar to 2 tablespoons and add a cinnamon stick for a mildly sweet pickle variation.
- Low Sodium: Reduce kosher salt by half and extend marinating time to 48 hours to balance flavor without over-salting.
- Vinegar Swap: Use apple cider vinegar instead of white vinegar for a fruitier, milder tang.
Personally, I’ve tried mixing in some fresh mustard seeds for a subtle crunch and flavor burst. It gave the pickles a nice little texture surprise that family loved.
Serving & Storage Suggestions
Serve these quick refrigerator dill pickles chilled straight from the fridge. They make an excellent crunchy side for sandwiches, burgers, or alongside crispy pepperoni pizza rolls for a perfect snack combo.
For storage, keep the pickles fully submerged in brine inside airtight glass jars in the refrigerator. They’ll keep well for up to 3 weeks. The flavors deepen over time, but I find the texture best during the first 10 to 14 days.
To reheat or warm pickles (if you prefer), briefly soak them in warm water, but honestly, they’re best cold and crunchy.
Nutritional Information & Benefits
These quick refrigerator dill pickles are low in calories (about 10-15 calories per spear) and naturally fat-free. The vinegar provides digestive benefits and can help balance blood sugar. Dill is rich in antioxidants and adds flavor without adding sodium or sugar.
If you’re watching sodium, keep an eye on salt amounts in the brine. This recipe uses kosher salt, which can be adjusted to taste. These pickles are also naturally gluten-free and keto-friendly.
I appreciate having a snack that feels indulgent but fits well into a balanced diet, especially when paired with wholesome dishes like a creamy chicken Caesar pasta salad.
Conclusion
This quick refrigerator dill pickles recipe is a straightforward game-changer for anyone who’s wanted real homemade pickles without the usual waiting game. It’s flexible, reliable, and yields crunchy, flavorful pickles in just 24 hours.
Feel free to play around with the spice blend or vinegar type to make it your own. For me, it’s become a go-to for easy snacks and a little homemade charm in everyday meals. I hope this recipe offers you that same quiet satisfaction when you open your fridge and find a jar of these pickles ready to brighten your day.
If you try it out, I’d love to hear how you customize your pickles or what dishes you pair them with. Sharing those little tweaks and stories is what makes cooking fun and personal.
Frequently Asked Questions
How long do quick refrigerator dill pickles last?
They last about 2 to 3 weeks in the refrigerator when stored properly in airtight jars with the cucumbers fully submerged in brine.
Can I use regular cucumbers instead of pickling cucumbers?
You can, but pickling cucumbers like Kirby cucumbers are firmer and hold up better for crispness. Regular slicing cucumbers may become softer faster.
Do I have to cook the brine?
Nope! You can mix the brine cold and stir until salt dissolves. Warming the brine helps dissolve salt and sugar faster but isn’t required.
Can I make these pickles spicy?
Absolutely! Add red pepper flakes or sliced jalapeños to the jar to give your pickles a nice heat boost.
Why should I trim the cucumber ends?
The blossom end contains enzymes that can make pickles soft quickly. Trimming it off helps keep the pickles crunchy longer.
Pin This Recipe!
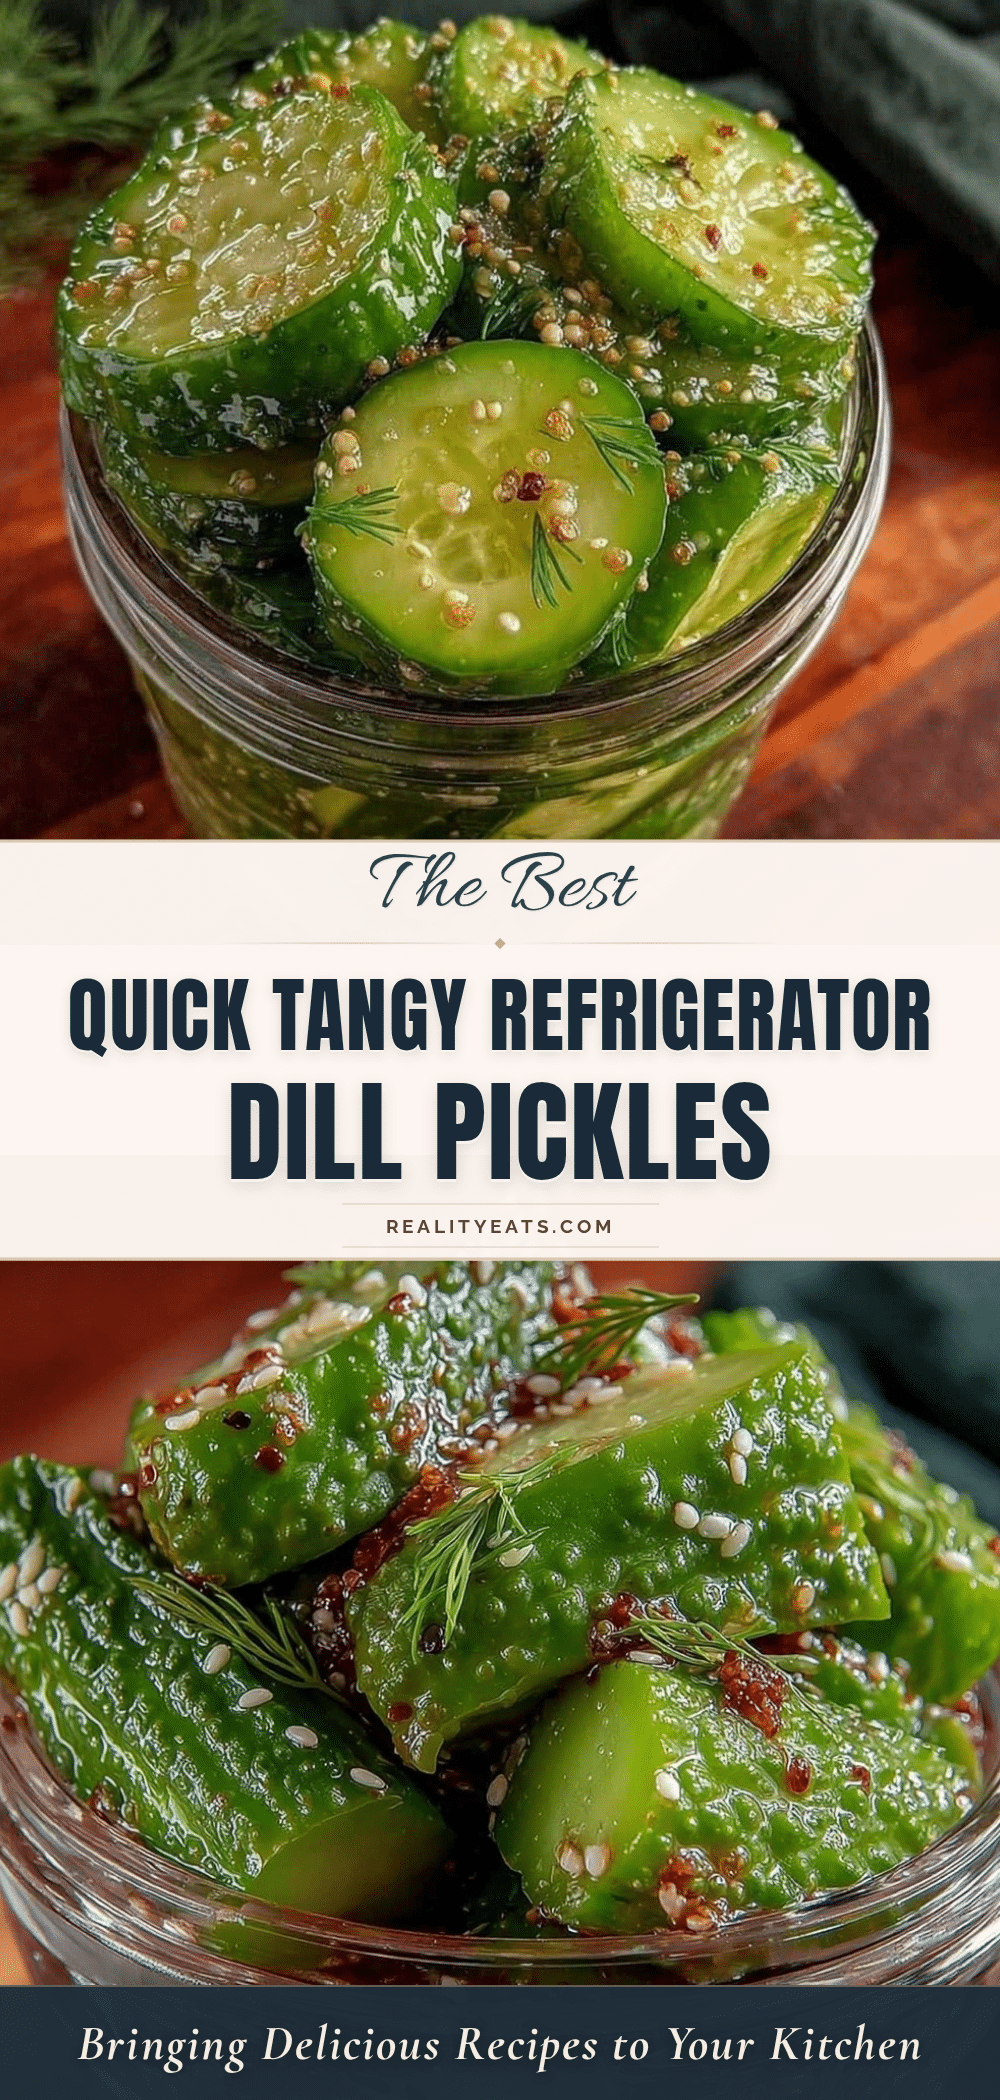
Quick Refrigerator Dill Pickles Recipe 24 Hours Easy Homemade Snack

A fast and easy homemade dill pickle recipe that delivers crisp, tangy pickles ready in just 24 hours. Perfect for snacking or adding to sandwiches without the long wait of traditional pickling.
- Prep Time: 15 minutes
- Cook Time: 0 minutes
- Total Time: 24 hours 15 minutes
- Yield: 4 to 5 servings 1x
- Category: Snack
- Cuisine: American
Ingredients
- 4 to 5 small-medium Kirby cucumbers or pickling cucumbers, sliced into spears or rounds
- 1 cup (240 ml) white distilled vinegar
- 1 cup (240 ml) water
- 1 tablespoon kosher salt
- 1 teaspoon granulated sugar
- 4 to 5 fresh dill sprigs
- 2 garlic cloves, smashed
- 1 teaspoon black peppercorns
- ¼ teaspoon red pepper flakes (optional)
Instructions
- Wash and slice cucumbers: Rinse 4 to 5 pickling cucumbers thoroughly. Cut off the ends (the blossom end can cause softening), then slice into spears or rounds depending on your preference. (10 minutes)
- Prepare the brine: In a bowl, combine 1 cup white vinegar, 1 cup water, 1 tablespoon kosher salt, and 1 teaspoon sugar. Stir until salt and sugar dissolve. Optionally, warm the mixture gently on the stove for 1-2 minutes to speed dissolving, then cool before using. (5 minutes)
- Pack the jars: Place fresh dill sprigs, 2 smashed garlic cloves, 1 teaspoon black peppercorns, and optional ¼ teaspoon red pepper flakes into each clean jar. Then pack the cucumber slices tightly but without crushing. (5 minutes)
- Pour the brine: Pour the cooled brine over the cucumbers in the jar, making sure they’re fully submerged. Leave about ½ inch of headspace at the top. Seal the jars tightly. (2 minutes)
- Refrigerate: Place the sealed jars in the fridge for at least 24 hours. The flavors meld during this time, and the cucumbers soften slightly but remain crisp. After 24 hours, taste and decide if you want to leave them longer for stronger flavor. (24 hours minimum)
- Enjoy: Once ready, these quick refrigerator dill pickles are perfect for snacking, topping burgers, or pairing with your favorite dips. Keep refrigerated and consume within 2-3 weeks for best texture and flavor.
Notes
Trim the blossom ends of cucumbers to prevent mushiness. Use kosher salt for a clean brine. Smash garlic cloves instead of mincing for balanced flavor. Pack cucumbers tightly but avoid crushing to maintain crispness. If pickles taste too salty or sour after 24 hours, rinse lightly before eating or adjust salt next time. Keep cucumbers fully submerged in brine to avoid soft spots.
Nutrition
- Serving Size: About 1 spear or 1/4
- Calories: 1015
- Sugar: 1
- Sodium: 400
- Carbohydrates: 2
- Fiber: 0.5
Keywords: quick pickles, refrigerator pickles, dill pickles, easy pickles, homemade pickles, snack, crunchy pickles