The moment I cracked open the oven and caught a whiff of warm cocoa mingled with a whisper of red velvet’s signature tang, I knew this recipe was a keeper. Honestly, red velvet molten lava cakes for two are the kind of dessert that feels both intimate and indulgent—perfect for when you want to treat yourself and someone special without fussing over a giant batch. I stumbled upon this recipe during a chilly winter evening when craving something rich yet quick to make. After tweaking it more times than I can count, this little dessert has become my go-to for cozy nights in.
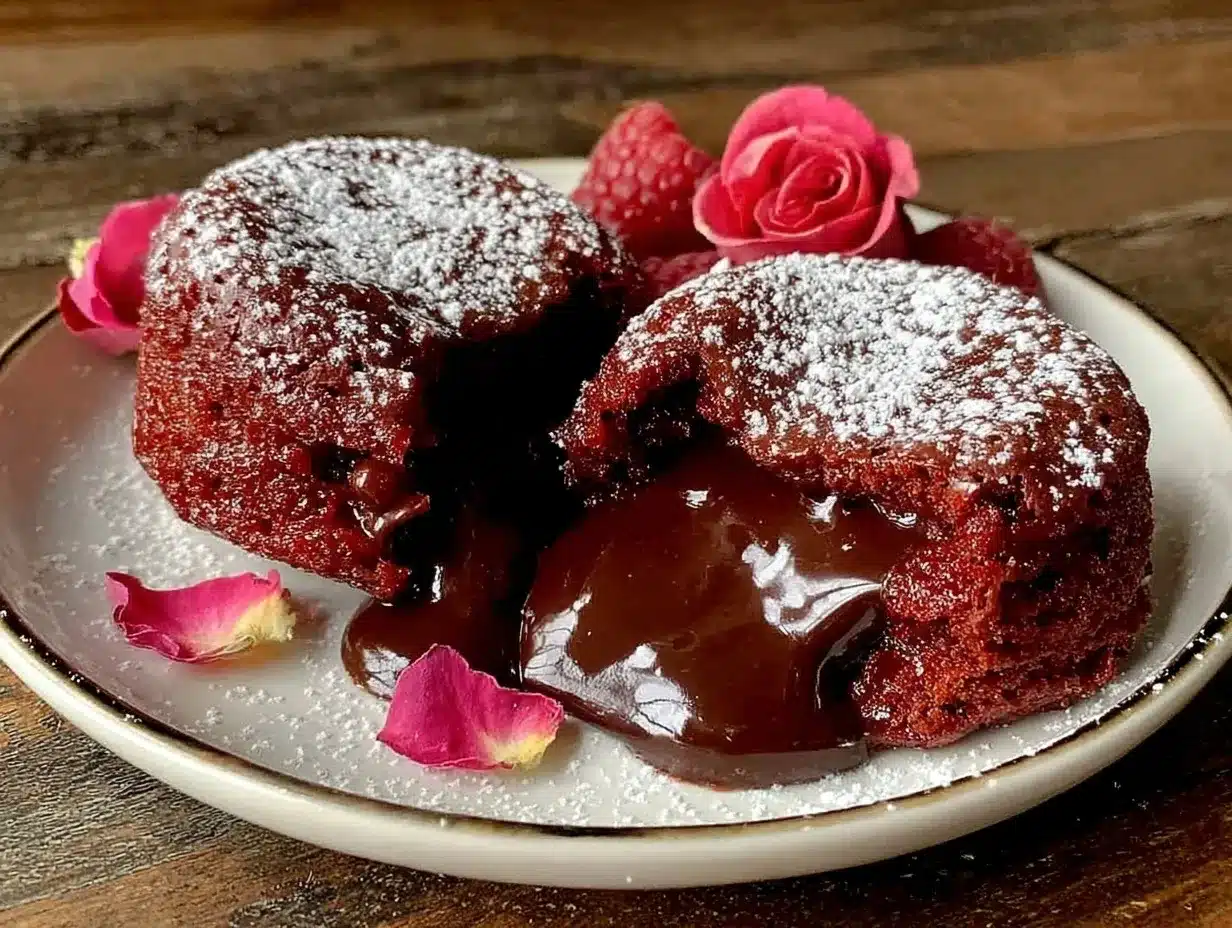
What makes this red velvet molten lava cake so special is the way it marries that classic red velvet flavor with the gooey, molten center that oozes out like warm velvet silk. It’s the kind of dessert that invites you to pause, savor, and maybe even share a spoonful (or not). Whether you’re celebrating a date night, a small victory, or just your own sweet tooth, this recipe brings that restaurant-worthy magic right to your kitchen.
Having tested this recipe repeatedly, I’ve learned a few quirks and tricks to get that perfect molten core without the stress. Plus, it uses simple ingredients you probably already have, so no last-minute grocery runs. Trust me, once you try this red velvet molten lava cake for two, you’ll wonder how you ever lived without it.
Why You’ll Love This Recipe
- Quick & Easy: Ready in under 30 minutes, it’s perfect for last-minute dessert cravings or a sweet finish to a casual dinner.
- Simple Ingredients: No complicated shopping lists—just pantry essentials like cocoa powder, flour, sugar, and that lovely splash of red food coloring.
- Perfect for Intimate Occasions: Designed for two, it’s ideal for date nights, anniversaries, or any moment when sharing something special feels right.
- Crowd-Pleaser: This dessert consistently earns rave reviews from friends and family—and yes, even picky eaters.
- Unbelievably Delicious: The balance of moist red velvet cake with a molten chocolate core makes every bite a luscious treat.
This isn’t just another lava cake. The magic here lies in the velvety texture and the subtle tang that red velvet brings, balanced with just the right amount of sweetness. I’ve played around with different cocoa brands and found that a good-quality Dutch-processed cocoa powder really brings out the depth of flavor. Plus, blending the batter till silky smooth helps the lava center melt just right.
Honestly, this recipe hits that sweet spot where comfort food meets a little luxury. It’s like a hug in dessert form, but without hours spent in the kitchen. If you want a dessert that impresses without the stress, this red velvet molten lava cake for two is your ticket.
What Ingredients You Will Need
This recipe uses simple, wholesome ingredients to deliver bold flavor and that signature molten center without any fuss. Most are pantry staples, and the only “specialty” item is red food coloring, which you can find easily or skip if you prefer a more chocolatey look.
- Unsalted butter – 4 tablespoons (57 grams), melted and cooled (adds richness and moisture)
- Semi-sweet chocolate chips – 3 ounces (85 grams) (choose good quality like Ghirardelli for best melt)
- All-purpose flour – 1/4 cup (32 grams), sifted (for light structure)
- Cocoa powder – 2 tablespoons (15 grams), unsweetened, Dutch-processed preferred (boosts that deep chocolate flavor)
- Granulated sugar – 1/3 cup (67 grams) (balances bitterness of cocoa)
- Large egg – 1, room temperature (helps with the lava’s structure)
- Egg yolk – 1, room temperature (adds richness)
- Vanilla extract – 1/2 teaspoon (adds warmth and depth)
- Red food coloring – 1 1/2 teaspoons (gel or liquid, depending on preference; optional if you want classic red velvet color)
- Salt – a pinch (balances sweetness)
If you want to switch things up, you can swap all-purpose flour for a gluten-free blend for a gluten-free version. For dairy-free, replace butter with coconut oil and choose dairy-free chocolate chips. I’ve done both with great results! Just remember that coconut oil can slightly change the texture, making it a bit more delicate.
Equipment Needed
- Ramekins or small oven-safe bowls: Two 6-ounce (180 ml) ramekins work perfectly. If you don’t have ramekins, small ceramic bowls or even metal muffin tins can do the trick.
- Mixing bowls: One medium for dry ingredients and one for wet ingredients.
- Whisk and spatula: For mixing and folding the batter smoothly.
- Microwave or double boiler: To melt the butter and chocolate gently without burning.
- Oven: Preheated to 425°F (220°C) for that perfect bake.
I’ve tried making these in silicone muffin cups once, but the texture came out less crisp on the edges. So I recommend sticking with ceramic ramekins if possible—they retain heat better for that crisp crust and molten center. Also, greasing the ramekins thoroughly is key to avoid sticking. I like to use a little butter and dust some cocoa powder in there for easy release.
Detailed Preparation Method
- Preheat your oven to 425°F (220°C). Grease two 6-ounce ramekins generously with butter, then dust with cocoa powder. This prevents sticking and adds a subtle chocolate crust.
- Melt the butter and chocolate: In a microwave-safe bowl, combine 4 tablespoons (57 g) of unsalted butter and 3 ounces (85 g) of semi-sweet chocolate chips. Microwave in 20-second bursts, stirring each time until smooth and glossy. Alternatively, use a double boiler for gentle melting. Let cool slightly.
- Mix dry ingredients: In a medium bowl, sift together 1/4 cup (32 g) all-purpose flour, 2 tablespoons (15 g) cocoa powder, a pinch of salt, and 1/3 cup (67 g) granulated sugar. Stir to combine evenly.
- Whisk wet ingredients: In another bowl, beat 1 large egg and 1 egg yolk until combined. Add 1/2 teaspoon vanilla extract and 1 1/2 teaspoons red food coloring. Whisk gently until the color is uniform.
- Combine wet and dry: Pour the melted chocolate mixture into the wet ingredients and whisk until smooth. Gradually fold in the dry ingredients using a spatula until fully incorporated, but don’t overmix—just until the batter is silky and even.
- Divide the batter: Spoon the batter evenly into the prepared ramekins, filling each about 3/4 full.
- Bake: Place ramekins on a baking sheet and bake for 12-14 minutes. The edges should be set and firm, but the center will still look slightly jiggly. That’s your molten lava magic! Avoid overbaking or the center will firm up too much.
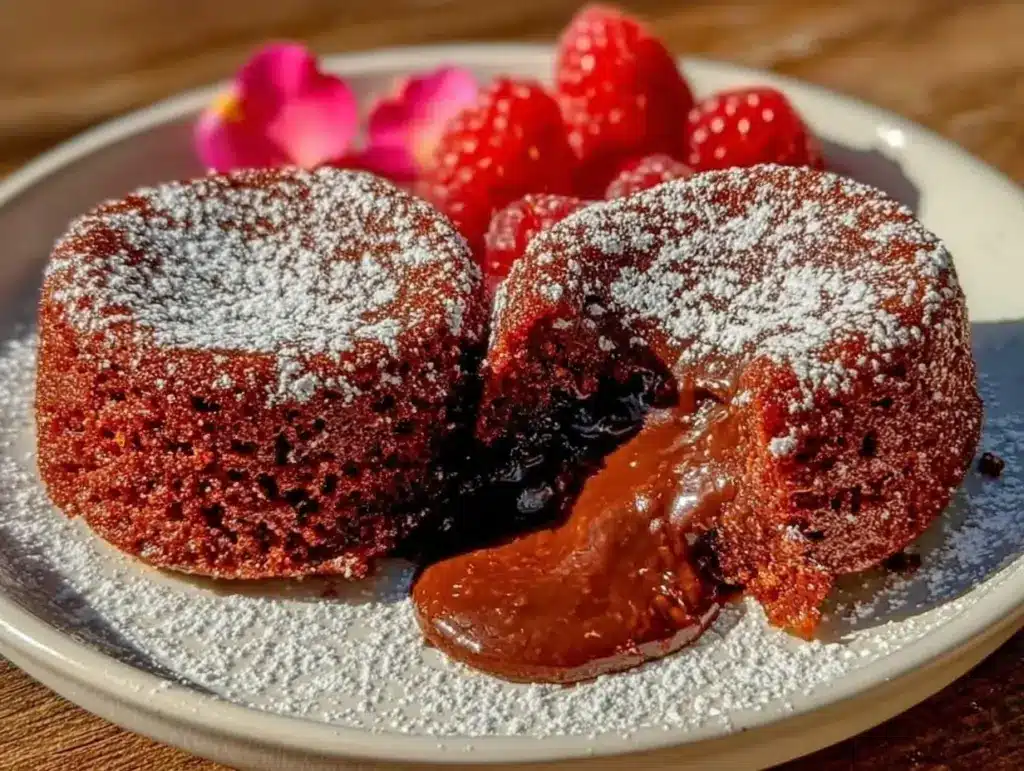
- Rest and serve: Let the cakes cool for 1-2 minutes before gently running a knife around the edges. Carefully invert onto dessert plates. Serve immediately with a dusting of powdered sugar, a dollop of whipped cream, or fresh berries if you like.
If you notice the center isn’t molten enough, try reducing the baking time by a minute or two next time. Also, batter temperature matters—if the melted chocolate is too hot when mixed, it can cook the eggs prematurely. Let it cool slightly before combining.
Cooking Tips & Techniques
Making molten lava cakes can feel tricky, but a few tricks make all the difference. First, always use room temperature eggs—they blend better and help with the lava texture. Also, don’t skip sifting the dry ingredients; it keeps the batter light and prevents lumps.
One mistake I made early on was overbaking. It’s tempting to wait for the cake to look fully set, but the secret to that luscious molten center is pulling them out when the middle still jiggles slightly. Your oven’s heat can vary, so keep an eye after 11 minutes.
For even baking, place the ramekins on a baking sheet in the middle rack and avoid opening the oven door repeatedly. If you want a crispier edge, you can briefly broil the top for 30 seconds after baking—just watch carefully so it doesn’t burn.
Multitasking tip: While the cakes bake, whip up some cream or get your toppings ready. Timing is everything here because these treats are best enjoyed warm.
Variations & Adaptations
- Vegan Version: Replace butter with coconut oil, use flax eggs (1 tablespoon flaxseed meal + 3 tablespoons water per egg), and opt for dairy-free chocolate chips.
- Seasonal Twist: Add a teaspoon of instant espresso powder to the batter for a mocha red velvet flavor perfect for chilly evenings.
- Flavor Boost: Mix in a tablespoon of cream cheese into the center before baking for a molten cheesecake surprise. I tried this once and it was heavenly!
- Spicy Kick: Add a pinch of cayenne pepper or cinnamon to the batter for a subtle warmth that pairs beautifully with red velvet.
- Cooking Method: You can also try baking these in a water bath for extra moistness, though I prefer the direct heat for that crisp crust.
Feel free to experiment with toppings too—powdered sugar, fresh raspberries, or a scoop of vanilla ice cream take this dessert to the next level.
Serving & Storage Suggestions
Serve these red velvet molten lava cakes warm, straight out of the oven, for the best molten effect. Presentation-wise, a dusting of powdered sugar or a dollop of lightly whipped cream adds a lovely contrast. Fresh strawberries or raspberries also complement the rich chocolatey flavor perfectly.
If you have leftovers (though rare!), cover the ramekins tightly with plastic wrap and refrigerate for up to 2 days. To reheat, pop them in a 350°F (175°C) oven for 8-10 minutes until warmed through. Microwaving works too, but you might lose that crisp edge.
Interestingly, the flavors deepen a bit after resting, so reheated cakes are still quite delightful, though the molten center won’t be quite as liquid.
Nutritional Information & Benefits
Each red velvet molten lava cake for two clocks in at roughly 350-400 calories per serving, with moderate fat and sugar content. The eggs and butter provide protein and essential fats, while cocoa powder adds antioxidants and a rich flavor profile.
For those watching carbs, you can swap flour for almond flour to lower the carb count slightly. Be mindful of allergens like eggs, dairy, and gluten depending on your ingredient swaps.
From a wellness perspective, I appreciate this dessert as a treat that feels indulgent but doesn’t require hours of prep or complicated ingredients. It’s a nice balance between satisfaction and simplicity.
Conclusion
So, why make these red velvet molten lava cakes for two? Because they’re effortless, impressive, and downright delicious. Whether you’re celebrating a special occasion or just indulging your sweet tooth, this recipe delivers a rich, gooey dessert experience without the fuss. I love how it brings warmth and sweetness to any evening—plus, it’s just the right size for sharing (or not!).
Feel free to tweak the flavors, add your favorite toppings, or try one of the variations. I’d love to hear how you make it your own, so drop a comment below or share your adaptations! Remember, dessert is about joy, not perfection.
Give it a shot—you might just find your new favorite dessert ritual.
Frequently Asked Questions (FAQs)
How do I know when the lava cakes are done?
Look for firm edges and a slightly jiggly center. The tops should be set but not dry. Pull them out at 12-14 minutes depending on your oven.
Can I prepare the batter ahead of time?
It’s best fresh for that molten effect, but you can prepare the batter and refrigerate for up to 24 hours. Bring to room temperature before baking.
What if I don’t have red food coloring?
You can skip it entirely or use beet juice for a natural dye, though the color will be less vibrant. The flavor remains delicious regardless.
Can I make this recipe dairy-free?
Yes! Use coconut oil instead of butter and dairy-free chocolate chips. It may slightly change texture but still tastes great.
How do I prevent the cakes from sticking to the ramekins?
Grease them well with butter and dust with cocoa powder before pouring in the batter. This combo helps with easy release after baking.
Pin This Recipe!
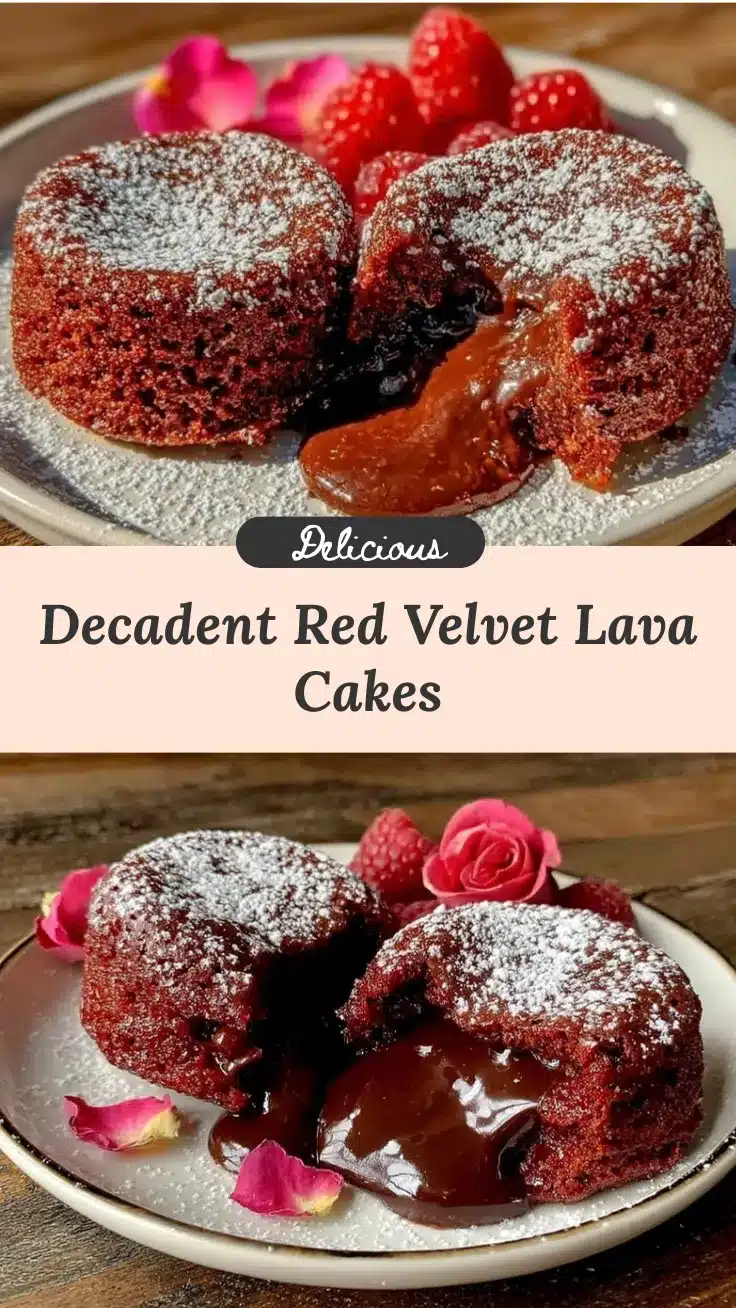
Red Velvet Molten Lava Cakes for Two

A quick and easy dessert recipe that combines classic red velvet flavor with a gooey molten chocolate center, perfect for intimate occasions and ready in under 30 minutes.
- Prep Time: 10 minutes
- Cook Time: 14 minutes
- Total Time: 24 minutes
- Yield: 2 servings 1x
- Category: Dessert
- Cuisine: American
Ingredients
- 4 tablespoons (57 grams) unsalted butter, melted and cooled
- 3 ounces (85 grams) semi-sweet chocolate chips
- 1/4 cup (32 grams) all-purpose flour, sifted
- 2 tablespoons (15 grams) unsweetened Dutch-processed cocoa powder
- 1/3 cup (67 grams) granulated sugar
- 1 large egg, room temperature
- 1 egg yolk, room temperature
- 1/2 teaspoon vanilla extract
- 1 1/2 teaspoons red food coloring (gel or liquid, optional)
- Pinch of salt
Instructions
- Preheat your oven to 425°F (220°C). Grease two 6-ounce ramekins generously with butter, then dust with cocoa powder.
- Melt the butter and chocolate together in a microwave-safe bowl in 20-second bursts, stirring until smooth and glossy. Let cool slightly.
- In a medium bowl, sift together the flour, cocoa powder, salt, and sugar. Stir to combine evenly.
- In another bowl, beat the egg and egg yolk until combined. Add vanilla extract and red food coloring, whisking gently until uniform in color.
- Pour the melted chocolate mixture into the wet ingredients and whisk until smooth. Gradually fold in the dry ingredients with a spatula until just incorporated.
- Divide the batter evenly into the prepared ramekins, filling each about 3/4 full.
- Place ramekins on a baking sheet and bake for 12-14 minutes until edges are set but centers are still slightly jiggly.
- Let the cakes cool for 1-2 minutes, then run a knife around the edges and invert onto dessert plates. Serve immediately with optional toppings.
Notes
Use room temperature eggs for better lava texture. Do not overbake to maintain molten center. Grease ramekins well and dust with cocoa powder to prevent sticking. Let melted chocolate cool slightly before mixing to avoid cooking eggs prematurely. For dairy-free, substitute butter with coconut oil and use dairy-free chocolate chips. For gluten-free, substitute flour with gluten-free blend.
Nutrition
- Serving Size: 1 molten lava cake (
- Calories: 375
- Sugar: 28
- Sodium: 110
- Fat: 24
- Saturated Fat: 14
- Carbohydrates: 38
- Fiber: 3
- Protein: 6
Keywords: red velvet, molten lava cake, dessert for two, quick dessert, chocolate dessert, easy dessert, intimate dessert