The smell of rich cocoa mingling with a hint of cream cheese is honestly one of those little pleasures that never gets old. I first made this irresistible red velvet truffles recipe when I wanted to impress a friend with a sweet treat that felt fancy but didn’t require hours in the kitchen. You know that feeling when a dessert looks like it belongs in a bakery window but tastes like homemade love? That’s exactly what these truffles deliver.
Red velvet has always been a favorite around here—moist, slightly tangy, with that iconic deep red color that just pops. Turning it into bite-sized truffles was a game changer. After testing this red velvet truffles recipe more than a dozen times (yes, I’m a bit of a perfectionist), I can say it hits all the right notes: creamy, decadent, and perfectly balanced. Plus, it’s a crowd-pleaser for holidays, parties, or just because you deserve a little treat.
Whether you’re a seasoned baker or just starting out, this red velvet truffles recipe is super approachable. It’s one of those recipes that makes you look like you spent hours fussing, but really, it’s just about mixing, chilling, and rolling. And hey, if you’re anything like me, you’ll love sneaking a few before anyone else gets a chance!
Why You’ll Love This Recipe
- Quick & Easy: Comes together in under 30 minutes, perfect for last-minute sweet cravings or unexpected guests.
- Simple Ingredients: No fancy or hard-to-find items—mostly pantry staples and a little cream cheese magic.
- Perfect for Gifting: These truffles make adorable homemade gifts for birthdays, Valentine’s Day, or just to say thanks.
- Crowd-Pleaser: Kids, adults, picky eaters—they all rave about the creamy texture and rich flavor.
- Unbelievably Delicious: The combination of red velvet cake crumbs and cream cheese frosting is pure comfort in every bite.
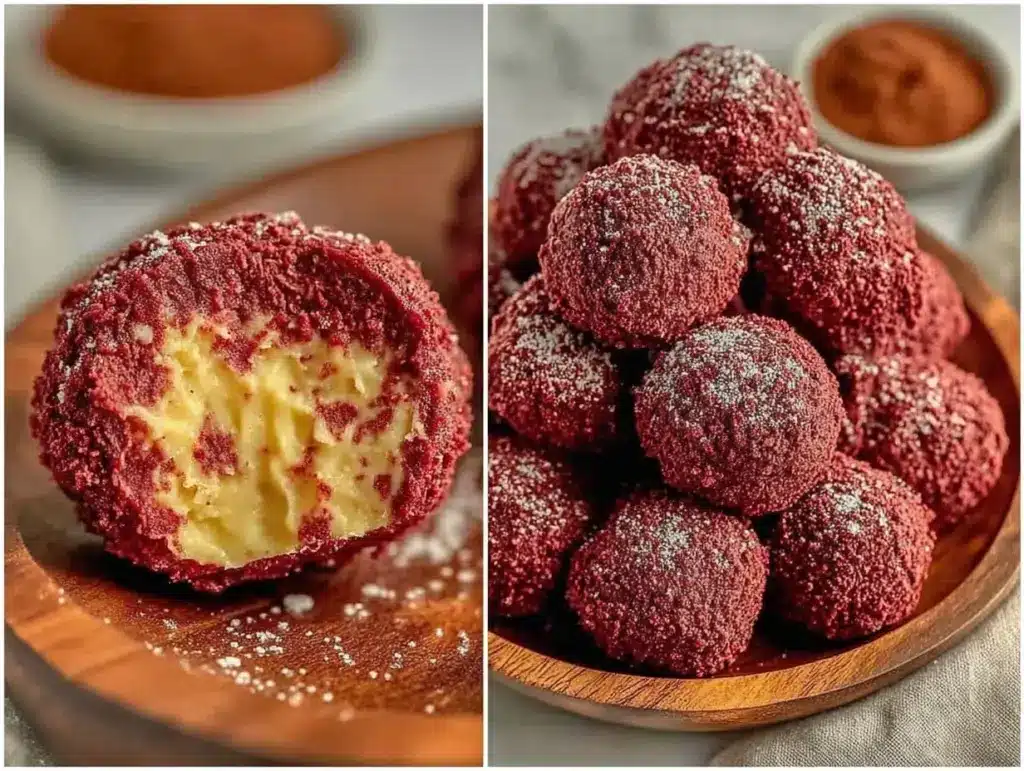
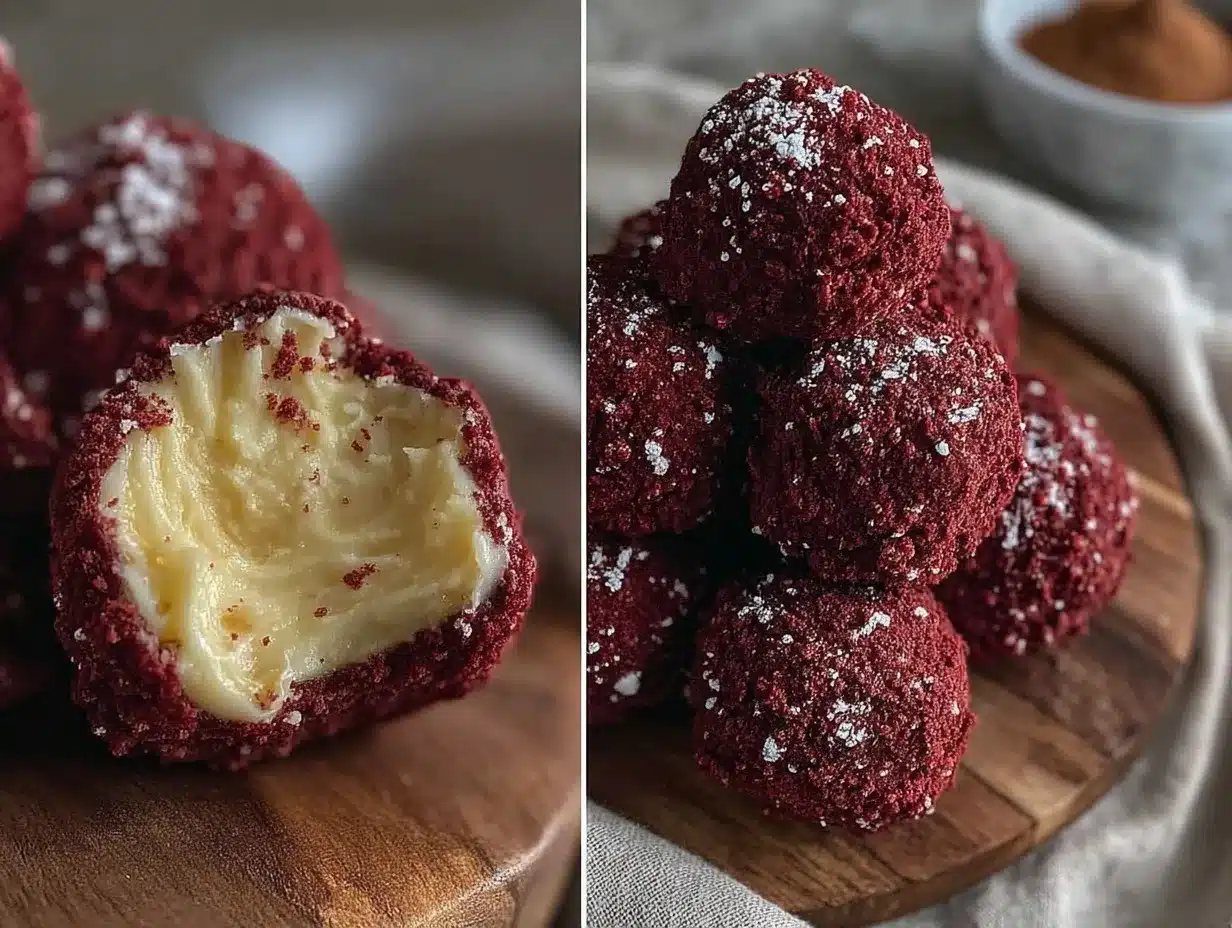
What sets this red velvet truffles recipe apart? It’s that silky, dreamy texture you get when you blend the cake crumbs just right with the cream cheese frosting. No dry, crumbly bites here. The secret is in the balance—using just enough frosting so the truffles hold together beautifully but still feel light and indulgent.
Honestly, after making these a few times, I found it’s the kind of treat that makes you close your eyes and savor every morsel. It’s not just a dessert; it’s a little moment of joy you can whip up anytime. Perfect for impressing guests without breaking a sweat or turning a simple afternoon into a celebration.
What Ingredients You Will Need
This recipe uses simple, wholesome ingredients to deliver bold flavor and that signature red velvet richness without any fuss. Most are pantry staples, and you might even have them on hand already.
- Red velvet cake mix: 1 box (about 15.25 oz/432 g) – I prefer brands like Duncan Hines for consistent flavor and texture.
- Cream cheese: 8 oz (227 g), softened – full-fat is best for that creamy consistency.
- Unsalted butter: 1/4 cup (57 g), softened – adds richness and helps bind the truffles.
- Powdered sugar: 1 cup (120 g) – to sweeten and smooth out the mixture.
- Vanilla extract: 1 teaspoon – a little boost of warmth and depth.
- White chocolate or red candy melts: 12 oz (340 g), for coating – white chocolate gives a lovely contrast, and red melts keep the color theme going.
- Optional toppings: crushed freeze-dried strawberries, red sprinkles, or cocoa powder – for a finishing touch.
If you want a gluten-free option, try substituting the cake mix with a gluten-free red velvet mix. For dairy-free, you can swap cream cheese and butter with plant-based alternatives, though the texture will be a bit different.
Equipment Needed
- Mixing bowls: At least two – one for blending the cake crumbs and frosting, another for melting chocolate.
- Electric mixer or hand mixer: To cream the butter and cream cheese smoothly.
- Baking sheet: To place the rolled truffles on before chilling.
- Parchment paper or silicone baking mat: Prevents sticking and makes cleanup easier.
- Microwave-safe bowl or double boiler: For melting the chocolate coating gently without burning.
- Small cookie scoop or tablespoon: For evenly portioning the truffle mixture.
- Cooling rack (optional): Helps chocolate set evenly if you want to be fancy.
If you don’t have an electric mixer, no worries—you can mix by hand, but it’ll take a bit more elbow grease. For melting chocolate, a double boiler is gentler and reduces the chance of scorching, but a microwave works just fine if you use short bursts and stir often.
Detailed Preparation Method
- Prepare the cake crumbs: Bake the red velvet cake according to package instructions in a 9×13-inch (23×33 cm) pan. Let it cool completely—this usually takes about 30-45 minutes. Once cooled, crumble the cake finely using your hands or a fork until you get about 3 1/2 cups (about 350 g) of crumbs.
- Make the frosting mixture: In a large bowl, beat the softened cream cheese (8 oz / 227 g) and unsalted butter (1/4 cup / 57 g) using an electric mixer until smooth and fluffy, about 2-3 minutes. Add vanilla extract (1 tsp) and powdered sugar (1 cup / 120 g) gradually, beating well after each addition. The frosting should be creamy and slightly thick.
- Combine cake crumbs and frosting: Gently fold the cake crumbs into the cream cheese frosting. Use a spatula or your hands (clean ones!) to mix until fully incorporated. The mixture should hold together when pressed but not be overly sticky. If it feels too wet, add a bit more powdered sugar; if too dry, a tiny dab of softened butter helps.
- Shape the truffles: Scoop tablespoon-sized amounts of the mixture and roll into balls between your palms. Place each truffle on a baking sheet lined with parchment paper. Once all are rolled, pop the tray into the refrigerator for at least 1 hour to firm up—this step is key for easy dipping.
- Coat with chocolate: Melt the white chocolate or red candy melts in a microwave-safe bowl in 20-second intervals, stirring in between, until smooth. Using a fork or dipping tool, dip each chilled truffle into the melted chocolate, letting excess drip off. Return to parchment and add any toppings right away. Chill again for 30 minutes until set.
Pro tip: If your chocolate thickens while dipping, warm it briefly again. Also, don’t skip chilling the truffles before coating—it prevents cracking and messy drips.
Cooking Tips & Techniques
The trick to perfect red velvet truffles lies in texture and temperature. Too much frosting makes them mushy; too little, crumbly. I learned this the hard way after a few batches that fell apart mid-roll!
When rolling, keep your hands cool and lightly dusted with powdered sugar if the mixture sticks. This makes shaping easier and less messy.
Melting chocolate slowly is crucial. Overheating causes it to seize, turning grainy and unusable. Stir frequently and use short microwave bursts or a gentle double boiler.
Chilling is your friend. After forming balls and after coating, chilling helps the truffles firm up and hold shape. I usually chill mine overnight if I can wait—it actually helps flavors meld together beautifully.
Want a smoother coating finish? Use a cooling rack to let excess chocolate drip off before transferring the truffles to parchment paper. This keeps them looking neat and professional.
Variations & Adaptations
- Chocolate Lovers: Mix in mini chocolate chips or swirl melted dark chocolate into the mixture before chilling.
- Nutty Twist: Add finely chopped pecans or walnuts to the truffle mixture for extra crunch and flavor.
- Seasonal Flavors: Swap vanilla for peppermint extract during the holidays or orange zest for a citrusy punch.
- Vegan Version: Use dairy-free cream cheese and butter substitutes, and pick vegan-friendly cake mix and chocolate melts.
- Gluten-Free: Use a gluten-free red velvet cake mix to keep things safe for sensitive tummies.
Once, I added a pinch of espresso powder to the mix, and it gave the red velvet a subtle mocha depth that blew me away. It’s fun to experiment as long as you keep the texture balanced.
Serving & Storage Suggestions
Serve these red velvet truffles chilled or at room temperature. They’re perfect on a dessert platter with a cup of coffee or tea. For a party, arrange them on a pretty plate with festive sprinkles or edible glitter for that wow factor.
Store leftovers in an airtight container in the refrigerator for up to one week. For longer storage, freeze the truffles in a single layer on a baking sheet, then transfer to a freezer bag for up to three months. Thaw in the fridge overnight before serving.
Reheating isn’t necessary, but if you want softer bites, let them sit at room temperature for 15 minutes. Flavors tend to develop and deepen after a day or two in the fridge, so if you can wait, trust me—it’s worth it.
Nutritional Information & Benefits
Each red velvet truffle delivers roughly 120-150 calories depending on size and coating choice. They contain moderate fat and sugars but bring in calcium and protein from the cream cheese, making them a bit more substantial than your average candy bite.
Using cake mix does add some refined flour and sugar, so these are definitely a treat to enjoy in moderation. For a slightly healthier option, try using a reduced-sugar cake mix or homemade red velvet crumbs with natural sweeteners.
This recipe is naturally nut-free (unless you add nuts), and can be made gluten-free or vegan with simple swaps. It’s a fun way to enjoy a rich dessert that feels indulgent but is still manageable portion-wise.
Conclusion
So, why try this red velvet truffles recipe? Because it’s simple, scrumptious, and downright addictive. You get all the flavor and charm of red velvet cake packed into bite-sized, creamy little treats that are perfect for any occasion.
Don’t be shy about customizing—whether you add a sprinkle of sea salt, a dash of spice, or a swirl of chocolate, these truffles are flexible and forgiving. I love how fast they come together and how impressive they look on a dessert table.
Give this recipe a go and let me know how you personalize your truffles! Drop a comment below with your favorite tweaks or questions, and if you share on social, tag me so I can see your delicious creations. Happy rolling and indulging!
FAQs
Can I use homemade red velvet cake instead of box mix?
Absolutely! Homemade cake works great as long as it’s fully cooled and crumbled finely for the best texture.
How long do red velvet truffles last?
Stored in an airtight container in the fridge, they stay fresh for about one week. You can freeze them for longer storage.
Can I freeze these truffles?
Yes! Freeze them on a baking sheet first, then transfer to a freezer-safe container. Thaw in the fridge overnight before eating.
What if the truffle mixture is too sticky to roll?
Chill it longer or dust your hands with powdered sugar to make rolling easier. Adding a bit more powdered sugar can help too.
Can I dip the truffles in dark or milk chocolate instead?
For sure! Dark or milk chocolate works fine, just melt gently and follow the same dipping process.
Pin This Recipe!
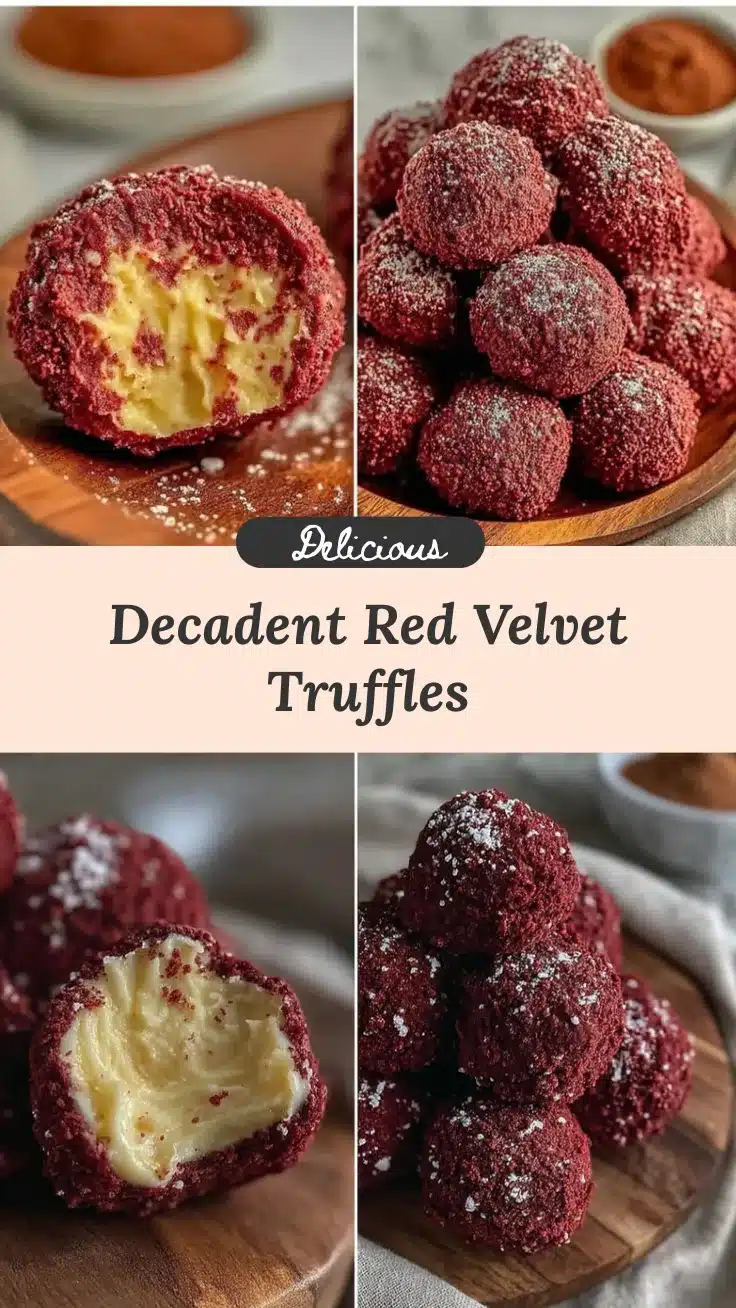
Red Velvet Truffles

These red velvet truffles are creamy, decadent, and perfectly balanced bite-sized treats made from red velvet cake crumbs and cream cheese frosting, coated in white chocolate or red candy melts. They are quick and easy to make, perfect for gifting or parties.
- Prep Time: 15 minutes
- Cook Time: 30-45 minutes
- Total Time: 2 hours
- Yield: About 30 truffles 1x
- Category: Dessert
- Cuisine: American
Ingredients
- 1 box red velvet cake mix (about 15.25 oz / 432 g)
- 8 oz (227 g) cream cheese, softened (full-fat preferred)
- 1/4 cup (57 g) unsalted butter, softened
- 1 cup (120 g) powdered sugar
- 1 teaspoon vanilla extract
- 12 oz (340 g) white chocolate or red candy melts for coating
- Optional toppings: crushed freeze-dried strawberries, red sprinkles, or cocoa powder
Instructions
- Bake the red velvet cake according to package instructions in a 9×13-inch (23×33 cm) pan. Let it cool completely (about 30-45 minutes). Crumble the cake finely until you get about 3 1/2 cups (about 350 g) of crumbs.
- In a large bowl, beat the softened cream cheese and unsalted butter using an electric mixer until smooth and fluffy, about 2-3 minutes. Add vanilla extract and powdered sugar gradually, beating well after each addition until creamy and slightly thick.
- Gently fold the cake crumbs into the cream cheese frosting until fully incorporated. The mixture should hold together when pressed but not be overly sticky. Adjust with powdered sugar or butter if needed.
- Scoop tablespoon-sized amounts of the mixture and roll into balls between your palms. Place each truffle on a baking sheet lined with parchment paper. Refrigerate for at least 1 hour to firm up.
- Melt the white chocolate or red candy melts in a microwave-safe bowl in 20-second intervals, stirring in between until smooth. Dip each chilled truffle into the melted chocolate, letting excess drip off. Place back on parchment and add toppings if desired. Chill again for 30 minutes until set.
Notes
Chill the truffle mixture before rolling to make shaping easier. Use powdered sugar on hands if mixture sticks. Melt chocolate slowly to avoid seizing. Chill truffles before and after coating to prevent cracking and messy drips. For a smoother coating, use a cooling rack to let excess chocolate drip off. Variations include adding mini chocolate chips, nuts, or seasonal flavors like peppermint or orange zest. Gluten-free and vegan versions possible with ingredient swaps.
Nutrition
- Serving Size: 1 truffle
- Calories: 120150
- Sugar: 12
- Sodium: 90
- Fat: 8
- Saturated Fat: 5
- Carbohydrates: 15
- Fiber: 0.5
- Protein: 2
Keywords: red velvet truffles, red velvet dessert, cream cheese truffles, easy truffles, homemade truffles, holiday treats, party desserts