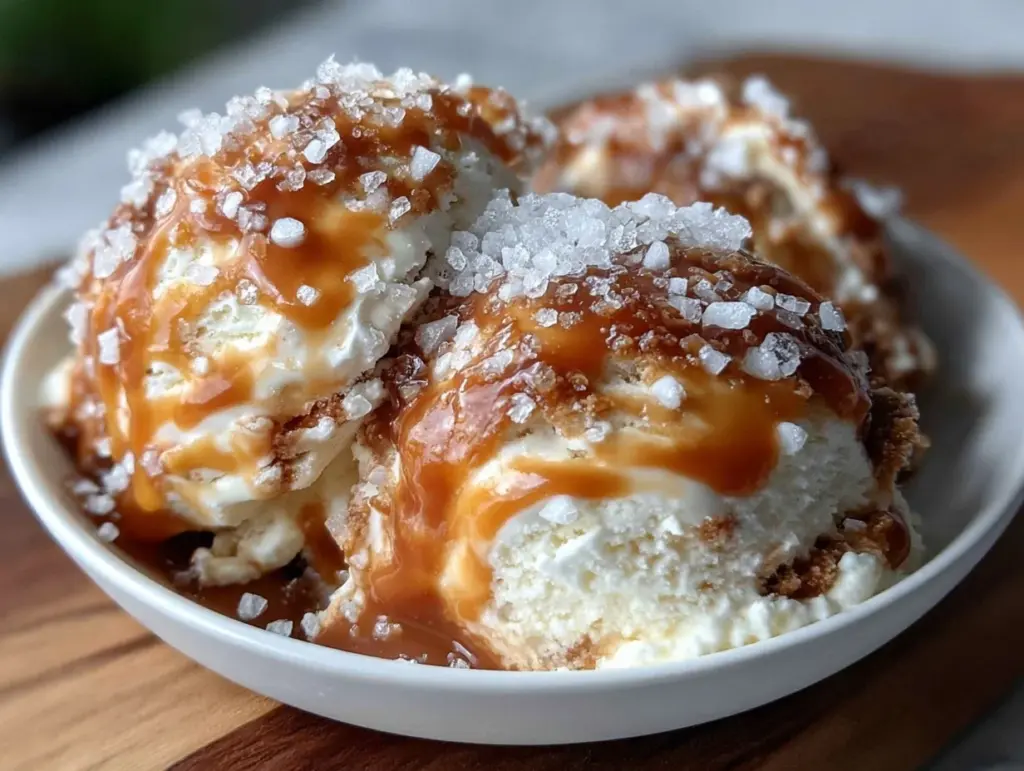
Scrambling to pull together a dessert when the power flickered and the ice cream maker sat unplugged on the counter—yeah, that was me last Saturday afternoon. Half a caramel sauce jar left in the fridge and a craving that just wouldn’t quit. Honestly, I wasn’t planning on making ice cream that day, yet here I was, whisking cream and sweetened condensed milk with a dash of sea salt, hoping for the best. The kitchen smelled like a cozy café, all caramel warmth mingling with sweet cream, and the hum of the blender drowned out the chaos of kids running around. Somehow, this creamy no-churn salted caramel ice cream recipe was born from pure necessity, a last-minute rescue that turned into a keeper.
You know how some recipes just stick with you? The kind you make over and over, not because you have to, but because it feels right. I realized this one wasn’t just a quick fix; it’s the kind of dessert that hugs you back. Smooth, rich, with that perfect hit of salt balancing the caramel sweetness—the kind that makes you pause and savor even when you’re supposed to be rushing. It’s also wildly forgiving (thank goodness), and I’ve come to trust it whenever life throws a wrench in the kitchen plans. No fancy equipment, no long waits, just pure, creamy indulgence. It’s simple, practical, and honestly, a little bit magical.
So, if you ever find yourself staring down a half-empty caramel jar and a freezer space begging for something sweet, this recipe has your back. And maybe you’ll get that same quiet smile I do when the first spoonful melts perfectly on your tongue.
Why You’ll Love This Creamy No-Churn Salted Caramel Ice Cream Recipe
This recipe has been tested through many rushed weekends and spontaneous dessert emergencies — and it always delivers. Here’s why it’s quickly become one of my favorites:
- Quick & Easy: Whips up in under 15 minutes with no ice cream maker needed. Perfect for busy weeknights or those “I need ice cream now” moments.
- Simple Ingredients: You probably already have most of the ingredients in your pantry—sweetened condensed milk, heavy cream, and caramel sauce. No hunting for exotic stuff.
- Perfect for Any Occasion: Whether it’s a cozy night in or a last-minute dessert for guests, it fits right in. It’s a crowd-pleaser that works just as well alongside a warm cranberry-orange pecan crisp or a casual barbecue.
- Crowd-Pleaser: Kids, adults, picky eaters—they all love it. The salted caramel twist makes it special but accessible.
- Unbelievably Delicious: The combo of creamy texture and the sweet-salty flavor dance is next-level comfort food. Honestly, it’s the kind of ice cream you’ll find yourself sneaking extra scoops of.
What makes this recipe stand out? It’s the no-churn method that keeps things easy but doesn’t sacrifice creaminess. Plus, I add just the right amount of flaky sea salt to make the caramel sing without overpowering. I’ve tried versions with store-bought caramel (hello, convenience!) and homemade caramel sauce for a deeper flavor profile. The texture is smooth yet luscious, no icy crystals in sight. It’s the best version I’ve found, hands down.
For me, this ice cream isn’t just dessert—it’s a little moment of peace and pleasure after a hectic day. It’s that perfect sweet pause that feels homemade but comes together in a flash.
What Ingredients You Will Need
This recipe uses straightforward, wholesome ingredients to deliver bold salted caramel flavor and a luxuriously creamy texture without fuss or fancy gear. Most are pantry staples, and you can easily swap or upgrade depending on what you have on hand.
- For the Ice Cream Base:
- 1 (14 oz / 396 g) can sweetened condensed milk (I prefer Eagle Brand for consistent sweetness and texture)
- 2 cups (480 ml) heavy whipping cream, cold (chilling your bowl helps whip it faster)
- 1 teaspoon pure vanilla extract (adds depth without stealing the spotlight)
- For the Salted Caramel Swirl:
- 3/4 cup (180 ml) caramel sauce (store-bought or homemade – I often use Trader Joe’s salted caramel for convenience)
- 1/2 teaspoon flaky sea salt (Maldon flakes are my go-to for that perfect crunch and flavor)
Ingredient Notes & Substitutions:
- You can swap heavy cream for coconut cream for a dairy-free version, but the texture will be slightly different.
- Use almond or cashew-based caramel sauce if you want a nutty twist or a vegan option.
- If you like things sweeter, drizzle in a bit more caramel before freezing.
- Fresh caramel sauce works beautifully in summer when you want a bright, homemade touch; frozen or jarred caramel is fine year-round.
These ingredients come together simply but give you that indulgent feeling you want from a rich dessert. It’s a no-fuss, no-muss list that encourages improvisation without losing flavor or creaminess.
Equipment Needed
- Large mixing bowl (preferably chilled for whipping cream)
- Hand mixer or stand mixer with a whisk attachment (a whisk and elbow grease work in a pinch, but a mixer is a game-changer for fluffy cream)
- Rubber spatula (essential for folding the whipped cream carefully into the condensed milk to keep it airy)
- Loaf pan or airtight container for freezing the ice cream
- Measuring cups and spoons
You don’t need an ice cream maker, which is honestly the best part. I’ve made this recipe using a basic hand mixer and even a stand mixer that’s seen better days. The key is to whip the cream until it holds stiff peaks but isn’t grainy or over-whipped. If you don’t have a fancy spatula, a large spoon works, but be gentle folding to keep the texture light. For storing, a metal loaf pan chills the ice cream faster, but any freezer-safe container with a tight lid will do.
Preparation Method
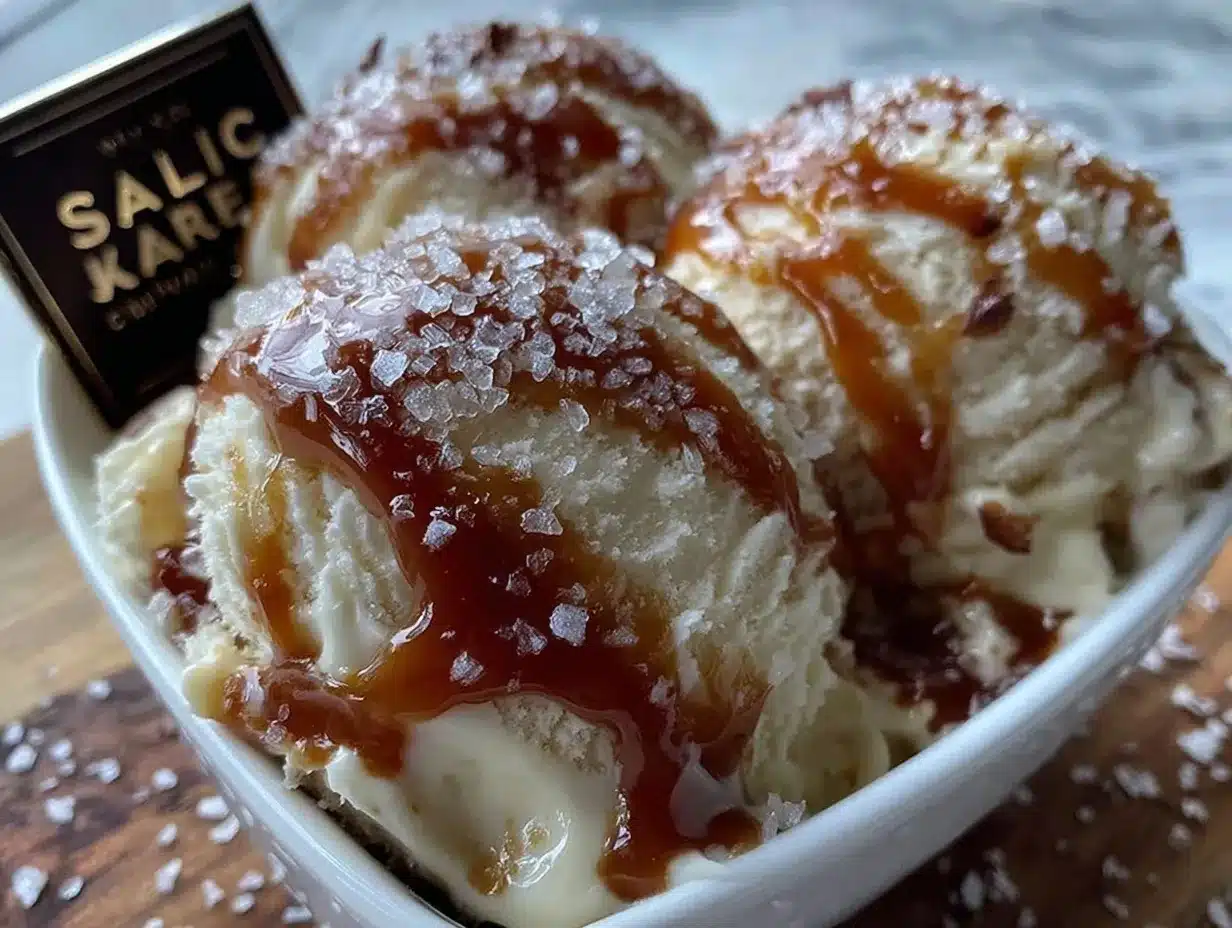
- Chill Your Tools: Pop your mixing bowl and beaters into the fridge for 10-15 minutes before starting. Cold equipment helps whip the cream faster and prevents it from turning grainy.
- Make the Whipped Cream: Pour the cold heavy cream into the chilled bowl. Beat on medium-high speed until soft peaks form (about 3-4 minutes). Don’t over-whip or it’ll start turning to butter. You want a fluffy, billowy texture that holds shape but is still soft.
- Mix Condensed Milk and Vanilla: In a separate large bowl, stir together the sweetened condensed milk and vanilla extract until smooth. This will be your sweet, creamy base.
- Fold in the Whipped Cream: Gently fold about a third of the whipped cream into the condensed milk mixture using a rubber spatula. Use a light hand to keep as much air as possible. Once combined, fold in the remaining whipped cream carefully until no white streaks remain. This helps keep the ice cream ultra-creamy without deflating the cream.
- Prepare the Salted Caramel Swirl: In a small bowl, mix the caramel sauce with the flaky sea salt. Taste and adjust salt if you want a bolder salty kick. The salt should enhance but never overpower the caramel.
- Layer and Swirl: Pour half of the ice cream base into your loaf pan or container. Dollop half the salted caramel mixture randomly over the top. Use a knife or skewer to swirl the caramel gently into the base, creating pretty ribbons. Repeat with the remaining base and caramel. The swirl doesn’t have to be perfect—rough is rustic and delicious!
- Freeze: Cover tightly with plastic wrap or a lid. Freeze for at least 6 hours, preferably overnight. The ice cream will firm up to scoopable perfection.
- Serve: When ready, let the ice cream sit at room temperature for 5 minutes before scooping to soften slightly for easier serving and creamier mouthfeel.
Tips: If your caramel hardens too much in the freezer, just stir it gently before serving to keep the texture smooth. Also, if you find your ice cream is icy or too hard, make sure your whipped cream was whipped correctly and folded gently to trap air.
Cooking Tips & Techniques
Making no-churn ice cream at home is deceptively simple but has its quirks. Here are some pro tips and lessons I picked up along the way:
- Whipping Cream Just Right: Underwhipped cream won’t hold the ice cream structure, and overwhipped cream can turn grainy and buttery. Watch closely as you beat—soft peaks means the cream stands up but curls softly when you lift the whisk.
- Folding Technique: Always fold whipped cream into the condensed milk base gently using a spatula. Think of it like tucking in a delicate blanket rather than mixing batter. This keeps the texture light and airy.
- Salted Caramel Balance: Salt is a powerful flavor enhancer, but too much can overwhelm. Start with less salt than you think you need—you can always add more. Maldon flakes are perfect because they dissolve slowly, giving tiny bursts of saltiness.
- Swirling Without Overmixing: When you swirl the caramel, don’t overdo it. Too much swirling blends the flavors into a single mass instead of distinct ribbons. The contrast of creamy base and salty caramel ribbons is what makes this ice cream special.
- Freezing Time: Give the ice cream plenty of time to freeze solid. Rushing it might lead to a soft or icy texture. Overnight is best, but a minimum of 6 hours works if you’re impatient like me.
- Multitasking: Use the freezing time to prep other dishes like a fresh Southwest chipotle salad or whip up some crispy ham and cheese sticks for a full meal experience.
Variations & Adaptations
This recipe is wonderfully flexible and invites you to make it your own. Here are some creative spins and adaptations I’ve tried or would recommend:
- Chocolate Swirl: Add ribbons of melted dark chocolate or chocolate fudge instead of caramel for a chocolate lover’s dream.
- Pecan Caramel Crunch: Fold in chopped toasted pecans or walnuts for a crunchy texture that pairs beautifully with the salted caramel.
- Vegan Version: Use full-fat coconut milk and coconut cream with a dairy-free caramel sauce. Whip the coconut cream chilled until fluffy and proceed as usual.
- Spiced Caramel: Stir a pinch of cinnamon or cayenne pepper into the caramel for a warm, spicy kick that’s unexpected but brilliant.
- Fruit-Infused: Top with fresh sliced pears or apples and a sprinkle of sea salt for a fall-inspired twist.
Personally, I once swapped the caramel for a homemade bourbon caramel sauce (because, why not?), and it was a hit at a small gathering. The alcohol cooks off but leaves a deep, rich complexity that pairs nicely with the creamy base.
Serving & Storage Suggestions
Serve this ice cream slightly softened for the best scoop and mouthfeel. A dollop in a bowl or atop warm apple pie or a decadent salted caramel apple sheet cake makes for a dreamy dessert combo.
For storage, keep it tightly covered in the freezer to prevent ice crystals and flavor loss. It keeps well for up to 2 weeks, though I doubt it will last that long in most households. To re-soften after long storage, let it sit out for 10 minutes before scooping.
Flavors actually deepen if you let the ice cream rest for a day or two in the freezer. The salted caramel ribbons meld beautifully with the creamy base, making each bite more harmonious. Just be sure to give it a gentle stir before serving if the caramel has hardened.
Nutritional Information & Benefits
Here’s a rough estimate per serving (1/2 cup or 125 ml):
| Nutrient | Amount |
|---|---|
| Calories | 280 |
| Fat | 18g |
| Saturated Fat | 11g |
| Sugar | 25g |
| Protein | 3g |
While this is definitely a treat, the recipe’s use of real cream and caramel means it’s free from artificial additives. The sea salt adds a trace mineral boost, and using quality caramel (especially homemade) means fewer preservatives. For those watching carbs or dairy, the coconut cream variation provides a tasty alternative. Just keep in mind the sugar content from the condensed milk and caramel.
From a wellness perspective, I appreciate that this recipe uses minimal ingredients and no stabilizers or emulsifiers. It’s dessert made with honesty—something I feel good about sharing with friends and family.
Conclusion
This creamy no-churn salted caramel ice cream recipe is a lifesaver when you want indulgence without the fuss. It’s quick, simple, and genuinely delicious—the kind of recipe that feels like a small celebration in your own kitchen. I love how forgiving it is and how it invites personalization, making it perfect for all sorts of occasions.
Whether you’re whipping it up for a cozy night or a last-minute party dessert, it’s bound to impress. Plus, it pairs beautifully with other homemade favorites like my soft sugar cookies with creamy icing or a fresh salad to balance the sweetness. Give it a try, tweak it your way, and let me know how you like it!
Enjoy the creamy goodness and those little salty-sweet moments—it’s worth every spoonful.
FAQs
Can I make this ice cream without heavy cream?
You can try using coconut cream for a dairy-free version, but the texture will be a bit different—still tasty but less classic creaminess.
How long does the no-churn salted caramel ice cream keep in the freezer?
Properly stored in an airtight container, it stays good for up to 2 weeks. After that, texture and flavor might decline.
Can I use store-bought caramel sauce?
Absolutely! Store-bought caramel works great, especially quality salted caramel sauces. Homemade adds a richer flavor if you have time.
What if my ice cream turns out icy?
Make sure you whip the cream to soft peaks and fold gently to keep air in. Also, don’t rush freezing—let it set fully for best texture.
Can I add mix-ins like nuts or chocolate chips?
Yes! Fold in chopped nuts, chocolate chunks, or even cookie pieces right before freezing for added texture and flavor.
Pin This Recipe!
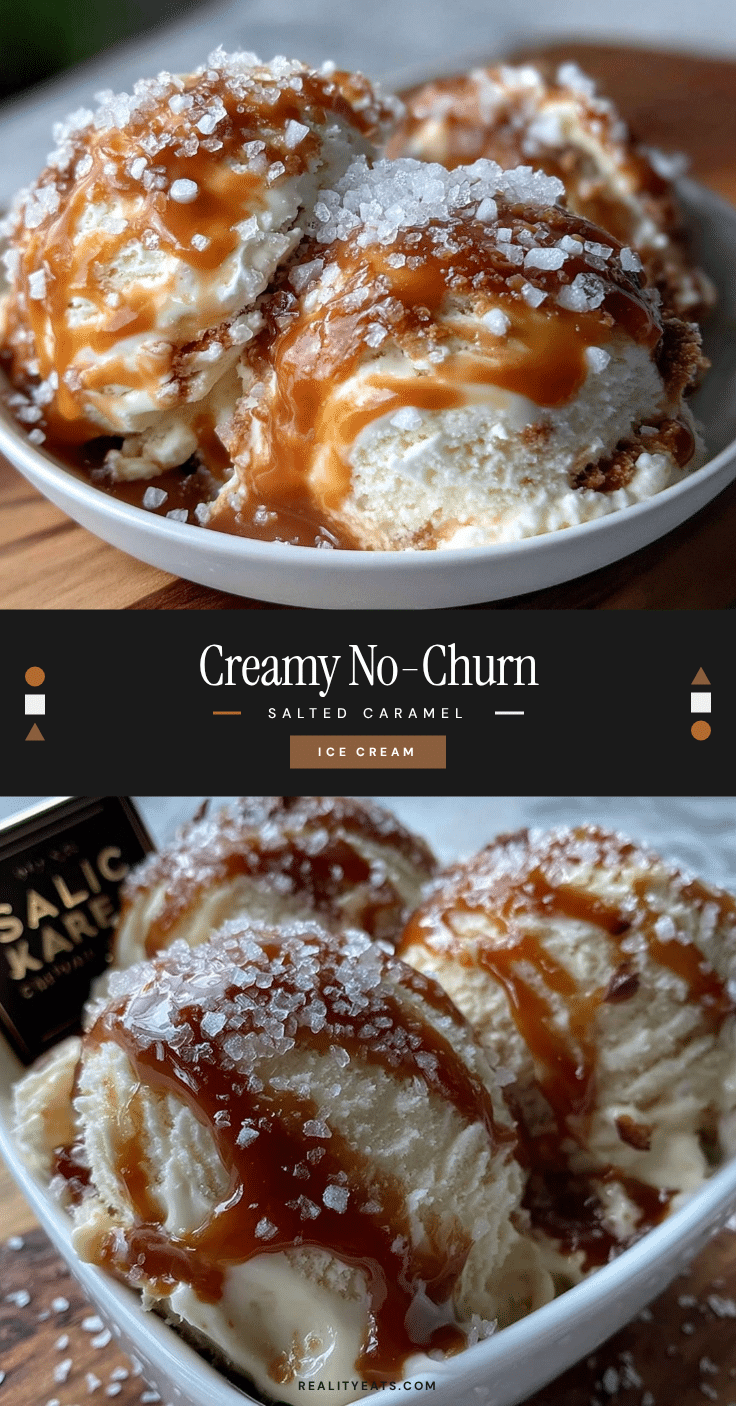
Creamy No-Churn Salted Caramel Ice Cream

A quick and easy no-churn ice cream recipe featuring a smooth, rich salted caramel flavor with a perfect balance of sweetness and sea salt. Made with simple ingredients and no ice cream maker required.
- Prep Time: 15 minutes
- Cook Time: 0 minutes
- Total Time: 6 hours 15 minutes
- Yield: 8 servings 1x
- Category: Dessert
- Cuisine: American
Ingredients
- 1 (14 oz / 396 g) can sweetened condensed milk
- 2 cups (480 ml) heavy whipping cream, cold
- 1 teaspoon pure vanilla extract
- 3/4 cup (180 ml) caramel sauce (store-bought or homemade)
- 1/2 teaspoon flaky sea salt
Instructions
- Chill your mixing bowl and beaters in the fridge for 10-15 minutes before starting.
- Pour the cold heavy cream into the chilled bowl and beat on medium-high speed until soft peaks form, about 3-4 minutes. Avoid over-whipping.
- In a separate large bowl, stir together the sweetened condensed milk and vanilla extract until smooth.
- Gently fold about a third of the whipped cream into the condensed milk mixture using a rubber spatula. Then fold in the remaining whipped cream carefully until no white streaks remain.
- In a small bowl, mix the caramel sauce with the flaky sea salt. Adjust salt to taste.
- Pour half of the ice cream base into a loaf pan or airtight container. Dollop half the salted caramel mixture over the top and swirl gently with a knife or skewer. Repeat with the remaining base and caramel.
- Cover tightly with plastic wrap or a lid and freeze for at least 6 hours, preferably overnight.
- Before serving, let the ice cream sit at room temperature for 5 minutes to soften slightly.
Notes
Chill your mixing bowl and beaters before whipping cream to prevent graininess. Fold whipped cream gently into condensed milk to keep the texture light and airy. Swirl caramel gently to create ribbons without overmixing. Freeze overnight for best texture. If caramel hardens in freezer, stir gently before serving. For dairy-free version, substitute heavy cream with coconut cream and use dairy-free caramel sauce.
Nutrition
- Serving Size: 1/2 cup (125 ml)
- Calories: 280
- Sugar: 25
- Fat: 18
- Saturated Fat: 11
- Protein: 3
Keywords: no-churn ice cream, salted caramel, easy dessert, homemade ice cream, no ice cream maker, quick dessert, creamy ice cream