The scent of toasted marshmallows and melting chocolate wafting through the night air – that’s my favorite part of camping. It immediately brings back memories of sticky fingers, laughter around the fire, and that magical moment when you bite into a warm, gooey s’more. But let me tell you, the first time I tried a s’mores pizza, it was like discovering s’mores for the very first time – but better! This s’mores pizza recipe is the ultimate camping dessert treat, and honestly, it’s become a must-make for every outdoor adventure (and quite a few indoor ones too). The best part? You don’t even need a campfire to enjoy all that nostalgic flavor. Whether you’re wrangling a troop of hungry kids, hosting a backyard bonfire, or just craving something sweet and totally over the top, this s’mores pizza delivers in every way. I’ve tested it in my oven, on a grill, and even over hot coals, and it never fails to wow a crowd. If you love classic s’mores but want something a little more shareable (and a lot less messy), you’re in for a treat. So, let me show you why this s’mores pizza recipe needs to be your next dessert adventure!
Why You’ll Love This S’Mores Pizza Recipe
After baking, grilling, and even fire-pit roasting this pizza more times than I can count, I can honestly say this is one of the most fun, crowd-pleasing desserts out there. If you’ve ever wanted to capture the magic of s’mores in a form that everyone can dig into, this is it. Here’s what makes it a total game-changer:
- Quick & Easy: You can get this s’mores pizza ready in under 30 minutes – perfect for impromptu dessert cravings after a long day outdoors (or indoors!).
- Simple Ingredients: No specialty items or fancy baking skills needed. If you have pizza dough, chocolate, marshmallows, and graham crackers, you’re set.
- Perfect for Any Occasion: Whether you’re camping, having a sleepover, or just want a family movie night treat, this pizza fits right in. It’s a hit from summer cookouts to cozy winter evenings.
- Crowd-Pleaser: I’ve never seen anyone turn down a slice – from little kids to dessert-loving adults. The combo of gooey marshmallows and melted chocolate is just irresistible.
- Unbelievably Delicious: Imagine the perfect s’more, but with a crisp, chewy base and plenty of toppings in every bite. The contrast of textures (soft marshmallow, crunchy graham, melty chocolate) is out of this world.
What really sets this recipe apart? Instead of just tossing ingredients on a crust, I use a two-step bake to get the marshmallows perfectly golden without burning the chocolate. Plus, I like to use a mix of chocolate bars and chips for that dreamy, gooey melt. You can even prep most of it ahead, which is a lifesaver when you’re juggling campfire duties or party hosting. This isn’t just dessert – it’s an experience, and it’s one you’ll want to share again and again. Trust me, once you try it, plain old s’mores will never be quite enough!
What Ingredients You Will Need
This s’mores pizza recipe sticks to the classics but with a few little twists for extra flavor. I promise, you won’t need to hunt down anything weird or expensive. Here’s everything you’ll need:
- PIZZA BASE:
- 1 ball pizza dough (about 12 oz / 340 g) – Homemade or store-bought. I’ve used classic, whole wheat, and even gluten-free doughs successfully. For camping, ready-made dough is a real time-saver!
- CHOCOLATE LAYER:
- 1 cup semi-sweet chocolate chips (170 g) – I like Ghirardelli or Guittard for smooth melting.
- 2 standard milk chocolate bars (about 3 oz / 85 g) – Hershey’s is the classic, but use your favorite.
- 2 tablespoons chocolate hazelnut spread (optional, 30 g) – Adds a creamy layer and helps everything stick. Nutella or similar works great.
- MARSHMALLOW TOPPING:
- 2 cups mini marshmallows (100 g) – They melt and brown evenly compared to the big ones. If all you have is large marshmallows, just snip them into smaller chunks with kitchen scissors.
- GRAHAM CRACKER CRUNCH:
- 4-5 graham crackers, crushed (about 1 cup / 100 g) – For gluten-free, use GF graham-style cookies.
- OPTIONAL EXTRAS:
- Pinch of flaky sea salt (for a little contrast – highly recommended!)
- Peanut butter, caramel sauce, or sliced bananas for extra flavor twists
- Chopped nuts or pretzels for a salty crunch
Most of these are probably in your pantry already. For the dough, I usually grab a ball from my local bakery or the refrigerated section at the store when I’m camping – no shame in a shortcut, especially when dessert is on the line! If you’re gluten-free, almond flour pizza crust is a solid swap (it doesn’t get as chewy, but it holds up nicely under all those toppings). For dairy-free folks, try Enjoy Life chocolate and Dandies marshmallows. And honestly, you can mix and match chocolates based on what you’ve got – dark, milk, or even white chocolate all work here. Just don’t skip the graham crackers; they pull the whole s’mores vibe together!
Equipment Needed
You don’t need a fancy kitchen to make s’mores pizza, just a few basics (plus a little creativity if you’re at the campsite):
- Pizza Stone, Cast Iron Skillet, or Baking Sheet: A pizza stone gives the crispiest crust, but I’ve made this in an old cast iron pan and even on a heavy-duty baking sheet. If you’re camping, a cast iron pan over the fire is pure magic.
- Parchment Paper: Makes transferring the pizza a breeze and prevents sticking. It’s a must for gooey marshmallows.
- Rolling Pin or Hands: For stretching out the dough. I often just press it out with my hands – less to clean!
- Mixing Bowl: Handy for tossing the dough or stirring up any toppings.
- Oven, Grill, or Campfire: Anything that can get hot enough to bake pizza (about 450°F/230°C). I’ve even used a covered grill with the pizza on foil for a rustic finish.
- Spatula or Pizza Peel: To transfer your masterpiece – though I’ve definitely just slid it off a cutting board in a pinch.
Budget tip: Skip the pizza stone if you don’t have one. A heavy baking sheet preheated in the oven or grill works almost as well. Keep your cast iron pan seasoned so marshmallow goo doesn’t stick. And if parchment paper isn’t handy, a greased foil sheet will do the trick (just watch the edges for burning). Honestly, as long as you can get your dough hot and crispy, you’re set!
How to Make S’Mores Pizza – Step by Step
-
Preheat Your Cooking Surface:
Heat your oven, grill, or campfire to 450°F (230°C). If using a pizza stone, place it in the oven while preheating. For grill or fire, preheat your cast iron pan or baking sheet for at least 10 minutes. This helps get that lovely, crisped crust.
-
Prepare the Dough:
On a lightly floured surface (or parchment), stretch or roll out your pizza dough to about a 12-inch (30 cm) circle. If it keeps springing back, let it rest for 5 minutes. Press a slight rim around the edge – this holds in all the gooey toppings later.
-
Pre-Bake the Crust:
Transfer the dough to your parchment or prepared pan. Bake for 7-8 minutes (ovens and campfires can vary – you want the crust just set and lightly golden, but not fully browned). If any bubbles form, just poke them gently with a fork.
-
Spread the Chocolate:
As soon as the crust comes out, spread 2 tablespoons (30 g) chocolate hazelnut spread over the warm base (if using). Scatter the chocolate chips and chopped chocolate bars evenly across the crust. The residual heat will start melting everything – resist the urge to nibble!
-
Add Marshmallows & Graham Crackers:
Top the chocolate layer with 2 cups (100 g) mini marshmallows. Sprinkle crushed graham crackers evenly over the marshmallows. For extra crunch, press a few bigger pieces into the toppings.
-
Final Bake or Toast:
Return the pizza to the oven, grill, or back over the fire. Bake for another 5-6 minutes, until the marshmallows are puffed and just starting to brown. Switch to broil (or move closer to the heat) for 1-2 minutes for a deeply toasted top, but watch closely – marshmallows go from golden to scorched fast!
-
Finishing Touches:
Remove from heat and let cool 3-5 minutes (it’s molten at first!). Sprinkle with a pinch of flaky sea salt, drizzle with caramel or peanut butter if desired, and cut into wedges. Serve warm for max goo factor.
Troubleshooting: If your crust gets too dark before the toppings melt, tent loosely with foil. Chocolate not melting? Pop it back in for another minute or two. Marshmallows burnt? Pull it out immediately – a little char is tasty, but too much ruins the fun. Don’t stress, though – even “ugly” s’mores pizza disappears fast!
Expert Cooking Tips & Techniques
After making s’mores pizza for family, friends, and more than a few hungry campers, I’ve picked up some tricks that make all the difference:
- Chill Your Dough: If your dough is sticky or hard to stretch, chill it for 20 minutes. It’s way easier to handle and less likely to tear.
- Even Topping Distribution: Pile the marshmallows and chocolate right to the edge. Gaps mean sad, bare bites (and nobody wants that!).
- Double Bake for Perfection: Pre-baking the crust gives you a base sturdy enough for all the gooey, heavy toppings. Skip this, and you’ll end up with a soggy middle – been there, regretted that.
- Watch the Heat: Marshmallows brown super quickly under a broiler or direct fire. Don’t walk away – I can’t count how many times I’ve almost set dessert ablaze!
- Customize the Chocolate: Mix dark and milk chocolate for extra depth. Or throw in peanut butter cups or caramel-filled squares for a surprise twist.
- Use Leftover S’mores Fixings: This recipe is ideal for using up the last few marshmallows or chocolate bits after a weekend of camping. Waste not, want not!
- For Campfire Cooking: Cover your cast iron pan with foil to help toppings melt evenly. Rotate often to avoid hot spots (trust me, campfire flames are sneaky!).
Don’t be afraid to experiment. My first attempt, I over-broiled the marshmallows – looked scary but still tasted amazing! Every batch teaches you something new, and honestly, the “mistakes” are just as delicious. Remember: embrace the mess, keep an eye on the marshmallows, and have fun with it.
Variations & Adaptations
One of the coolest things about this s’mores pizza recipe is how easy it is to tweak. Here are some of my favorite spins:
- Gluten-Free: Use a certified gluten-free pizza crust and graham crackers. I’ve tried this with almond flour crust and Schär GF grahams – works like a charm.
- Peanut Butter S’mores Pizza: Swirl 2-3 tablespoons (30-45 g) creamy peanut butter over the chocolate before adding marshmallows. Adds a salty depth that’s just awesome.
- Fruit Twist: Scatter sliced strawberries or bananas over the chocolate layer before baking. Adds a pop of freshness and color!
- Dairy-Free/Vegan: Use plant-based chocolate and marshmallows (like Dandies or Trader Joe’s vegan marshmallows), and a vegan pizza crust. I’ve made this for vegan pals and it’s still a hit.
- Campfire Skillet S’mores: Skip the dough and layer chocolate, marshmallows, and graham pieces right in a cast iron pan. Bake over the fire until bubbly, then dip in with crackers or fruit.
My personal favorite? A version with crushed pretzels and caramel sauce for a salty-sweet explosion. Play around – it’s almost impossible to mess this up. Just pick your toppings based on what you love (and what’s in your pantry!), and let everyone build their own pizza for a fun group activity.
Serving & Storage Suggestions
S’mores pizza is best served warm, when the chocolate is still melty and the marshmallows are gooey. If you’re feeling fancy, dust with extra graham crumbs or a drizzle of chocolate sauce right before serving. I like to slice it like a regular pizza – wedges or squares both work, depending on your crowd. Pair with cold milk, hot chocolate, or even a scoop of vanilla ice cream on top (trust me, it’s next-level).
If you have leftovers (rare, but it happens!), let them cool completely, then store in an airtight container at room temperature for a day, or in the fridge for up to 3 days. The marshmallows will firm up, but a quick zap in the microwave (about 10-15 seconds) or a minute in a hot oven brings back that gooey-ness. For longer storage, you can freeze individual slices separated by parchment for up to a month – reheat in the oven until warm and bubbly. Just know, the texture is always best fresh!
Nutritional Information & Benefits
Let’s be honest: s’mores pizza is pure dessert fun, not health food – but there are a few bright spots! A typical slice (1/8th of the pizza) has roughly 240-280 calories, with about 6g fat, 40g carbs, and 3g protein (this varies with your ingredient choices). Marshmallows and chocolate provide instant energy, while using dark chocolate adds a hit of antioxidants. If you use whole wheat or gluten-free dough, you’ll sneak in some extra fiber. Note: Contains gluten, dairy, and can be nutty if you add peanut butter – always check labels for allergies. I’m a big believer that a little indulgence is part of a balanced life. For me, sharing a treat like this with friends makes every bite more nourishing for the soul than any salad!
Conclusion
So, why should you make this s’mores pizza recipe? Because it’s nostalgic, wildly delicious, and honestly, just plain fun. It’s the dessert that brings everyone to the table, whether you’re camping under the stars or hanging out at home. You can customize it a hundred ways, and every batch is a little bit different (in the best way). Personally, I love how it turns any night into a special occasion – and the look on everyone’s faces when you pull out a gooey, chocolatey pizza? Unbeatable.
Give this recipe a try, and don’t be afraid to add your own twist – maybe a sprinkle of cinnamon, or a layer of caramelized bananas. I’d love to hear how it turns out for you! Leave a comment below with your favorite s’mores pizza variation, share your photos, or tag me on social – let’s make dessert memories together. Go on, get a little messy, and savor every bite!
Frequently Asked Questions
Can I make s’mores pizza ahead of time?
Yes! You can pre-bake the crust and prep all the toppings a day in advance. Assemble and do the final bake right before serving for best results.
What’s the best way to reheat leftover s’mores pizza?
Pop slices in a 350°F (175°C) oven for 5-7 minutes, or microwave for 10-15 seconds. The oven crisps up the crust, while the microwave brings back the gooey factor.
Can I use store-bought pizza dough?
Absolutely! Store-bought dough works great for this recipe. Just let it come to room temperature so it’s easier to stretch out.
How do I make this recipe gluten-free?
Use a gluten-free pizza crust and gluten-free graham crackers. Most grocery stores carry both these days, and they swap in easily.
Can I cook s’mores pizza over a campfire?
Definitely! Use a cast iron skillet or heavy-duty baking sheet. Cover with foil and rotate over the fire for even cooking. Watch closely to avoid burning the marshmallows!
Pin This Recipe!

S’Mores Pizza

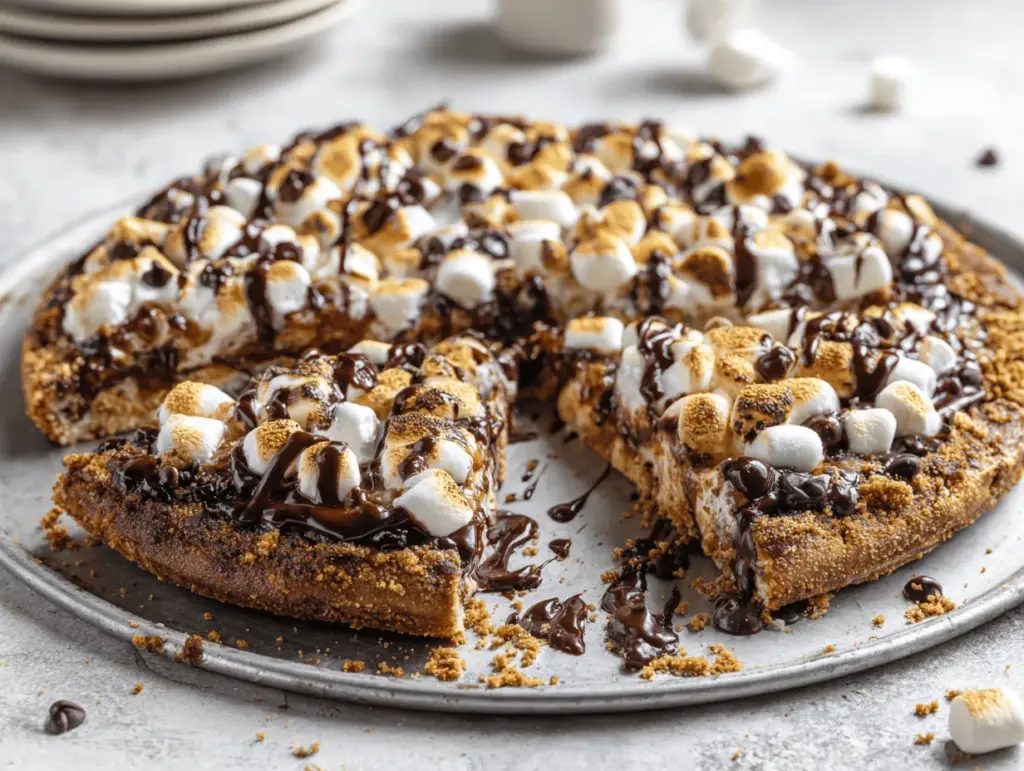
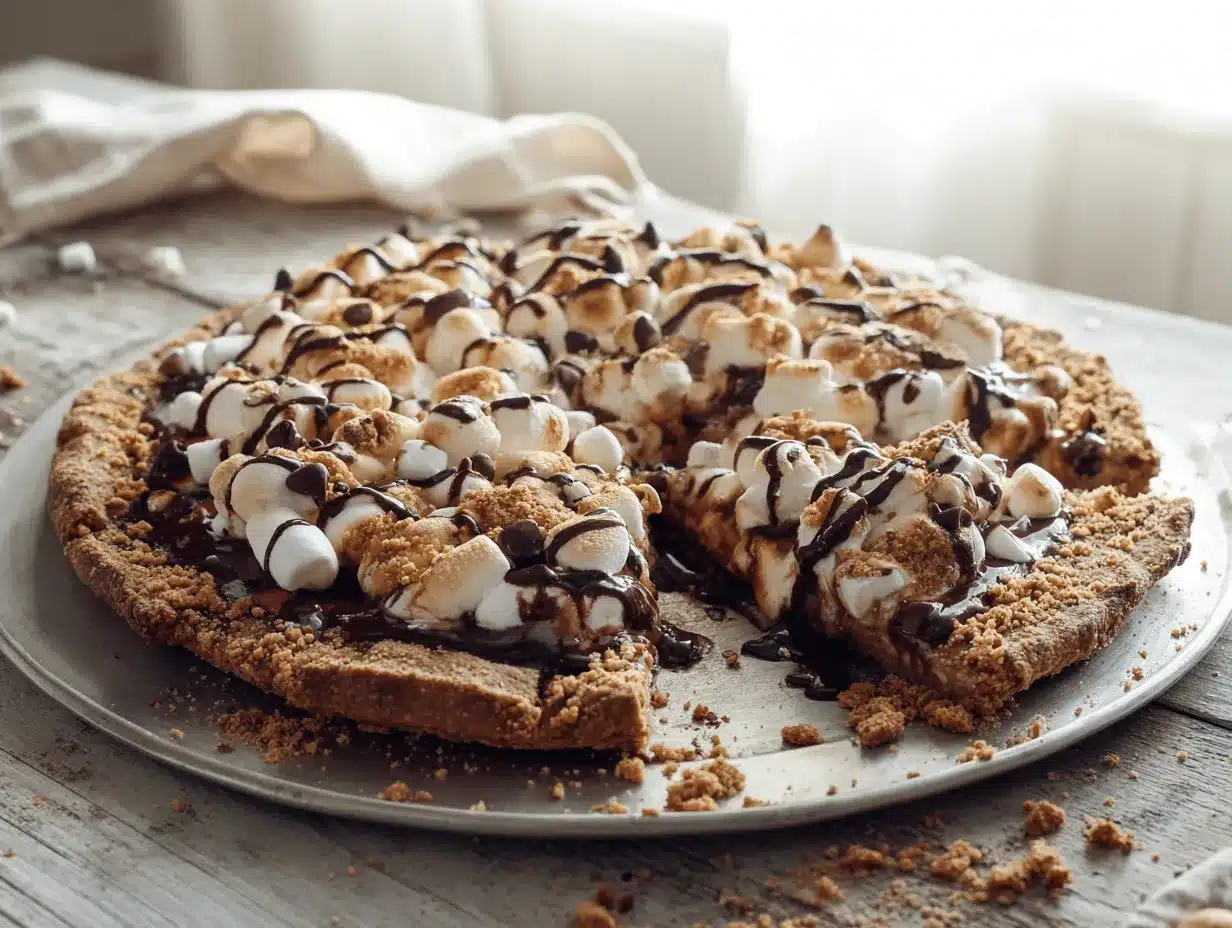
This S’mores Pizza recipe transforms the classic campfire treat into a gooey, shareable dessert that’s perfect for camping, backyard gatherings, or family nights. With a crisp pizza crust, melty chocolate, toasted marshmallows, and crunchy graham crackers, it’s a crowd-pleasing treat you can bake, grill, or cook over a campfire.
- Prep Time: 10 minutes
- Cook Time: 15 minutes
- Total Time: 25 minutes
- Yield: 8 servings 1x
- Category: Dessert
- Cuisine: American
Ingredients
- 1 ball pizza dough (about 12 oz)
- 1 cup semi-sweet chocolate chips
- 2 standard milk chocolate bars (about 3 oz total)
- 2 tablespoons chocolate hazelnut spread (optional)
- 2 cups mini marshmallows
- 4–5 graham crackers, crushed (about 1 cup)
- Pinch of flaky sea salt (optional)
- Optional: peanut butter, caramel sauce, or sliced bananas
- Optional: chopped nuts or pretzels
Instructions
- Preheat your oven, grill, or campfire to 450°F (230°C). If using a pizza stone, place it in the oven while preheating. For grill or fire, preheat your cast iron pan or baking sheet for at least 10 minutes.
- On a lightly floured surface or parchment, stretch or roll out your pizza dough to about a 12-inch circle. Let rest if needed and press a rim around the edge.
- Transfer the dough to parchment or your prepared pan. Bake for 7-8 minutes until just set and lightly golden.
- Spread chocolate hazelnut spread (if using) over the warm crust. Scatter chocolate chips and chopped chocolate bars evenly across the crust.
- Top with mini marshmallows and sprinkle crushed graham crackers evenly over the marshmallows.
- Return the pizza to the oven, grill, or fire. Bake for another 5-6 minutes, until marshmallows are puffed and starting to brown. Broil or move closer to heat for 1-2 minutes for a toasted top, watching closely.
- Remove from heat and let cool for 3-5 minutes. Sprinkle with flaky sea salt and drizzle with caramel or peanut butter if desired. Slice and serve warm.
Notes
Pre-baking the crust ensures a sturdy base for gooey toppings. Watch marshmallows closely under the broiler or direct heat to avoid burning. Customize with different chocolates, nut butters, or fruit. For gluten-free, use GF pizza dough and graham crackers. Best served warm; leftovers can be reheated in the oven or microwave.
Nutrition
- Serving Size: 1 slice (1/8th of pizza)
- Calories: 260
- Sugar: 18
- Sodium: 180
- Fat: 6
- Saturated Fat: 3
- Carbohydrates: 40
- Fiber: 2
- Protein: 3
Keywords: s'mores pizza, camping dessert, easy dessert, chocolate pizza, marshmallow pizza, graham cracker, summer dessert, kid-friendly, party dessert, oven, grill, campfire


