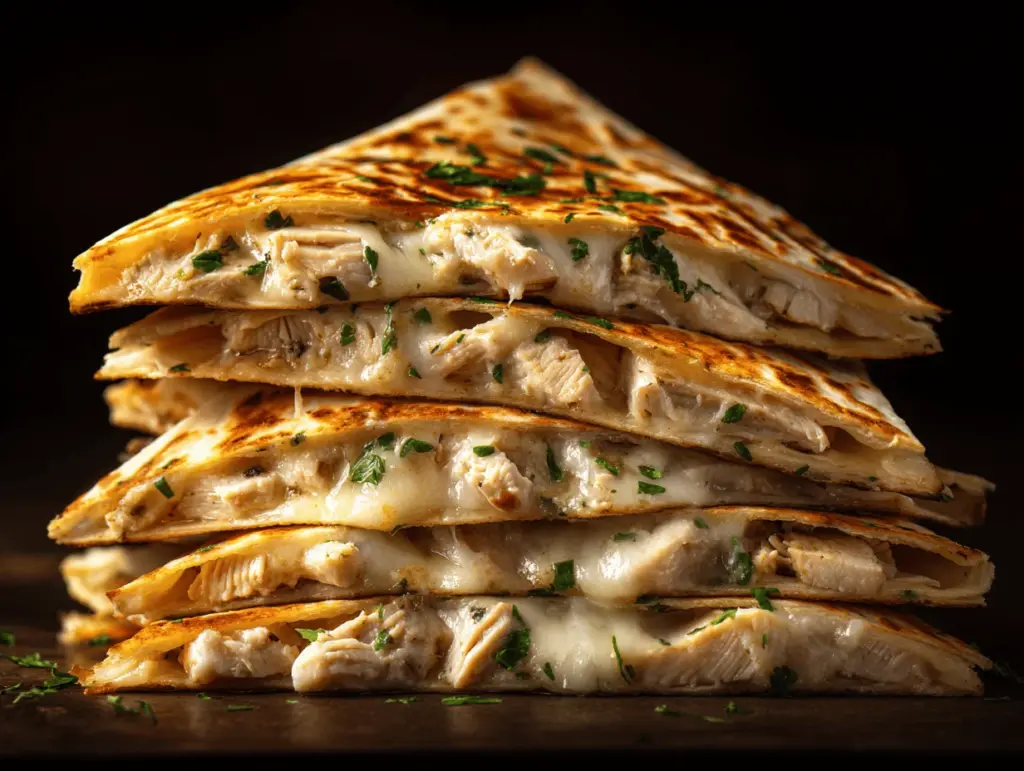
The moment the hot skillet hits the garlicky chicken, the kitchen fills with that unmistakable mouthwatering aroma—cheesy, buttery, and just a little bit toasty. Cheesy garlic chicken wraps are my go-to for those crazy weeknights where I want something warm and satisfying but can’t handle another hour in the kitchen. Honestly, if you’ve ever found yourself staring at leftover rotisserie chicken, wondering what magic you can pull off in under half an hour, this recipe will be your new best friend.
I stumbled onto these cheesy garlic chicken wraps during a hectic week when my kids were in and out of activities, and I was desperate for something everyone would actually eat. I’d always loved garlic bread (who doesn’t?), and chicken wraps were already a weeknight staple—so smashing them together with a generous handful of melty cheese just made sense. The result? Instant dinner bliss. It’s the kind of meal that makes you feel like you’re indulging, but it’s secretly packed with protein and takes no time at all.
Cheesy garlic chicken wraps are perfect for busy families, picky eaters, or anyone who just loves bold, comforting flavors. If you’re after a 20-minute dinner that feels special but is dead simple, you’re in the right place. I’ve tested these wraps a dozen times (at least!), tweaking the seasoning, changing up the cheese, and figuring out all the shortcuts that save time without sacrificing taste. Trust me, this recipe is a keeper. So grab your favorite tortillas and let’s get dinner on the table—with gooey cheese pulls and all!
Why You’ll Love This Recipe
After years of juggling work, kids, and a real desire to eat something delicious, I can say these cheesy garlic chicken wraps have saved my sanity more than once. They’re not only fast—they’re packed with flavor, customizable, and always a crowd-pleaser. Here’s why you’ll be making this recipe again and again:
- Quick & Easy: Ready in just 20 minutes—perfect for when you’re short on time but craving something hearty and homemade.
- Simple Ingredients: Everything you need is already in your fridge or pantry—no emergency grocery store runs required.
- Perfect for Any Occasion: Ideal for weeknight dinners, grab-and-go lunches, or even a fun weekend lunch with friends. I’ve packed these for picnics and road trips too!
- Crowd-Pleaser: Whether it’s picky kids, hungry teens, or adults who “don’t really like wraps,” everyone comes back for seconds.
- Unbelievably Delicious: The combination of melty cheese, juicy chicken, and that punch of garlic is comfort food at its best—think garlic bread meets chicken quesadilla.
- Make-Ahead Friendly: I often prep the chicken filling in advance and just assemble and toast the wraps when I need them.
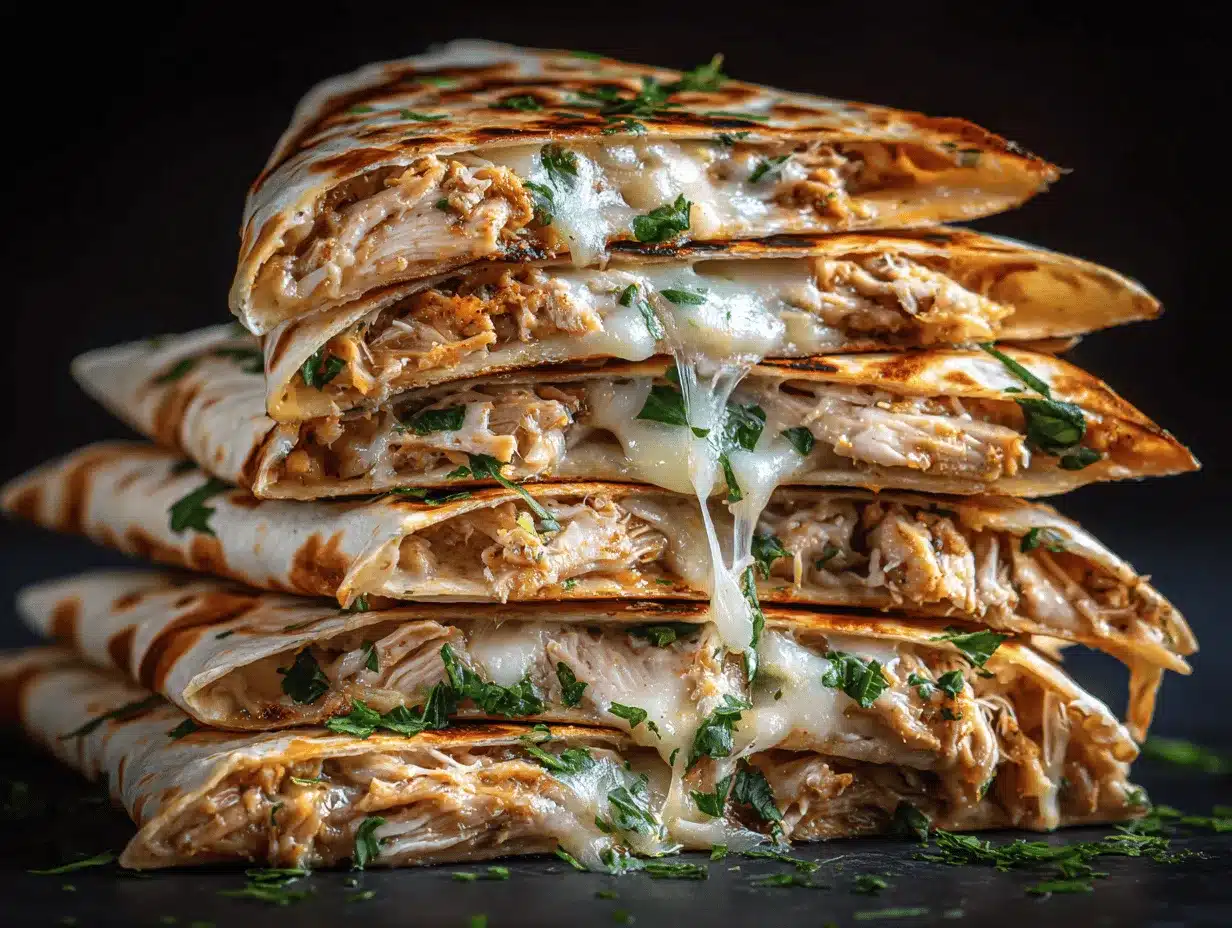
What sets this cheesy garlic chicken wraps recipe apart is the way the chicken gets tossed with fresh garlic and a mix of cheeses—no bland filling here! I’ve even got a trick for making the tortillas extra crispy and golden, so each bite has that irresistible crunch. I can’t tell you how many times I’ve served these at casual get-togethers and people practically begged for the recipe. It’s comfort food that doesn’t take all day, and honestly, I love knowing I can whip up “something special” even when life is extra chaotic.
What Ingredients You Will Need
This recipe uses simple, wholesome ingredients to deliver bold flavor and a satisfying, cheesy texture—no fuss, just pure dinner joy. Everything here serves a purpose, but you can easily swap things out for what you have on hand or to suit your family’s tastes. Here’s what you’ll need:
- Cooked Chicken (2 cups / about 280g, shredded or diced) – Rotisserie chicken works perfectly, or use leftover grilled/baked chicken. I sometimes use seasoned grilled chicken for extra punch.
- Shredded Cheese (1 1/2 cups / 170g) – I love a mix of mozzarella (for stretch) and sharp cheddar (for kick). Monterey Jack or Colby Jack are great too. Use what you have!
- Fresh Garlic (3 cloves, minced) – Fresh is best for that bold garlic flavor. If you’re sensitive, start with 2 cloves.
- Butter (2 tablespoons / 28g, melted) – This goes into the filling and also gets brushed on the tortillas for that golden, crispy finish. Use olive oil as a swap if needed.
- Cream Cheese (2 ounces / 56g, softened) – Makes the filling extra creamy. Greek yogurt or a dairy-free spread can work in a pinch.
- Tortillas (4 large, 10-inch / 25cm) – Flour tortillas hold up best for wrapping and toasting, but you can use whole wheat or gluten-free tortillas if preferred.
- Fresh Parsley or Chives (2 tablespoons, chopped) – For a pop of color and freshness. Totally optional but highly recommended.
- Salt & Black Pepper – To taste. I add a generous pinch of each to the filling.
- Optional Extras:
- Red Pepper Flakes (a pinch) – If you like a little heat.
- Baby Spinach (a handful) – For sneaking in some greens.
- Sliced Tomatoes or Roasted Red Peppers – For extra flavor and juiciness.
If you’re out of cream cheese, I’ve used a scoop of plain Greek yogurt, and it works great. For a lower-carb version, try low-carb tortillas. Don’t be afraid to get creative—these cheesy garlic chicken wraps are super forgiving!
Equipment Needed
- Large Mixing Bowl – For tossing the chicken, cheese, and garlic together. I’ve used everything from glass to stainless steel; just pick what’s handy.
- Garlic Press or Chef’s Knife – To mince that garlic fine, so it melts into the filling. If you don’t have a press, just smash and chop with a knife.
- Measuring Cups & Spoons – For accuracy, especially with cheese and butter. Honestly, I sometimes eyeball the cheese—no judgment!
- Large Skillet or Grill Pan – Nonstick is easiest for crisping up the wraps, but a well-seasoned cast iron skillet gives a killer crust. If you only have a regular frying pan, that works too—just use a bit more butter or oil to prevent sticking.
- Spatula or Tongs – For flipping the wraps without making a mess.
- Pastry Brush (optional) – Handy for brushing melted butter on the tortillas, but a spoon works if you don’t have one.
- Cutting Board & Knife – For prepping any add-ins or garnishes.
If you’re short on gear, don’t worry. I’ve crisped these wraps in a waffle maker (seriously!) and even in the oven on busy nights. Just keep tools clean and dry for best results—especially that skillet, as any leftover bits can cause sticking or burning. Budget-friendly tip: Check thrift stores for sturdy nonstick pans or mixing bowls. They last forever with a little TLC.
How to Make Cheesy Garlic Chicken Wraps
-
Prep the Filling (5 minutes):
In a large mixing bowl, combine 2 cups (280g) shredded or diced cooked chicken, 1 1/2 cups (170g) shredded cheese, 3 minced garlic cloves, 2 oz (56g) softened cream cheese, and 1 tablespoon (14g) melted butter. Add a generous pinch of salt and black pepper. Toss everything together until the chicken is evenly coated, and the cheese/garlic is well distributed. If using, stir in a handful of baby spinach or a pinch of red pepper flakes. -
Warm the Tortillas (1 minute):
Stack 4 large flour tortillas and microwave for 15-20 seconds, just until pliable. This prevents cracking when you roll them. Alternatively, wrap in foil and warm in a 300°F (150°C) oven for 2-3 minutes. -
Fill and Roll (3 minutes):
Lay a tortilla flat on a cutting board. Spoon about 1/4 of the chicken-cheese filling (roughly 3/4 cup) down the center, leaving space at the edges. Fold in the sides, then roll up tightly from the bottom (like a burrito). Repeat with remaining tortillas and filling. -
Brush with Butter (1 minute):
Melt the remaining 1 tablespoon (14g) butter. Brush it on the outside of each wrap for that golden, crispy finish. If you’re feeling extra, sprinkle a bit more garlic on top! -
Toast the Wraps (7-10 minutes):
Heat a large nonstick skillet or grill pan over medium heat. Place wraps seam-side down in the skillet (work in batches if needed). Cook for 2-3 minutes per side, pressing gently with a spatula, until golden brown and crispy all over. If using a cast iron pan, you may need a tiny drizzle of oil to prevent sticking.
Troubleshooting: If the wraps aren’t browning, nudge up the heat slightly. If they brown too fast, lower the heat so the cheese fully melts. -
Rest, Slice & Serve (2 minutes):
Transfer wraps to a cutting board and let them rest for a minute (this helps the cheese set and keeps things tidy). Slice in half on the diagonal for that picture-perfect look. Sprinkle with fresh parsley or chives if you like.
Personal tip: If you’re making a double batch, keep finished wraps warm in a low oven (200°F/95°C) on a baking sheet while you toast the rest. And don’t be afraid to get the kids involved—they love filling and rolling!
Cooking Tips & Techniques
Over the years, I’ve learned a few tricks to make cheesy garlic chicken wraps even better—and to avoid the pitfalls that can turn a quick dinner into a kitchen headache.
- Keep the Filling Moist but Not Wet: Too much liquid (from watery chicken or extra veggies) can make wraps soggy. Pat your chicken dry and limit juicy add-ins like tomatoes.
- Don’t Overstuff: I know it’s tempting, but too much filling makes wraps burst open and ooze everywhere. Stick to about 3/4 cup per wrap.
- Press Down While Toasting: Use a spatula to gently compress wraps in the skillet—this helps the cheese melt evenly and creates that crispy crust. Just don’t squish them flat.
- Low and Slow Melts Cheese Best: If your cheese isn’t melting inside but the outside is browning, lower the heat and cover the pan loosely with foil for a minute. This traps the heat and melts the cheese through.
- Make Ahead for Busy Nights: You can prep the filling up to 2 days in advance. Store in a sealed container in the fridge, then assemble and toast when ready.
- Troubleshooting Leaky Wraps: If your tortillas crack, they’re probably too cold—give them a quick warm-up. If filling leaks, try rolling a bit tighter and tucking in the ends.
- Cleanup Hack: Immediately wipe out the pan between batches (if cheese escapes and burns, it’ll stick like glue!).
I’ve definitely had wraps fall apart or get too crispy (read: almost burnt!) when I walked away for “just a second.” Now, I keep a close eye and use that resting time to set the table or prep a quick side. Multitasking win!
Variations & Adaptations
The beauty of these cheesy garlic chicken wraps is how endlessly customizable they are. Here are some of my favorite ways to mix things up:
- Low-Carb/Keto: Use low-carb tortillas or large lettuce leaves as your wrap. Swap cream cheese for full-fat Greek yogurt. Keep an eye on cheese portions for carb counts.
- Vegetarian: Replace chicken with sautéed mushrooms, strips of roasted peppers, or even a can of drained white beans. I’ve made these with leftover roasted veggies and they’re still cheesy, garlicky goodness!
- Spicy Southwest: Add 1/2 teaspoon smoked paprika, a sprinkle of cumin, and a handful of corn or black beans to the filling. Serve with salsa and avocado slices.
- Seasonal Swaps: In summer, toss in chopped fresh herbs (basil, oregano) or a handful of cherry tomatoes. In winter, mix in finely chopped kale or spinach for extra nutrition.
- Dairy-Free: Use your favorite dairy-free cheese and vegan cream cheese (like Kite Hill or Violife). Swap butter for olive oil or a plant-based spread.
- Air Fryer Method: Assemble wraps, brush with butter, and air fry at 370°F (190°C) for 4-5 minutes per side for a super crispy texture with less oil.
One of my personal favorites is adding a little BBQ sauce to the chicken before mixing—think cheesy garlic BBQ chicken wraps! They’re always a hit at summer gatherings.
Serving & Storage Suggestions
Cheesy garlic chicken wraps are best served hot, straight from the skillet, when the cheese is gooey and the tortillas are crisp. I love slicing them in half and stacking them up on a big platter—makes for a fun, shareable dinner. Here’s how to make the most of them:
- Serving Temperature: Hot and crispy is best, but they’re still tasty at room temp (hello, lunchbox hero!).
- Presentation: Sprinkle with extra chopped parsley or chives for color. Serve with a side of marinara, ranch, or garlic aioli for dipping.
- Pairings: These wraps go great with a simple green salad, sweet potato fries, or a warm bowl of tomato soup.
- Storage: Cool leftovers completely, then wrap tightly in foil or plastic wrap. Store in the fridge for up to 3 days. For longer storage, freeze individually wrapped for up to 2 months.
- Reheating: Reheat wraps in a skillet over medium-low heat until warmed through and crispy again, about 3 minutes per side. For a quick fix, microwave for 60 seconds, but the tortilla will be softer.
- Flavor Over Time: The garlic and cheese flavors deepen after a day in the fridge—don’t be surprised if the leftovers taste even better!
If you like meal prepping, make a double batch and freeze extras. Just thaw overnight in the fridge before reheating for best results.
Nutritional Information & Benefits
Here’s the scoop on what you’re getting with each cheesy garlic chicken wrap (estimate per wrap):
- Calories: 425
- Protein: 27g
- Carbohydrates: 28g
- Fat: 23g
- Fiber: 2g
- Sugar: 2g
These wraps are a good source of protein thanks to the chicken and cheese, making them filling and satisfying. Garlic adds flavor without extra calories and is known for its immune-boosting properties. If you use whole wheat or high-fiber tortillas, you’ll get an extra fiber boost. They’re naturally gluten-free if you choose gluten-free wraps, and you can easily adapt for low-carb or dairy-free diets.
Allergens: Contains dairy and gluten (unless using dairy-free cheese and gluten-free tortillas). Always check your labels, especially with store-bought ingredients. I love serving these after a long day—they offer comfort without making you feel sluggish.
Conclusion
So there you have it—my tried-and-true cheesy garlic chicken wraps recipe, perfect for those nights when you need dinner fast but still crave something that feels a little special. These wraps are endlessly adaptable, family-friendly, and just plain delicious. You don’t have to be a kitchen pro to nail this one—just a few simple steps and dinner bliss is on the table.
Make it with your favorite cheeses, sneak in some veggies, or spice it up your way. I keep coming back to this recipe because it never fails to make everyone happy, and cleanup is a breeze. Honestly, it’s the kind of meal that makes you glad you didn’t just order takeout (again).
If you try these cheesy garlic chicken wraps, I’d love to hear how you customized them! Drop a comment, share your photos, or let me know your twist on the recipe. Let’s make dinner easy, tasty, and just a bit cheesy—because you deserve it!
Frequently Asked Questions
How do I keep the wraps from getting soggy?
Pat your chicken dry before mixing, and don’t add too many juicy veggies. Toasting the wraps in a hot skillet helps seal in the filling and keep the tortilla crisp.
Can I use raw chicken instead of cooked?
For this recipe, cooked chicken is best. If you only have raw, cook it first (pan-sear or bake), then shred or dice before using. Rotisserie chicken is my favorite shortcut!
What’s the best cheese for cheesy garlic chicken wraps?
A combo of mozzarella (for melt) and sharp cheddar (for flavor) works great, but you can use Monterey Jack, Colby Jack, or any melty cheese you love.
Can these wraps be made ahead of time?
Absolutely! Prepare the filling up to 2 days ahead, then assemble and toast just before serving. You can also freeze assembled wraps before toasting—just thaw and crisp up when ready.
How do I make this recipe gluten-free?
Just use gluten-free tortillas and double-check your cheese and other packaged ingredients for hidden gluten. The rest of the recipe stays the same!
Pin This Recipe!
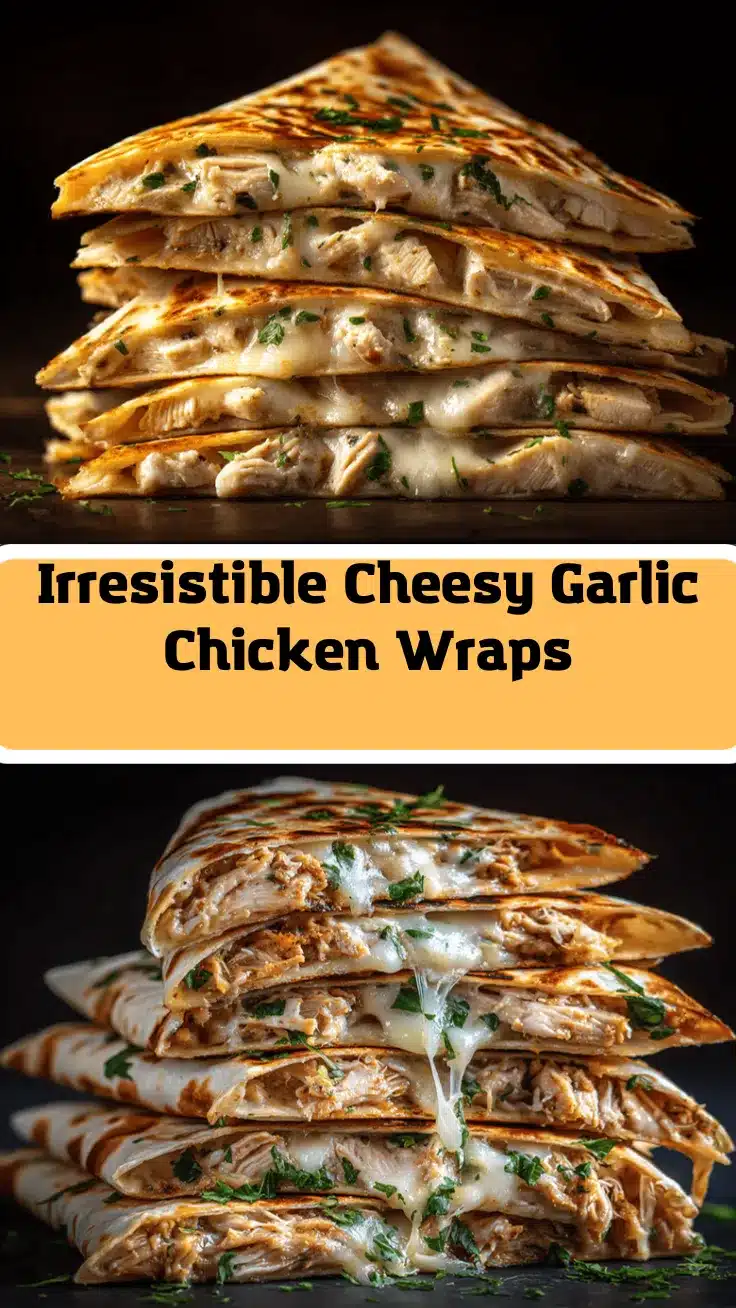
Cheesy Garlic Chicken Wraps

These cheesy garlic chicken wraps are a quick, 20-minute dinner packed with melty cheese, juicy chicken, and bold garlic flavor. Perfect for busy weeknights, they’re customizable, family-friendly, and irresistibly crispy.
- Prep Time: 10 minutes
- Cook Time: 10 minutes
- Total Time: 20 minutes
- Yield: 4 wraps 1x
- Category: Main Course
- Cuisine: American
Ingredients
- 2 cups cooked chicken, shredded or diced (about 280g)
- 1 1/2 cups shredded cheese (mozzarella and sharp cheddar recommended, about 170g)
- 3 cloves fresh garlic, minced
- 2 tablespoons butter, melted (divided, about 28g)
- 2 ounces cream cheese, softened (about 56g)
- 4 large flour tortillas (10-inch)
- 2 tablespoons fresh parsley or chives, chopped (optional)
- Salt and black pepper, to taste
- Optional: pinch red pepper flakes
- Optional: handful baby spinach
- Optional: sliced tomatoes or roasted red peppers
Instructions
- In a large mixing bowl, combine cooked chicken, shredded cheese, minced garlic, softened cream cheese, and 1 tablespoon melted butter. Add salt and black pepper to taste. Toss until evenly coated. Stir in optional spinach or red pepper flakes if using.
- Warm tortillas by stacking and microwaving for 15-20 seconds, or wrapping in foil and heating in a 300°F oven for 2-3 minutes until pliable.
- Lay a tortilla flat and spoon about 1/4 of the filling down the center. Fold in the sides and roll up tightly from the bottom. Repeat with remaining tortillas and filling.
- Melt remaining 1 tablespoon butter and brush on the outside of each wrap.
- Heat a large nonstick skillet or grill pan over medium heat. Place wraps seam-side down and cook for 2-3 minutes per side, pressing gently with a spatula, until golden brown and crispy. Work in batches if needed.
- Transfer wraps to a cutting board and let rest for 1 minute. Slice in half on the diagonal. Sprinkle with fresh parsley or chives if desired. Serve hot.
Notes
Pat chicken dry to avoid soggy wraps. Don’t overstuff; about 3/4 cup filling per wrap is ideal. Press wraps gently while toasting for even melting and crispiness. Filling can be made up to 2 days ahead. For gluten-free, use gluten-free tortillas. For vegetarian, substitute chicken with sautéed mushrooms, roasted peppers, or white beans.
Nutrition
- Serving Size: 1 wrap
- Calories: 425
- Sugar: 2
- Sodium: 700
- Fat: 23
- Saturated Fat: 11
- Carbohydrates: 28
- Fiber: 2
- Protein: 27
Keywords: cheesy chicken wraps, garlic chicken wraps, quick dinner, 20-minute meal, skillet wraps, easy chicken recipe, family dinner, rotisserie chicken, crispy tortilla, kid-friendly


