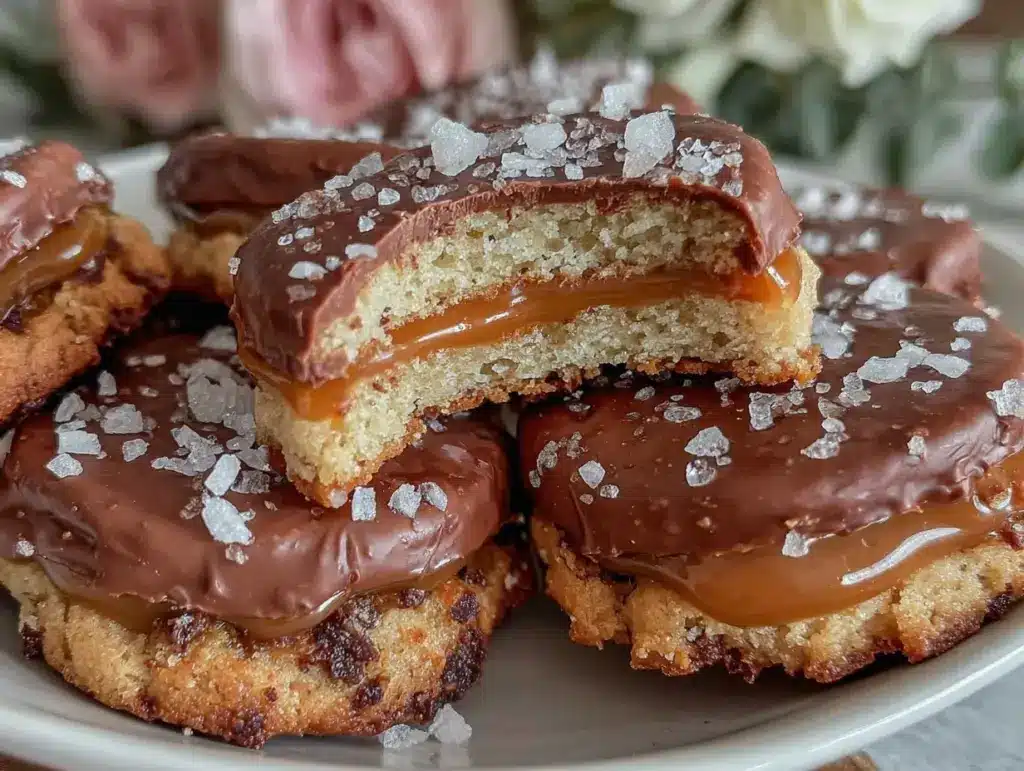
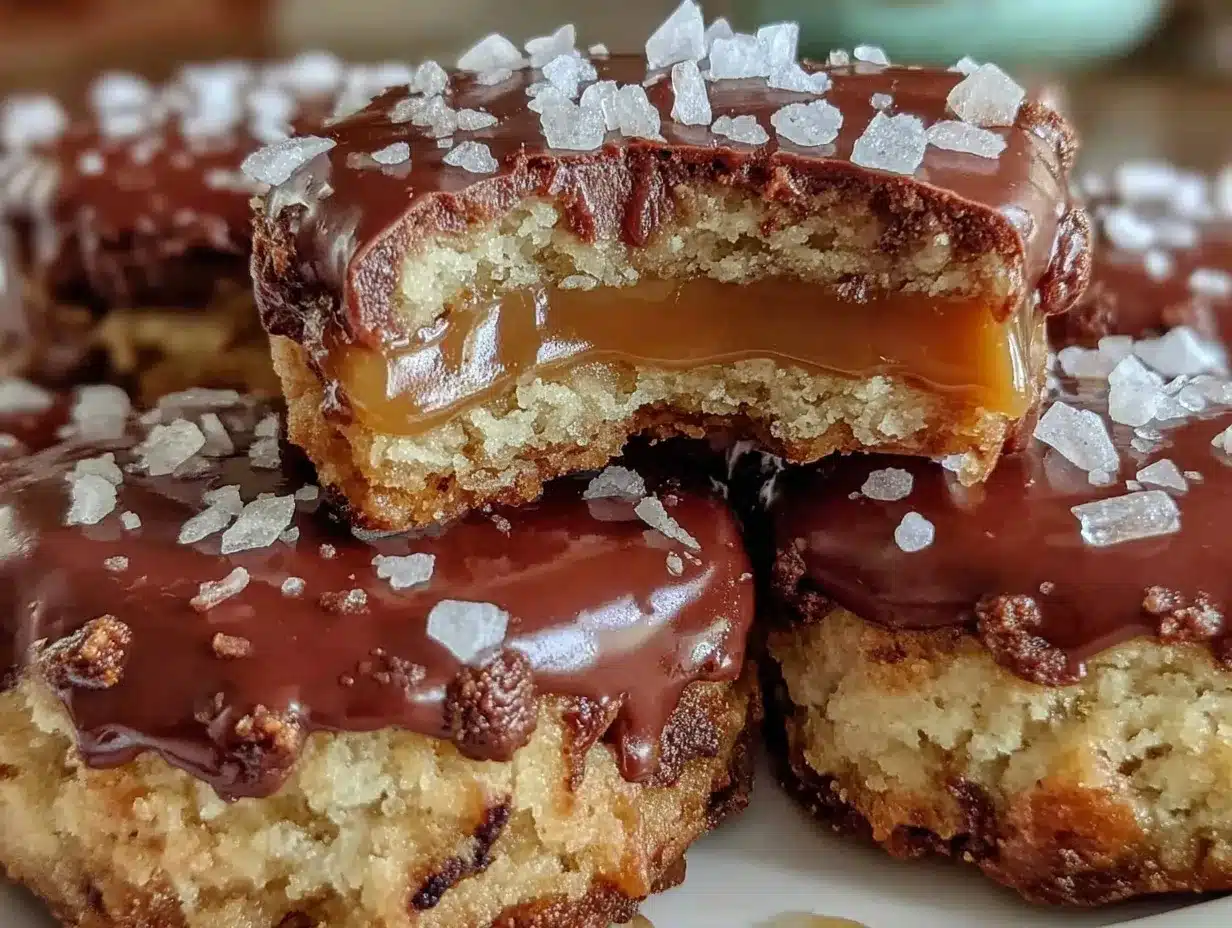
The smell of warm caramel melting into crisp, buttery cookie layers with a rich chocolate finish—that’s exactly what you get with these delicious Twix-style cookies. Honestly, the first time I made these, I couldn’t stop sneaking bites straight from the pan. There’s something about the gooey caramel hugging the cookie base, topped with a smooth chocolate layer, that turns a simple cookie into an irresistible treat. You know how some desserts just stick with you? This recipe definitely does.
I first stumbled upon this idea when I craved the classic Twix candy bar but wanted something homemade, fresh, and a little more indulgent. After testing and tweaking the layers over several weekends, I nailed a version that’s just the right balance of sweet, crunchy, and creamy. As someone who’s baked a lot of cookies (and eaten even more), I can say this recipe has become a go-to for celebrations, casual snacking, and even a cheeky late-night dessert.
If you’re looking for a cookie that feels both nostalgic and fancy, this recipe for delicious Twix-style cookies with gooey caramel and chocolate layers is your answer. It’s perfect for sharing with friends, gifting during holidays, or just treating yourself after a long day. Plus, it’s surprisingly straightforward to make, so even if you’re not a baking pro, you’ll find success (and joy) in every bite.
Why You’ll Love This Recipe
- Quick & Easy: You can whip up these cookies in under an hour, making them perfect for last-minute cravings or weekend baking projects.
- Simple Ingredients: No need to hunt for exotic items—the ingredients are pantry staples you probably already have, like butter, sugar, and chocolate chips.
- Perfect for Any Occasion: Whether it’s a birthday party, potluck, or cozy night in, these Twix-style cookies fit right in.
- Crowd-Pleaser: From kids to adults, everyone seems to love the combo of crunchy cookie, gooey caramel, and rich chocolate.
- Unbelievably Delicious: The texture combo is pure comfort food magic—crispy base, chewy caramel, silky chocolate top.
This isn’t just another cookie recipe; it’s a little bit of candy bar nostalgia baked into a homemade treat. The trick is in the layering and timing—getting that caramel just right so it doesn’t run everywhere but still melts perfectly when you bite in. I’ve tested this recipe multiple times, adjusting the caramel thickness and baking time to find the sweet spot. The result? A cookie that’s as close to the classic Twix as you can get, but with a homemade touch that’s honestly better.
Plus, making these feels special—you get to watch each layer come together, and the reward is worth every minute. If you’ve ever wished for a dessert that’s both familiar and a little fancy, these Twix-style cookies will totally hit that spot.
What Ingredients You Will Need
This recipe uses simple, wholesome ingredients to deliver bold flavor and satisfying texture without the fuss. Each component plays its part: a buttery cookie base, luscious caramel layer, and smooth chocolate topping.
- For the Cookie Base:
- 1 cup (227g) unsalted butter, softened (I prefer Kerrygold for richness)
- ½ cup (100g) granulated sugar
- 1 cup (120g) all-purpose flour (or almond flour for gluten-free)
- ½ teaspoon salt
- 1 teaspoon vanilla extract
- For the Caramel Layer:
- 1 cup (200g) granulated sugar
- 6 tablespoons (85g) unsalted butter, cubed
- ½ cup (120ml) heavy cream, warmed
- Pinch of salt (optional, to balance sweetness)
- For the Chocolate Layer:
- 1 cup (175g) semi-sweet or dark chocolate chips (Ghirardelli works beautifully)
- 1 teaspoon coconut oil or vegetable oil (helps chocolate set smoothly)
Feel free to swap out ingredients for dietary needs: coconut oil can replace butter in the cookie base for dairy-free, and use dairy-free cream for caramel if needed. For a seasonal twist, try adding a sprinkle of sea salt over the chocolate or some chopped nuts between layers. Trust me, these simple ingredients come together to create something that tastes way more complicated than it actually is.
Equipment Needed
- Baking pan (9×9 inch or 8×8 inch square pan works best; I often use a glass Pyrex pan for even baking)
- Mixing bowls (a couple of medium-sized ones)
- Electric mixer or sturdy whisk (for creaming butter and sugar)
- Medium saucepan (for making the caramel)
- Rubber spatula (essential for scraping down sides and folding batter)
- Measuring cups and spoons (accuracy helps with caramel success)
- Microwave-safe bowl or double boiler (for melting chocolate)
- Optional: parchment paper (to line the pan for easier cookie removal)
If you don’t have an electric mixer, a firm hand whisk will do—just takes a bit more elbow grease. For the caramel, a heavy-bottomed saucepan helps prevent burning. I’ve tried different pans over the years, and the caramel comes out best with thicker pans that distribute heat evenly. On a budget? A basic non-stick pan and wooden spoon will get the job done fine. Just keep an eye on the sugar so it doesn’t scorch.
Detailed Preparation Method
- Prepare the Cookie Base (10-15 minutes): Preheat your oven to 350°F (175°C). Line your baking pan with parchment paper or lightly grease it. In a mixing bowl, cream together 1 cup softened butter and ½ cup granulated sugar until light and fluffy—this usually takes about 3-5 minutes with an electric mixer. Stir in 1 teaspoon vanilla extract.
- Add Dry Ingredients: Sift together 1 cup flour and ½ teaspoon salt. Gradually add this to the butter mixture, folding gently until just combined. The dough should be soft but not sticky.
- Press and Bake: Transfer the dough to your prepared pan and press it evenly across the bottom. Don’t forget to press into the edges! Bake for 15-18 minutes until the edges are golden but the center is still soft to the touch. Remove from oven and let cool slightly while you make the caramel.
- Make the Caramel (10-12 minutes): In a medium saucepan over medium heat, add 1 cup sugar. Stir continuously until it melts and turns a deep amber color—watch carefully because it can burn fast! Remove from heat and quickly stir in 6 tablespoons butter until melted and combined. Slowly drizzle in ½ cup warm heavy cream while stirring vigorously. If lumps form, keep stirring until smooth. Add a pinch of salt if you like a salted caramel touch.
- Pour Caramel Over Cookie Base: Pour the caramel immediately over the slightly cooled cookie base, spreading evenly with a spatula. Let it sit for 10-15 minutes to set but remain gooey.
- Prepare the Chocolate Layer (5-7 minutes): Melt 1 cup chocolate chips with 1 teaspoon oil in a microwave-safe bowl in 30-second bursts, stirring in between. Once smooth, pour over the caramel layer and spread evenly. Tap the pan gently on the counter to smooth out any bubbles.
- Chill to Set: Place the pan in the refrigerator for at least 2 hours or until the chocolate is firm and the caramel is set but still soft. For best results, let it sit overnight.
- Cut and Serve: Use a sharp knife warmed under hot water and wiped dry to cut into bars or squares. This helps keep clean edges without cracking the chocolate.
Quick tip: If your caramel starts to harden before pouring, gently rewarm it on low heat, stirring constantly. Also, don’t skip chilling the bars—it makes slicing way easier and keeps those layers intact. I learned the hard way by trying to cut them too soon and ending up with a sticky mess!
Cooking Tips & Techniques
One of the trickiest parts of this recipe is the caramel—getting it just right makes all the difference. When melting sugar, patience is key; don’t rush the browning process or stir too aggressively, or you risk crystallization. I always use a heavy-bottomed pan to keep heat even, and I keep a close eye so it doesn’t burn.
Another tip? Warm your cream before adding to the caramel—it helps prevent sudden temperature shocks that can seize the sugar. For spreading the caramel and chocolate layers, a silicone spatula works wonders because it glides smoothly without sticking.
Also, remember to let the cookie base cool slightly before pouring caramel on it. If it’s too hot, the caramel might melt into the cookie and get soggy. Personally, I like to let the base cool about 10 minutes—it still feels warm but not hot to touch.
When melting chocolate, add a bit of oil—it smooths the texture and helps it set with a nice sheen. If you want a glossy finish, try not to overheat the chocolate; use 30-second intervals and stir gently.
Finally, chilling is non-negotiable here. It keeps the layers intact and makes cutting clean bars easy. If you skip this, you’ll end up with sticky fingers and messy slices—trust me, I’ve learned this the hard way!
Variations & Adaptations
- Nutty Twist: Add a layer of chopped nuts (pecans or almonds) between the cookie base and caramel for extra crunch and flavor.
- Salted Caramel: Sprinkle flaky sea salt over the caramel layer right before adding the chocolate for a sophisticated sweet-salty balance.
- Peanut Butter Swirl: Mix ¼ cup creamy peanut butter into the caramel before pouring it onto the cookie base for a peanut butter caramel combo.
- Gluten-Free Option: Swap the all-purpose flour for almond flour or a gluten-free flour blend—just note the texture will be slightly different but still delicious.
- Dairy-Free Version: Use coconut oil instead of butter and coconut cream in place of heavy cream to make this recipe vegan-friendly.
Personally, I once tried a version with a sprinkle of espresso powder in the chocolate layer—adds a subtle mocha note that’s surprisingly addictive. Feel free to experiment with your favorite flavors; this recipe is like a blank canvas for candy bar lovers.
Serving & Storage Suggestions
These Twix-style cookies are best served chilled or at room temperature. The chocolate layer is firm yet melts beautifully in your mouth, while the caramel stays perfectly gooey without being runny. They look great served on a simple plate with a dusting of powdered sugar or alongside a scoop of vanilla ice cream for extra indulgence.
Store these cookies in an airtight container in the refrigerator for up to a week. If you want to keep them longer, freeze the bars in a sealed container for up to 3 months. When ready to eat, thaw in the fridge overnight and bring to room temperature before serving.
Reheating isn’t usually necessary, but if you prefer a softer texture, pop a cookie in the microwave for 10-15 seconds. Just watch out—caramel can get super hot! Over time, the flavors meld even more, making the cookie base a bit softer and the caramel richer. Honestly, they taste even better the next day.
Pair these cookies with a cup of coffee or a glass of cold milk for a classic combo that never disappoints.
Nutritional Information & Benefits
Each delicious Twix-style cookie bar is roughly estimated to contain about 250-300 calories, depending on the size you cut. They’re rich in fats and sugars, so definitely a treat best enjoyed in moderation. However, the recipe’s use of real butter and dark chocolate provides some antioxidants and healthy fats compared to processed candy bars.
The caramel’s sugar content is balanced by the homemade aspect—no preservatives or artificial additives. For those mindful of allergens, this recipe contains dairy and gluten by default, but swapping ingredients can accommodate gluten-free or dairy-free diets quite easily.
From a wellness perspective, making your own treats like these means you control the ingredients and quality. Plus, sharing homemade cookies brings joy and connection, which is great for mental health—so that’s a bonus!
Conclusion
To sum it up, these delicious Twix-style cookies with gooey caramel and chocolate layers are a total crowd-pleaser and surprisingly easy to make. The combination of buttery cookie, rich caramel, and smooth chocolate hits all the right notes for a nostalgic yet homemade dessert. I love how this recipe gives you the magic of a classic candy bar but with the warmth and freshness of baking at home.
Feel free to customize with nuts, salts, or peanut butter swirls based on your cravings. I encourage you to give it a try—even if you’re new to baking, the step-by-step method makes it manageable and enjoyable. Plus, there’s nothing quite like the pride of serving up a batch of cookies that disappear in minutes!
If you make these, please share your experience or any fun twists you tried—I’d love to hear! Happy baking, and remember: the best desserts are the ones made with a little love and a lot of chocolate.
FAQs
Can I make these Twix-style cookies ahead of time?
Absolutely! They store well in the fridge for up to a week and can be frozen for longer storage. Just chill them well before cutting for best results.
What’s the best way to melt chocolate for the topping?
Use a microwave in 30-second bursts, stirring in between, or melt it gently over a double boiler to avoid burning.
Can I use store-bought caramel instead of making my own?
You can, but homemade caramel gives a fresher, richer flavor and better texture. Store-bought caramel can be too runny or overly sweet.
How do I prevent the caramel from hardening too much?
Make sure to add warm cream slowly and stir constantly. Also, don’t overcook the caramel; remove it from heat as soon as it’s a deep amber color.
Is there a vegan version of this recipe?
Yes! Substitute butter with coconut oil, use a dairy-free cream alternative, and pick dairy-free chocolate chips to make it vegan-friendly.
Pin This Recipe!
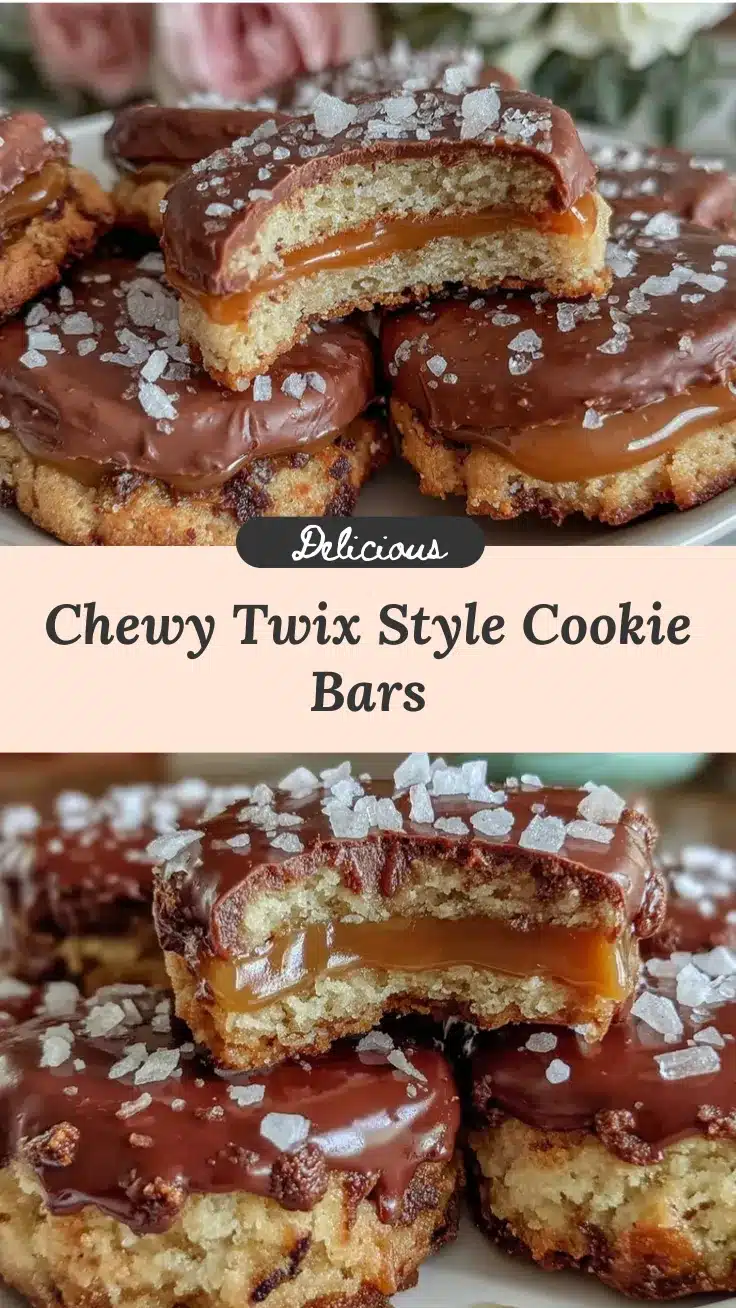
Delicious Twix-Style Cookies Recipe with Gooey Caramel and Chocolate Layers Made Easy

These Twix-style cookies feature a buttery cookie base, gooey caramel layer, and smooth chocolate topping, creating a nostalgic and indulgent treat that’s easy to make and perfect for any occasion.
- Prep Time: 15 minutes
- Cook Time: 18 minutes
- Total Time: 2 hours 33 minutes
- Yield: 16 servings 1x
- Category: Dessert
- Cuisine: American
Ingredients
- 1 cup (227g) unsalted butter, softened
- ½ cup (100g) granulated sugar
- 1 cup (120g) all-purpose flour (or almond flour for gluten-free)
- ½ teaspoon salt
- 1 teaspoon vanilla extract
- 1 cup (200g) granulated sugar (for caramel)
- 6 tablespoons (85g) unsalted butter, cubed (for caramel)
- ½ cup (120ml) heavy cream, warmed (for caramel)
- Pinch of salt (optional, for caramel)
- 1 cup (175g) semi-sweet or dark chocolate chips
- 1 teaspoon coconut oil or vegetable oil (for chocolate layer)
Instructions
- Preheat oven to 350°F (175°C). Line a 9×9 inch or 8×8 inch baking pan with parchment paper or lightly grease it.
- In a mixing bowl, cream together 1 cup softened butter and ½ cup granulated sugar until light and fluffy (3-5 minutes). Stir in 1 teaspoon vanilla extract.
- Sift together 1 cup flour and ½ teaspoon salt. Gradually fold into the butter mixture until just combined. Dough should be soft but not sticky.
- Press dough evenly into the prepared pan, including edges. Bake for 15-18 minutes until edges are golden but center is still soft. Let cool slightly.
- In a medium saucepan over medium heat, melt 1 cup sugar, stirring continuously until deep amber color forms. Remove from heat.
- Quickly stir in 6 tablespoons cubed butter until melted and combined. Slowly drizzle in ½ cup warm heavy cream while stirring vigorously until smooth. Add pinch of salt if desired.
- Pour caramel over the slightly cooled cookie base and spread evenly. Let set for 10-15 minutes but remain gooey.
- Melt 1 cup chocolate chips with 1 teaspoon oil in microwave-safe bowl in 30-second bursts, stirring between until smooth.
- Pour melted chocolate over caramel layer and spread evenly. Tap pan gently to remove bubbles.
- Refrigerate for at least 2 hours or overnight until chocolate is firm and caramel is set but soft.
- Use a sharp knife warmed under hot water and dried to cut into bars or squares for clean edges.
Notes
Warm the cream before adding to caramel to prevent seizing. Use a heavy-bottomed pan for even caramel cooking. Chill cookies thoroughly before cutting to avoid sticky mess. Add oil to chocolate for smooth setting. Variations include adding nuts, sea salt, or peanut butter swirl. For vegan version, substitute butter with coconut oil, use dairy-free cream and chocolate.
Nutrition
- Serving Size: 1 cookie bar (approx
- Calories: 275
- Sugar: 20
- Sodium: 110
- Fat: 18
- Saturated Fat: 11
- Carbohydrates: 28
- Fiber: 2
- Protein: 3
Keywords: Twix-style cookies, caramel cookies, chocolate cookies, homemade candy bars, easy cookie recipe, layered cookies, caramel chocolate dessert