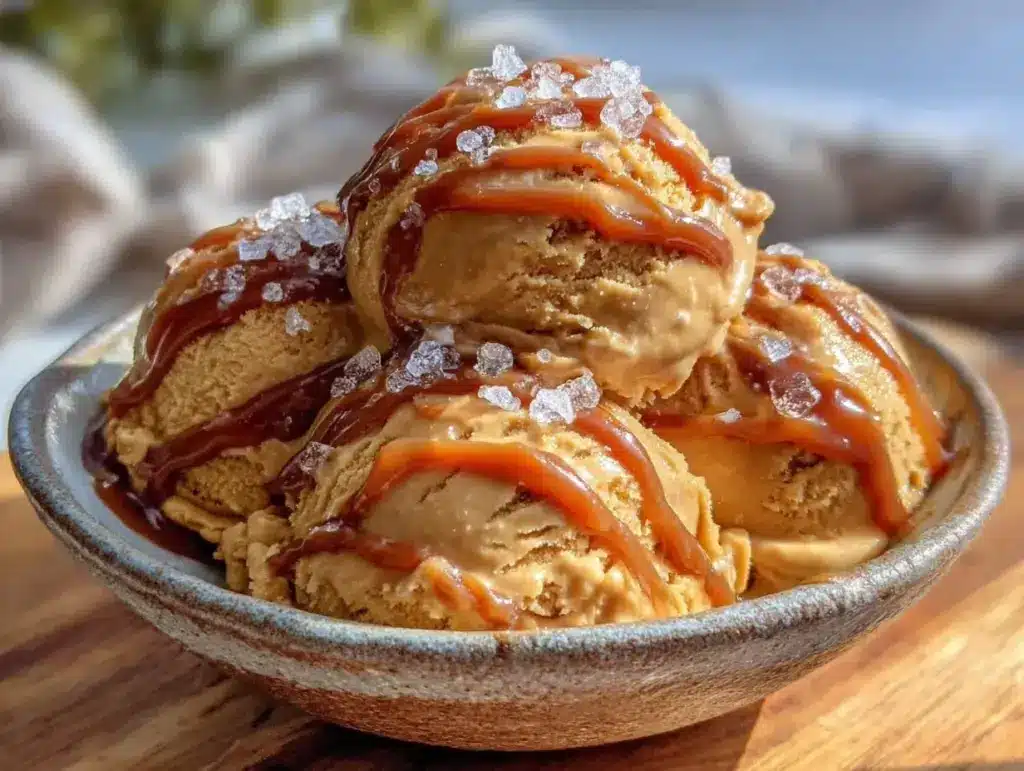
The bowl was empty before anyone even reached for seconds. Third time that week. It’s funny how something as simple as ice cream can cause a little buzz among friends without me even trying to push it. Honestly, I was just messing around with some leftover caramel sauce and whipped cream one evening, not expecting much. But the moment I scooped that first bite of this easy creamy no-churn salted caramel ice cream, the quiet “wow” from my husband was enough to make me double down on the recipe. Then the texts started rolling in the next day — “Can you send me the recipe?” “Seriously, that caramel ice cream was unreal.”
It all began on a lazy weekend when I wanted dessert but not the hassle of cranking up the ice cream machine or fussing over egg yolks. Something quick, creamy, and with that irresistible sweet-salty twist was on my mind. I grabbed the jar of salted caramel sauce I’d been saving, mixed it with some heavy cream and sweetened condensed milk, and let the magic happen in the freezer. No churning required. No stress. Just creamy, dreamy ice cream that melts on your tongue and leaves a lingering note of buttery caramel with a pinch of sea salt.
What surprised me most was how this recipe managed to feel like a special treat yet was so simple I found myself making it on a whim. It’s not just the flavor — it’s the texture, the way the ice cream folds silky richness and that perfect salted caramel bite. I think this little recipe stuck because it’s honest and uncomplicated. You don’t have to be a pro to nail it, and it always makes people smile. And that, in the end, is what cooking’s about for me — those moments when you see a plate wiped clean and know you’ve done something right.
Why You’ll Love This Recipe
Over the years, I’ve tested countless no-churn ice cream recipes, and this salted caramel version stands out because it blends ease and indulgence effortlessly. There’s no need for fancy equipment or complex steps—just simple ingredients coming together to create something unexpectedly luxurious.
- Quick & Easy: Ready in under 10 minutes, perfect for those sudden dessert cravings or last-minute gatherings.
- Simple Ingredients: Uses pantry staples like sweetened condensed milk and heavy cream, plus that luscious salted caramel sauce you can buy or make yourself.
- Perfect for Any Occasion: Whether it’s a casual weeknight treat or a sweet finish to a dinner party, this ice cream fits right in.
- Crowd-Pleaser: The balance of sweet and salty hits just right, garnering compliments from kids and adults alike.
- Unbelievably Delicious: The creamy, smooth texture combined with the rich caramel flavor makes every spoonful feel indulgent without being over the top.
What makes this recipe different? Well, it’s all about the technique: gently folding whipped cream into sweetened condensed milk keeps the ice cream ultra-light and creamy without the need for eggs or machines. And the salted caramel sauce isn’t just swirled in — it’s folded in just enough to create ribbons of flavor that surprise your palate with each bite. I’ve found that using a good-quality caramel sauce (I lean toward Trader Joe’s or homemade versions) really makes a difference, but you can tweak it to suit your sweetness or salt preference.
This recipe isn’t just about dessert—it’s a little moment of joy you can pull out whenever you want, with minimal effort. It’s the kind of treat you savor quietly, knowing you made it yourself—and that it’s just right.
What Ingredients You Will Need
This recipe uses simple, wholesome ingredients that deliver bold flavor and satisfying texture without the fuss. Most of these are pantry staples, with the salted caramel sauce bringing the special touch. Feel free to swap or adjust based on what you have on hand.
- Sweetened Condensed Milk (14 oz / 396 g can) – The secret to creamy sweetness without added sugar; I like Eagle Brand for consistency.
- Heavy Whipping Cream (2 cups / 480 ml) – Whipped to soft peaks for that luscious texture; try to use fresh cream for best results.
- Salted Caramel Sauce (3/4 cup / 180 ml) – Use store-bought or homemade. If homemade, make sure it’s cooled before folding in.
- Vanilla Extract (1 teaspoon) – Adds depth and rounds out the flavors beautifully.
- Sea Salt (1/4 teaspoon, plus extra for sprinkling) – Enhances the salted caramel taste; flaky sea salt like Maldon is ideal.
Optional additions:
- Chopped pecans or toasted walnuts (1/2 cup / 60 g) – For a bit of crunch and nuttiness.
- Chocolate chips or chunks (1/3 cup / 60 g) – To add a hint of chocolatey contrast.
- Almond extract (a few drops) – For a subtle nutty aroma if you want a twist.
If you’re watching dairy intake, you can swap heavy cream with full-fat coconut cream, but keep in mind the texture will be a bit different. Also, for a gluten-free diet, this recipe is safe as-is, since it contains no flour or gluten ingredients.
Equipment Needed
- Mixing Bowls: One large bowl for whipping cream and another for mixing condensed milk and caramel. Glass or metal bowls work best for whipping cream.
- Electric Hand Mixer or Stand Mixer: Essential for whipping the cream to soft peaks effortlessly; you can do it by hand but it takes longer.
- Spatula: A flexible silicone spatula helps gently fold ingredients without deflating the cream.
- Freezer-Safe Container: A loaf pan or plastic container with a lid works well for freezing the ice cream.
- Measuring Cups and Spoons: For precise ingredient amounts—accuracy matters when balancing sweetness and salt.
If you don’t have a mixer, a whisk and some patience can substitute, but honestly, the mixer is worth it for this recipe’s ease. For storage, a good seal on your container helps prevent ice crystals from forming.
Preparation Method
- Whip the Cream: Pour 2 cups (480 ml) of cold heavy whipping cream into a chilled mixing bowl. Using an electric mixer, whip on medium-high speed until soft peaks form—this means when you lift the beaters, the cream holds shape but still gently droops. This step takes about 3-5 minutes. Don’t over-whip or you’ll get butter!
- Mix Condensed Milk and Flavor: In a separate bowl, combine the 14 oz (396 g) can of sweetened condensed milk with 1 teaspoon vanilla extract and 1/4 teaspoon sea salt. Stir gently until smooth. This mixture gives the ice cream body and sweetness.
- Fold Cream into Condensed Milk: Add about one-third of the whipped cream to the condensed milk mixture and gently fold together with a spatula to lighten it. Then fold in the remaining whipped cream carefully to keep the mixture airy. This folding technique is what keeps your ice cream creamy and soft.
- Swirl in Salted Caramel: Spoon 3/4 cup (180 ml) of salted caramel sauce into the mixture. Use the spatula to gently fold some of it in, but leave plenty of swirls for texture and flavor bursts. You want those caramel ribbons, not a uniform blend.
- Optional Mix-ins: If using nuts or chocolate chips, fold them in now, distributing evenly.
- Freeze: Transfer the mixture into your freezer-safe container, smoothing the top. Lightly sprinkle a pinch of flaky sea salt over the surface for an extra pop of flavor. Cover tightly with a lid or plastic wrap. Freeze for at least 6 hours or overnight.
- Serving: Let the ice cream sit at room temperature for 5-10 minutes before scooping to soften slightly for easier serving.
If you notice the ice cream is too firm or icy after freezing, let it thaw a bit longer next time or try folding the whipped cream a little more gently to keep airiness. The texture should be smooth and creamy, not hard or icy.
Cooking Tips & Techniques
Making no-churn ice cream is a bit of a balancing act between texture and flavor. Here are some tips I’ve picked up from trial, error, and sharing this with friends:
- Whip the Cream Just Right: Soft peaks are your goal. Underwhipping means runny ice cream; overwhipping can cause graininess or butter formation. Keep an eye on the texture, and stop whipping as soon as you see peaks.
- Fold Gently: Don’t rush folding. Use a light hand to combine whipped cream with condensed milk. Vigorous mixing deflates the air, making the ice cream dense and icy.
- Salted Caramel Quality Matters: The flavor of your caramel sauce shines through, so don’t skimp. I’ve learned that homemade caramel sauce often tastes richer and less sweet than store-bought, but both work well.
- Freezing Container Choice: A shallow, wide container freezes faster and leads to a creamier texture. Avoid deep containers that can freeze unevenly.
- Timing: Plan ahead. Even though prep is quick, freezing takes time. If you’re short on patience, try smaller containers for quicker set times.
One time, I accidentally added too much salt, and the whole batch tasted off — lesson learned to measure carefully! Also, I like to prep this ice cream when I’m making other dishes like creamy chicken Caesar pasta salad, so dinner and dessert come together effortlessly.
Variations & Adaptations
This easy creamy no-churn salted caramel ice cream is a flexible base that lets you tweak flavors or ingredients depending on your mood or dietary needs.
- Chocolate-Caramel Twist: Drizzle melted dark chocolate or fold in mini chocolate chips for a classic combo.
- Nutty Delight: Add toasted pecans, almonds, or walnuts for crunch and earthiness. Toasting nuts beforehand really amps up their flavor.
- Dairy-Free Version: Substitute heavy cream with full-fat coconut cream and use sweetened condensed coconut milk. The texture will be slightly different but still creamy and dreamy.
- Spiced Caramel: Stir in a pinch of cinnamon or cayenne to the caramel sauce for warmth or a subtle kick.
- Fruit Infusion: Swirl in chopped apples or pears cooked down with cinnamon for a salted caramel apple vibe reminiscent of my caramel apple pie bombs.
I once tried blending a tablespoon of bourbon into the caramel sauce for a grown-up twist — it added complexity and was a hit at a small gathering.
Serving & Storage Suggestions
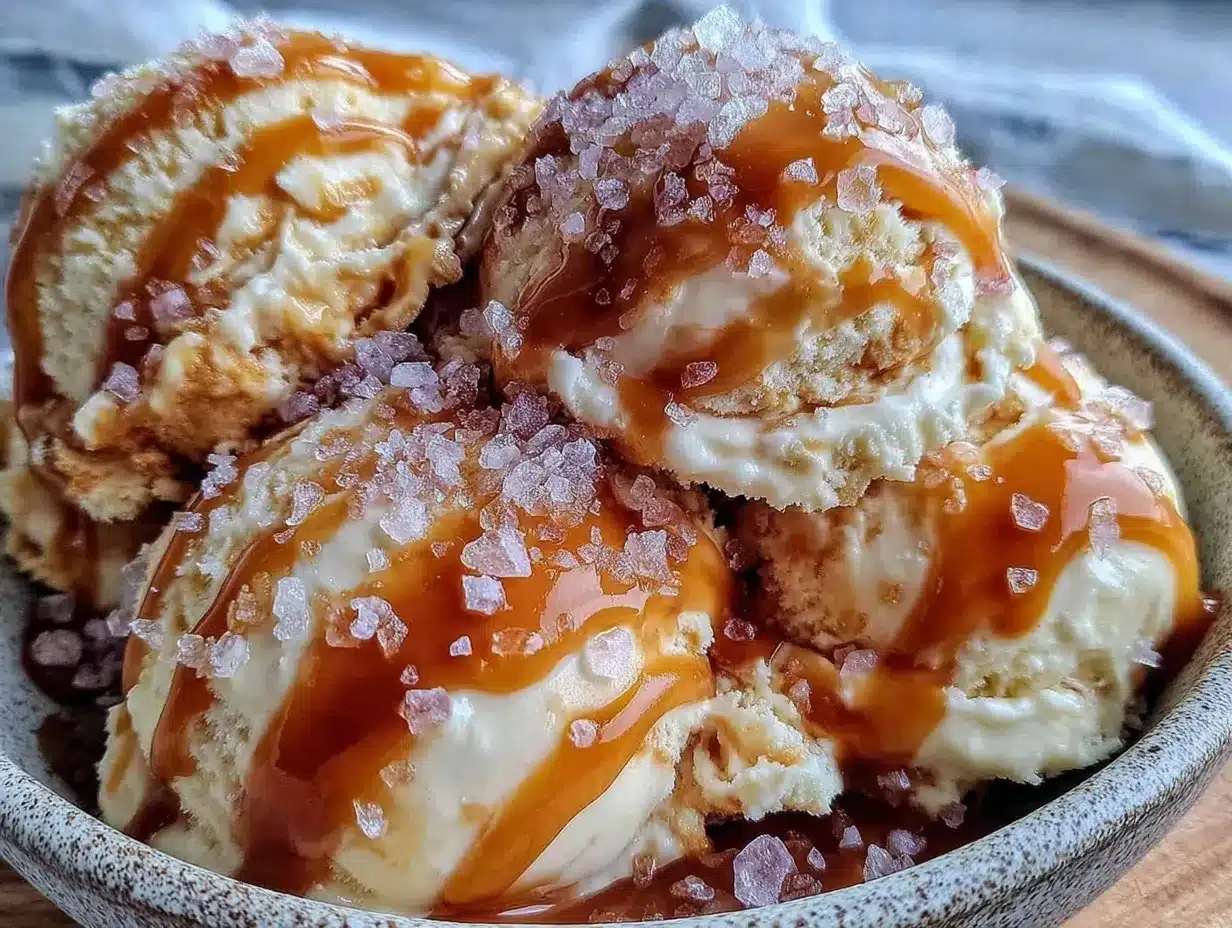
This ice cream is best served slightly softened — take it out of the freezer about 5 to 10 minutes before scooping. That way, it’s easier to dish out and melts gracefully in your mouth. For presentation, a drizzle of extra salted caramel sauce or a sprinkle of flaky sea salt on top really makes it shine.
Pair it with warm desserts like apple crisps or alongside freshly baked soft sugar cookies for an indulgent combo. If you’re planning a party, this ice cream can be a perfect follow-up to savory bites like crispy ham and cheese sticks — a sweet finish that guests will remember.
Store leftovers in an airtight container in the freezer for up to 2 weeks. Over time, the flavor may mellow slightly, but that salted caramel richness holds up well. When reheating, avoid microwaving directly; instead, let it thaw at room temperature or scoop into bowls to soften naturally.
Nutritional Information & Benefits
One serving (about 1/2 cup) of this no-churn salted caramel ice cream contains approximately 250-300 calories, with most coming from fats and sugars. The sweetened condensed milk adds richness and sweetness without needing extra sugar, which helps balance the recipe’s simplicity.
The heavy cream provides fat that contributes to the creamy texture and satiety, while the caramel sauce brings antioxidants from the caramelized sugars. Of course, this is a treat best enjoyed in moderation, but it’s free from eggs and gluten, making it accessible for many dietary preferences.
Personally, I appreciate that this recipe lets me indulge in homemade dessert without the guilt of additives or preservatives found in store-bought ice cream. The straightforward ingredients give me confidence in what I’m serving my family and friends.
Conclusion
Easy creamy no-churn salted caramel ice cream is one of those rare recipes that feels both special and effortless, making it a keeper in my kitchen rotation. It’s the kind of dessert that invites you to slow down, savor the moment, and maybe sneak an extra spoonful when no one’s looking.
Feel free to play around with mix-ins or swap ingredients to match your taste or dietary needs. After all, the best recipes are the ones you make your own. I love this recipe because it brings people together — from casual family nights to surprise guests — with little effort and big flavor.
Give it a try, and if you do, I’d love to hear how you made it yours. Drop a comment below with your favorite variations or any tips you picked up along the way. Let’s keep the homemade dessert love going!
Frequently Asked Questions
Can I make this salted caramel ice cream without an ice cream maker?
Absolutely! This recipe is designed to be no-churn, which means you simply mix the ingredients and freeze them without needing any special equipment.
How long does the ice cream need to freeze?
For best texture, freeze for at least 6 hours or overnight. This ensures it sets properly and develops that creamy consistency.
Can I use store-bought caramel sauce, or do I need to make it?
Store-bought caramel sauce works perfectly and saves time. Just make sure it’s a good-quality salted caramel to get that rich flavor.
Is it possible to make this recipe dairy-free?
Yes, substitute heavy cream with full-fat coconut cream and use sweetened condensed coconut milk. The texture will change slightly but still tastes great.
Can I add mix-ins like nuts or chocolate chips?
Definitely! Fold in chopped nuts, chocolate chips, or even swirl in fudge for extra texture and flavor. Just add them before freezing.
Pin This Recipe!
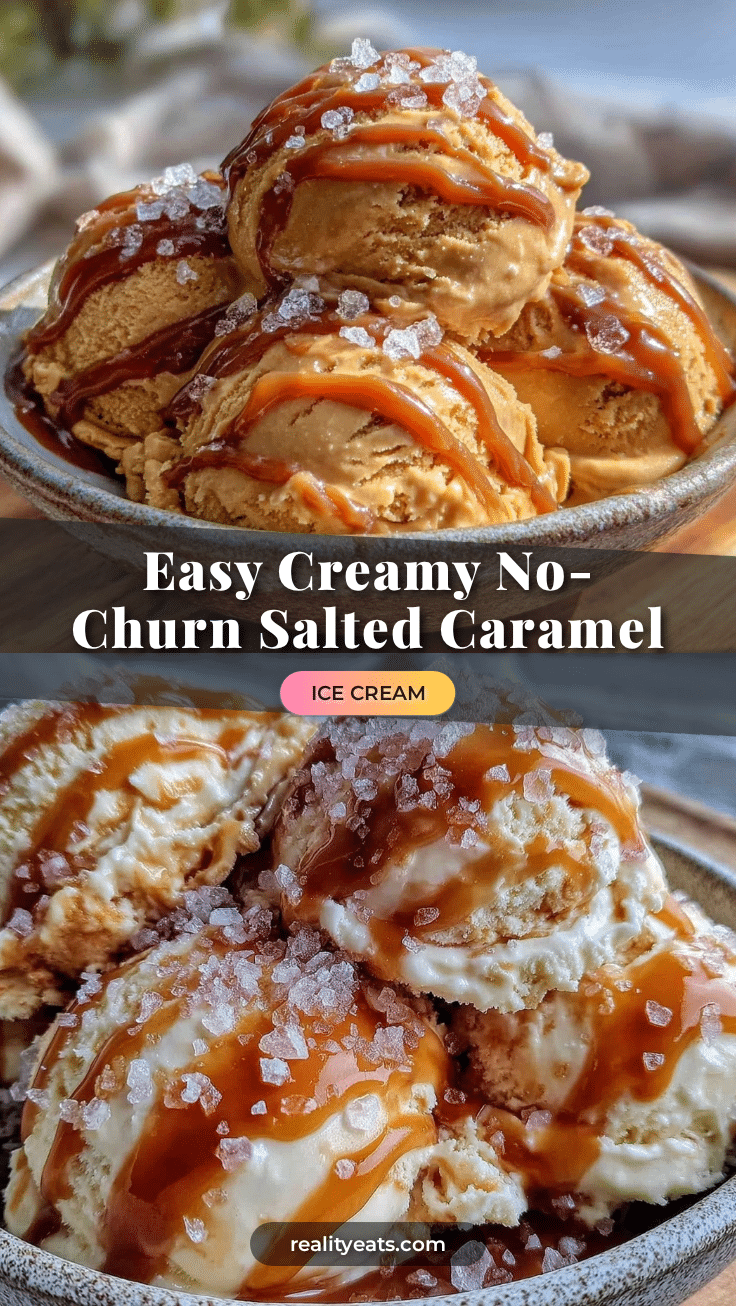
Easy Creamy No-Churn Salted Caramel Ice Cream Recipe for Perfect Homemade Dessert

A quick and easy no-churn salted caramel ice cream that is creamy, dreamy, and perfect for any occasion. Made with simple pantry staples and no ice cream machine required.
- Prep Time: 10 minutes
- Cook Time: 0 minutes
- Total Time: 6 hours 10 minutes
- Yield: 8 servings 1x
- Category: Dessert
- Cuisine: American
Ingredients
- 14 oz (396 g) sweetened condensed milk
- 2 cups (480 ml) heavy whipping cream
- 3/4 cup (180 ml) salted caramel sauce
- 1 teaspoon vanilla extract
- 1/4 teaspoon sea salt, plus extra for sprinkling
- Optional: 1/2 cup (60 g) chopped pecans or toasted walnuts
- Optional: 1/3 cup (60 g) chocolate chips or chunks
- Optional: a few drops almond extract
Instructions
- Pour 2 cups (480 ml) of cold heavy whipping cream into a chilled mixing bowl. Using an electric mixer, whip on medium-high speed until soft peaks form, about 3-5 minutes. Do not over-whip.
- In a separate bowl, combine the 14 oz (396 g) can of sweetened condensed milk with 1 teaspoon vanilla extract and 1/4 teaspoon sea salt. Stir gently until smooth.
- Add about one-third of the whipped cream to the condensed milk mixture and gently fold together with a spatula to lighten it. Then fold in the remaining whipped cream carefully to keep the mixture airy.
- Spoon 3/4 cup (180 ml) of salted caramel sauce into the mixture. Gently fold some of it in, leaving plenty of swirls for texture and flavor bursts.
- If using nuts or chocolate chips, fold them in now, distributing evenly.
- Transfer the mixture into a freezer-safe container, smoothing the top. Lightly sprinkle a pinch of flaky sea salt over the surface. Cover tightly with a lid or plastic wrap.
- Freeze for at least 6 hours or overnight.
- Before serving, let the ice cream sit at room temperature for 5-10 minutes to soften slightly for easier scooping.
Notes
Use soft peaks when whipping cream to avoid butter formation. Fold ingredients gently to keep the ice cream airy and creamy. Use a shallow, wide container for faster freezing and creamier texture. Let ice cream soften 5-10 minutes before serving for best scoopability. Store leftovers in an airtight container in the freezer for up to 2 weeks.
Nutrition
- Serving Size: 1/2 cup
- Calories: 275
- Sugar: 24
- Sodium: 110
- Fat: 18
- Saturated Fat: 11
- Carbohydrates: 26
- Protein: 3
Keywords: no-churn ice cream, salted caramel ice cream, easy homemade ice cream, no ice cream maker, creamy dessert, quick dessert, caramel dessert