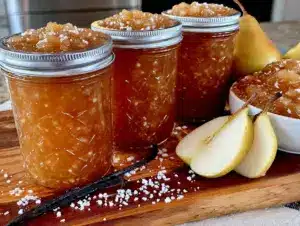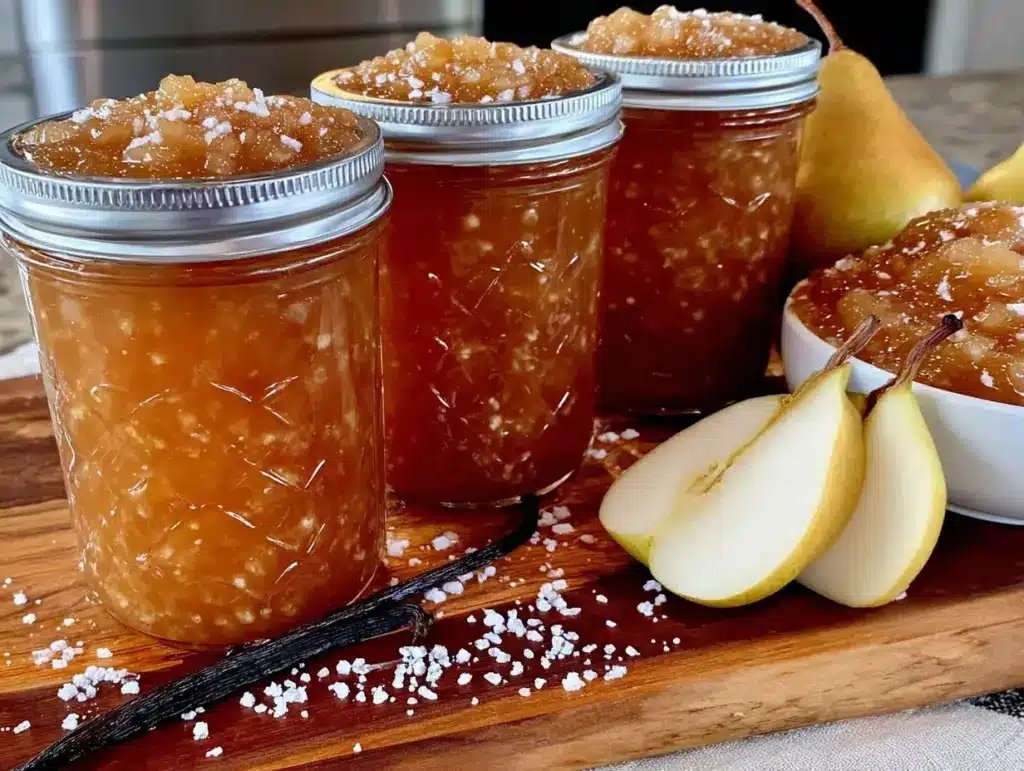
Three pounds of Bosc pears sat on my counter, and they were all going to go bad by tomorrow. I had bought them with grand intentions of a fancy tart, but the week got away from me, as it always does. The kids were hungry, the kitchen was a mess, and I just needed something—anything—to save these beautiful, fragrant pears from the compost bin. I grabbed a vanilla bean I had been hoarding for a “special occasion” and thought, why not just throw it all in a pot? That was the moment these Easy Vanilla Bean Pear Preserves were born. Honestly, it was pure desperation, and now it’s the only way I want to eat pears all fall long. They turned out so much better than I ever could have planned, with a deep, honeyed sweetness that feels like a hug in a jar. This is that recipe—the one that started as a kitchen save and ended up as a family staple.
Why You’ll Love This Recipe
I have tested this recipe about five times now, tweaking the sugar ratio and the cooking time to get it just right. It is tested, approved by my picky kids, and even gifted to neighbors who demanded the recipe. Here is why this one is a keeper.
- Simple Ingredients: You only need pears, sugar, lemon juice, and a vanilla bean. No fancy pectin packets or special equipment required.
- Perfect for Beginners: If you have never made preserves before, this is the recipe to start with. It is forgiving and hard to mess up.
- Incredible Flavor: The vanilla bean takes this from plain pear jam to something truly special. It tastes like a fancy artisan jar you would pay fifteen dollars for.
- Great for Gifting: Tie a ribbon around a jar and you have an instant, heartfelt holiday gift. It pairs beautifully with our Moist Blueberry Cream Cheese Bread for a breakfast basket.
- Versatile Use: Spread it on toast, swirl it into yogurt, spoon it over ice cream, or use it as a filling for Cozy Apple Pie Bars for a flavor twist.
What makes this recipe different from all the others is the technique. I don’t peel all the pears perfectly, and I let some of them break down naturally while leaving small chunks for texture. The vanilla bean isn’t just added—it is steeped and simmered so its flavor infuses every single bite. This isn’t just another pear jam; it is the best version of pear preserves you will ever make.
What Ingredients You Will Need
This recipe uses simple, wholesome ingredients that come together to create a rich, aromatic preserve. The magic happens when the pears caramelize and the vanilla bean works its magic. Here is everything you need.
- Pears: 3 pounds (about 6-7 medium pears), ripe but still firm. Bosc or Bartlett work best. Bosc holds its shape slightly better, while Bartlett breaks down more for a jammy texture. I usually use a mix of both.
- Granulated Sugar: 2 cups (400g). Do not reduce this too much or the preserves won’t set properly. The sugar is essential for preservation and texture.
- Fresh Lemon Juice: 3 tablespoons (45ml) from about 1 large lemon. This adds acidity to balance the sweetness and helps with the set. Do not use bottled juice here.
- Vanilla Bean: 1 whole vanilla bean, split lengthwise. Do not use vanilla extract in this recipe—the seeds and the pod are what create that gorgeous speckled look and deep flavor. I prefer Madagascar vanilla beans for their rich, creamy flavor.
- Water: ¼ cup (60ml) to help the pears start cooking without burning.
- Pinch of Salt: Just a tiny pinch to brighten all the flavors.
Ingredient Selection Tips: Look for pears that yield slightly to pressure near the stem but are not mushy. If your pears are rock hard, let them sit on the counter for a day or two. If they are overripe, the preserves will be too watery and may not set. I learned this the hard way with a batch that turned into pear syrup—delicious, but not what I was going for.
Substitution Guidance: You can use 2 teaspoons of vanilla bean paste instead of a whole vanilla bean if that is what you have. Just add it at the end of cooking. If you want a lower-sugar version, you can use a low-sugar pectin following the package instructions, but the texture will be different—more like a jelly than a preserve.
Equipment Needed
You do not need a fancy canning setup for this recipe. Here is what I use.
- Large, Heavy-Bottomed Pot: A Dutch oven or a 6-quart stainless steel pot works perfectly. A heavy bottom prevents scorching, which is a real risk with sugary preserves.
- Wooden Spoon or Silicone Spatula: For stirring. Metal can react with the acid in the fruit.
- Sharp Knife and Cutting Board: For prepping the pears and splitting the vanilla bean.
- Measuring Cups and Spoons: For accuracy.
- Jars and Lids: 3-4 half-pint (8 oz) jars with new lids. You can reuse old jars, but always use new lids for a proper seal.
- Canning Funnel (Optional but Helpful): Makes filling jars much less messy.
- Tongs or Jar Lifter: For handling hot jars.
If you don’t have a Dutch oven, a deep skillet or saucepan will work. Just keep a closer eye on it so it doesn’t boil over. I once used a thin-bottomed pot and spent the whole time scraping burnt sugar off the bottom—not fun. A good heavy pot makes all the difference.
Preparation Method
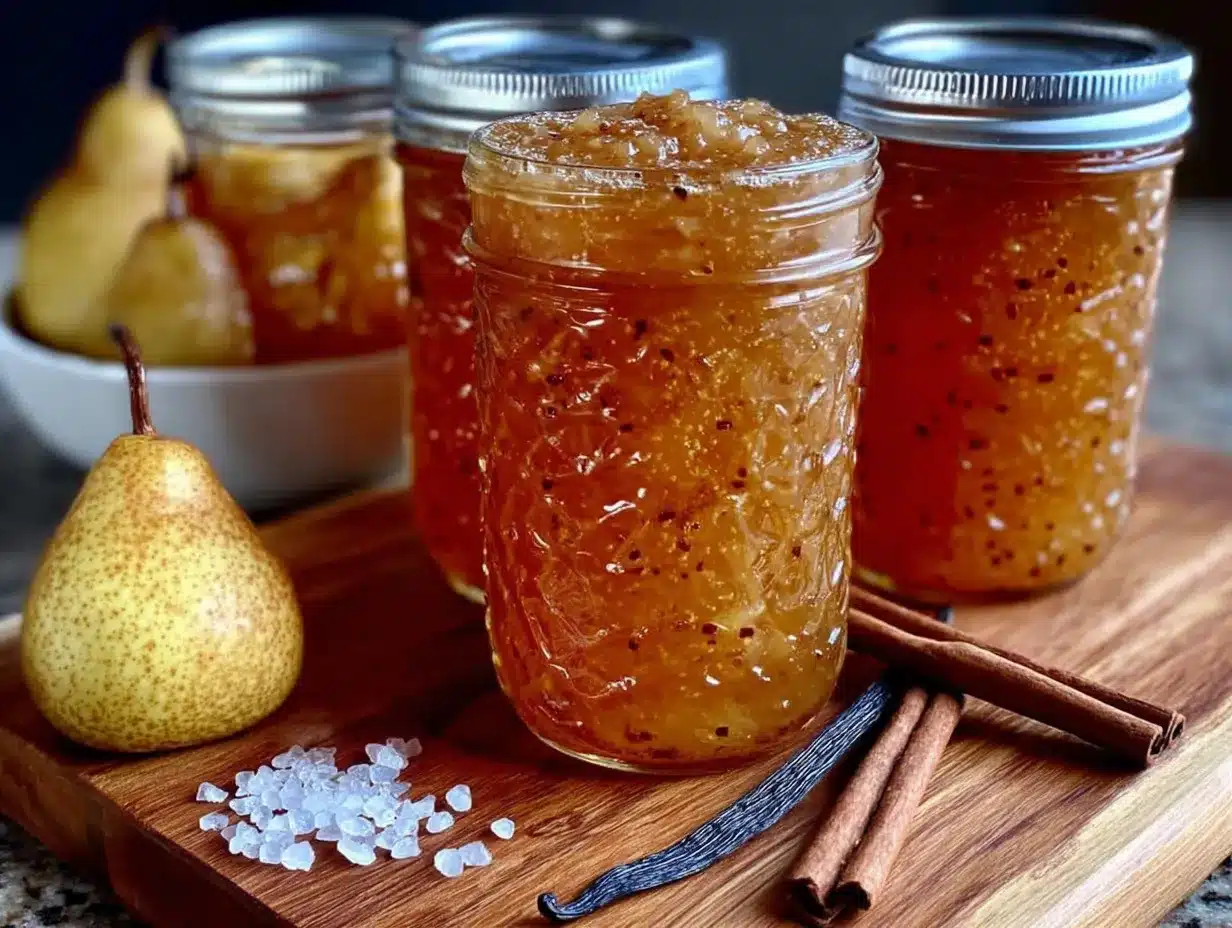
This process takes about 45 minutes of active time, plus the time to sterilize your jars. Let’s get cooking.
- Prepare the Pears: Wash, peel, and core the pears. Cut them into ½-inch chunks. Do not stress about uniform pieces—some smaller bits will break down and thicken the preserves naturally. You should have about 6 cups of chopped pears.
- Split the Vanilla Bean: Using a sharp paring knife, slice the vanilla bean lengthwise down the middle. Use the back of the knife to scrape out the tiny black seeds. Save both the seeds and the empty pod—they both go into the pot.
- Combine Ingredients: In your large pot, add the chopped pears, sugar, lemon juice, water, salt, vanilla bean seeds, and the empty vanilla pod. Stir everything together until the pears are well coated in sugar.
- Maceration (Wait Time): Let the mixture sit at room temperature for 30 minutes. This draws the juice out of the pears and dissolves the sugar. Do not skip this step—it prevents the sugar from burning before the pears release their liquid.
- Bring to a Boil: Place the pot over medium-high heat. Stir gently until the sugar is fully dissolved and the mixture comes to a rolling boil. This takes about 5-7 minutes.
- Simmer and Cook: Reduce the heat to medium-low so the mixture is at a gentle simmer, not a vigorous boil. Cook for 25-35 minutes, stirring occasionally. The frequency of stirring matters more toward the end. You will see the liquid reduce and the pears become translucent and tender.
- Check for Doneness: To test if the preserves are ready, place a small plate in the freezer for a few minutes. Drop a spoonful of the hot preserves onto the cold plate. Let it sit for 30 seconds, then push it with your finger. If it wrinkles and holds its shape, it is done. If it runs like liquid, cook for another 5 minutes and test again.
- Remove the Vanilla Pod: Fish out the empty vanilla bean pod. Rinse it off and let it dry—you can bury it in a jar of sugar to make vanilla sugar later.
- Fill the Jars: Ladle the hot preserves into sterilized jars, leaving about ¼ inch of headspace at the top. Wipe the rims clean with a damp paper towel, then screw on the lids until fingertip-tight.
- Process (Optional but Recommended): For shelf-stable storage, process the jars in a boiling water bath for 10 minutes (adjust for altitude). If you plan to eat them within a month, you can just refrigerate them immediately.
Sensory Cue: When the preserves are ready, the pears will look translucent and glassy, and the liquid will be thick and syrupy, coating the back of your spoon. The smell is intoxicating—like a pear orchard meets a vanilla farm.
Cooking Tips & Techniques
I have made this recipe about six times now, and I have definitely had my share of failures. Here is what I learned so you don’t have to make the same mistakes.
Don’t Walk Away During the Last 10 Minutes. I once got distracted folding laundry and came back to a pot that had boiled over and made a sticky mess on my stovetop. The preserves were still good, but I lost about a quarter of the batch. Stay close and stir more frequently as the liquid reduces.
Use a Timer for Maceration. The 30-minute rest is non-negotiable. I tried rushing it once because I was in a hurry, and the sugar crystallized on the bottom of the pot before the pears released enough juice. It was a gritty, burnt mess. Set a timer and walk away.
Trust the Cold Plate Test. Your preserves will look thinner in the hot pot than they will after cooling. Do not be tempted to overcook them thinking they are not thick enough. They will firm up significantly as they cool. If you cook them too long, you will end up with pear candy—still tasty, but hard to spread.
Work in Batches if Doubling. If you want to make a larger batch, do not double the recipe in the same pot. The cooking time will be much longer, and the pears will overcook before the liquid reduces properly. Make two separate batches instead. It takes the same amount of total time but gives you a better result.
Label Your Jars. I know this sounds silly, but I once gave a jar to my neighbor and forgot to label it. She thought it was caramel sauce and put it on ice cream—which actually worked, but she was confused for a week. Write the date and contents on the lid with a permanent marker.
Variations & Adaptations
This recipe is a great base for experimenting. Here are some ways I have changed it up.
- Spiced Pear Preserves: Add 1 cinnamon stick and 3 whole cloves to the pot along with the pears. Remove them before jarring. The warm spices make it taste like autumn in a jar. This version is incredible on Fluffy Cranberry Muffins.
- Ginger Pear Preserves: Add 2 tablespoons of finely grated fresh ginger to the pot with the pears. The spicy kick from the ginger cuts through the sweetness beautifully. It is amazing on sharp cheddar cheese and crackers.
- Low-Sugar Version: If you need to reduce sugar, use 1 cup of sugar and 3 tablespoons of low-sugar pectin. Follow the pectin package instructions for timing. The texture will be softer and more like a jam, but the flavor is still fantastic.
- Honey-Sweetened Version: Replace the granulated sugar with 1 ½ cups of honey. The flavor will be more floral and complex. Keep in mind honey-sweetened preserves are thinner and best stored in the refrigerator.
- Rosemary Pear Preserves: Add 2 sprigs of fresh rosemary to the pot during cooking. Remove them before jarring. This savory-sweet combo is incredible with roasted pork or on a cheese board.
Serving & Storage Suggestions
These preserves are incredibly versatile. Here is how I like to use and store them.
Serving: Serve at room temperature for the best flavor and spreadability. Spoon it over a warm Cozy Apple Cider Cupcake for a next-level dessert. It is also fantastic swirled into plain Greek yogurt, spread on a warm buttermilk biscuit, or served alongside a cheese platter with aged cheddar and crackers.
Storage: Unopened, properly processed jars can be stored in a cool, dark pantry for up to 1 year. Once opened, store in the refrigerator for up to 3 weeks. If you see any mold or off smells, discard immediately. I have never had a batch go bad, but it is always better to be safe.
Reheating: You do not need to reheat the preserves, but if they have been refrigerated and are too thick to spread, microwave the jar (lid removed) for 10-15 seconds. Stir and use. The flavor actually improves after a few days in the fridge as the vanilla continues to infuse.
Freezing: You can freeze these preserves for up to 6 months. Use freezer-safe jars or plastic containers, leaving about ½ inch of headspace for expansion. Thaw in the refrigerator overnight before using.
Nutritional Information & Benefits
While preserves are a treat, they do offer some nutritional benefits from the pears. Here is a rough estimate per 2-tablespoon serving.
| Nutrient | Amount Per Serving |
|---|---|
| Calories | 45 |
| Total Fat | 0g |
| Sodium | 0mg |
| Total Carbohydrates | 12g |
| Sugars | 11g |
| Fiber | 1g |
| Vitamin C | 2% DV |
Pears are a good source of dietary fiber, which supports digestive health. They also contain vitamin C and copper. The vanilla bean adds antioxidants, though in small amounts. This recipe is naturally gluten-free, dairy-free, and vegan. It does contain high sugar content, so enjoy in moderation as part of a balanced diet. For a lower-sugar option, try the honey-sweetened or low-sugar variation mentioned above.
Conclusion
These Easy Vanilla Bean Pear Preserves are the kind of recipe that makes you feel like a kitchen wizard, even though it is incredibly simple. The vanilla bean elevates the humble pear into something luxurious, and the whole process takes less than an hour of hands-on time. I love making a batch in the fall when pears are at their peak, and I love giving jars away as Christmas gifts even more. There is something so satisfying about opening a jar in the middle of winter and tasting that sweet, vanilla-kissed summer flavor.
I would love to hear how these turn out for you. Did you try a variation? Did you put them on something unexpected? Drop a comment below and let me know—I read every single one. And if you loved this recipe, please share it with a friend who needs a little homemade sweetness in their life. Happy preserving!
Frequently Asked Questions
Can I use vanilla extract instead of a vanilla bean?
You can, but the flavor and appearance will be different. Use 2 teaspoons of pure vanilla extract added at the very end of cooking, after you remove the pot from the heat. You will miss the beautiful black vanilla bean specks, but the flavor will still be lovely.
Do I have to peel the pears?
Yes, for this recipe. Pear skins can be tough and bitter, and they do not break down during cooking. The smooth, silky texture of these preserves comes from using peeled fruit. If you want a rustic version, you can leave some skin on, but I recommend peeling for the best result.
Why did my preserves not set?
This usually happens for one of three reasons: the pears were too ripe and watery, you did not cook the mixture long enough, or you reduced the sugar too much. Next time, use firmer pears, cook until the cold plate test passes, and stick to the sugar measurement. You can also add 1 tablespoon of lemon juice to help with the set.
How long do these preserves last?
Unopened, properly processed jars last up to 1 year in a cool, dark pantry. Once opened, refrigerate and use within 3 weeks. If you did not process the jars in a water bath, store them in the refrigerator immediately and use within 1 month.
Can I use canned pears?
I do not recommend it. Canned pears are already cooked and packed in syrup, so they will break down too much and the preserves will be overly sweet with a mushy texture. Fresh pears are essential for the best results. If you are in a pinch, frozen pears (thawed and drained) can work in a pinch.
Pin This Recipe!
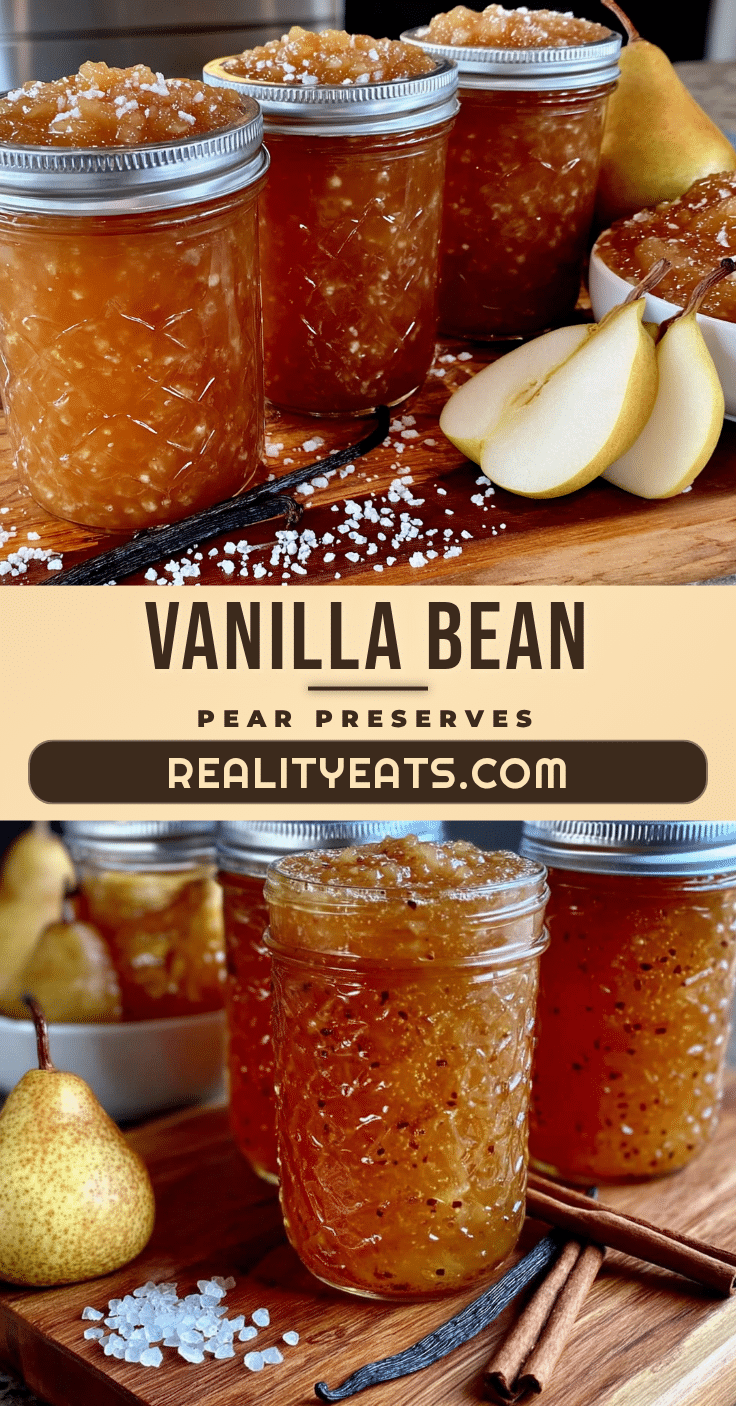
Easy Vanilla Bean Pear Preserves: Best Homemade Recipe

Three pounds of Bosc pears sat on my counter, and they were all going to go bad by tomorrow. I grabbed a vanilla bean I had been hoarding for a ‘special occasion’ and thought, why not just throw it all in a pot? That was the moment these Easy Vanilla Bean Pear Preserves were born. They turned out so much better than I ever could have planned, with a deep, honeyed sweetness that feels like a hug in a jar.
- Prep Time: 15 minutes
- Cook Time: 30 minutes
- Total Time: 45 minutes
- Yield: 3-4 half-pint jars (about 3 cups) 1x
- Category: Preserves
- Cuisine: American
Ingredients
- 3 pounds (about 6-7 medium) pears, ripe but still firm (Bosc or Bartlett work best)
- 2 cups (400g) granulated sugar
- 3 tablespoons (45ml) fresh lemon juice (from about 1 large lemon)
- 1 whole vanilla bean, split lengthwise
- ¼ cup (60ml) water
- Pinch of salt
Instructions
- Prepare the Pears: Wash, peel, and core the pears. Cut them into ½-inch chunks. You should have about 6 cups of chopped pears.
- Split the Vanilla Bean: Using a sharp paring knife, slice the vanilla bean lengthwise down the middle. Use the back of the knife to scrape out the tiny black seeds. Save both the seeds and the empty pod.
- Combine Ingredients: In your large pot, add the chopped pears, sugar, lemon juice, water, salt, vanilla bean seeds, and the empty vanilla pod. Stir everything together until the pears are well coated in sugar.
- Maceration (Wait Time): Let the mixture sit at room temperature for 30 minutes. This draws the juice out of the pears and dissolves the sugar.
- Bring to a Boil: Place the pot over medium-high heat. Stir gently until the sugar is fully dissolved and the mixture comes to a rolling boil. This takes about 5-7 minutes.
- Simmer and Cook: Reduce the heat to medium-low so the mixture is at a gentle simmer. Cook for 25-35 minutes, stirring occasionally. The frequency of stirring matters more toward the end.
- Check for Doneness: To test if the preserves are ready, place a small plate in the freezer for a few minutes. Drop a spoonful of the hot preserves onto the cold plate. Let it sit for 30 seconds, then push it with your finger. If it wrinkles and holds its shape, it is done. If it runs like liquid, cook for another 5 minutes and test again.
- Remove the Vanilla Pod: Fish out the empty vanilla bean pod. Rinse it off and let it dry—you can bury it in a jar of sugar to make vanilla sugar later.
- Fill the Jars: Ladle the hot preserves into sterilized jars, leaving about ¼ inch of headspace at the top. Wipe the rims clean with a damp paper towel, then screw on the lids until fingertip-tight.
- Process (Optional but Recommended): For shelf-stable storage, process the jars in a boiling water bath for 10 minutes (adjust for altitude). If you plan to eat them within a month, you can just refrigerate them immediately.
Notes
Don’t walk away during the last 10 minutes of cooking to prevent boiling over. Use a timer for the 30-minute maceration step—it’s non-negotiable. Trust the cold plate test; preserves will look thinner in the hot pot than after cooling. Work in batches if doubling the recipe. Label your jars with the date and contents.
Nutrition
- Serving Size: 2 tablespoons
- Calories: 45
- Sugar: 11
- Carbohydrates: 12
- Fiber: 1
Keywords: pear preserves, vanilla bean, homemade jam, easy preserves, fall recipe, canning, gift idea