
“Hey, can you bring the cake for the game day party?” That text popped up just as I was finishing dinner one Friday night—not exactly the kind of notice a cake baker hopes for. Honestly, I was skeptical at first. A swirl buttercream sheet cake in perfect school colors? For a large gathering? It sounded like a recipe destined for stress rather than smooth sailing. But sometimes, the best recipes find you when you least expect them.
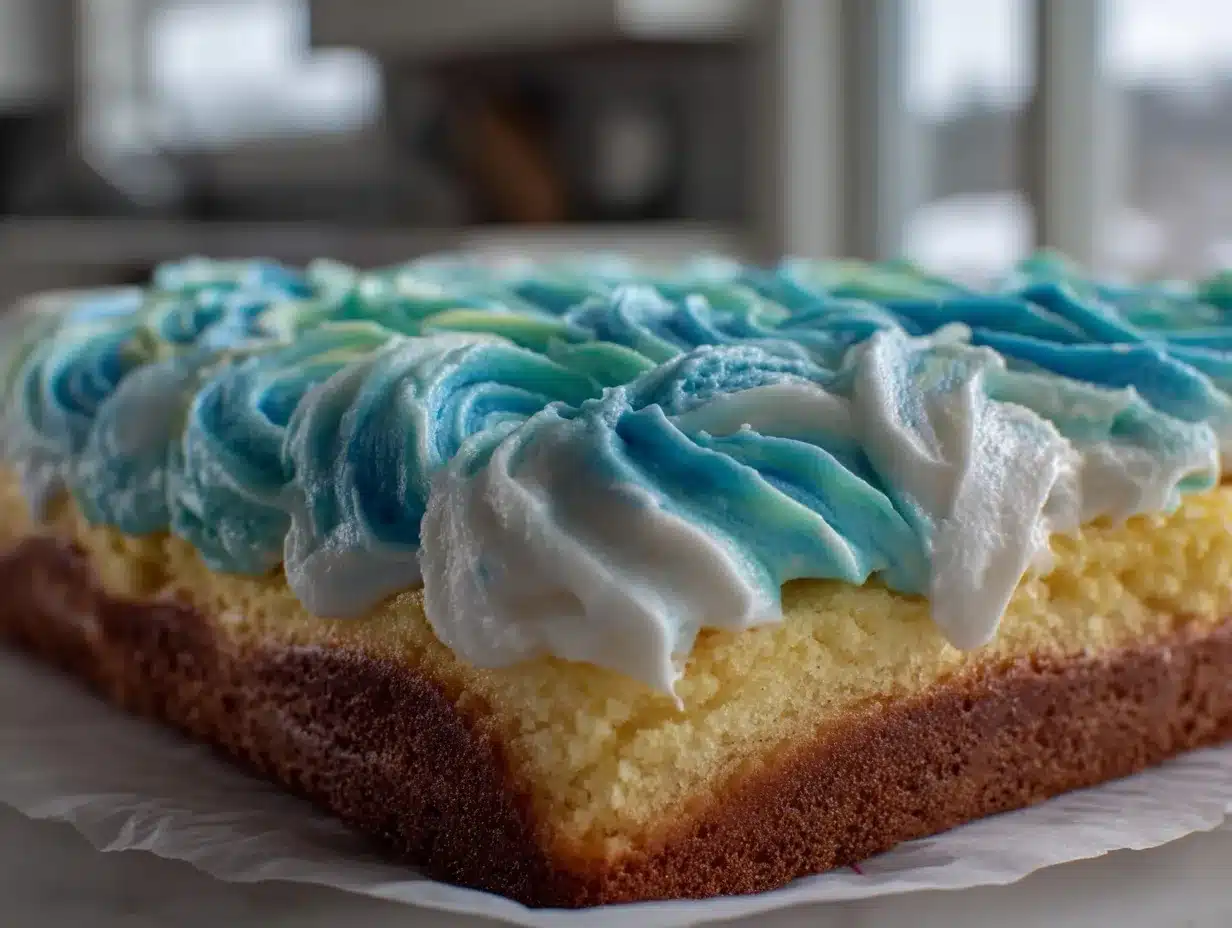
With barely enough time to breathe, I pulled out my trusty mixer and started experimenting. The swirl pattern was tricky at first—I won’t lie—but the result was a showstopper. The colors blended with that buttery frosting in a way that felt like a celebration on a plate. Everyone at the party was asking for seconds (and thirds). The best part? It wasn’t just a pretty face. The cake was moist, the frosting creamy, and the whole thing came together without a hitch, even in a pinch. This perfect school colors swirl buttercream sheet cake has since become my go-to for large gatherings where you want to impress but don’t have hours to spend in the kitchen.
What stuck with me was how this cake managed to feel festive and personal without the usual fuss. It’s the kind of recipe that makes you think, “Why didn’t I try this sooner?” Now, whenever there’s a big crowd and a school spirit vibe, this cake is my quiet little secret to bringing everyone together—one colorful slice at a time.
Why You’ll Love This Recipe
After testing this perfect school colors swirl buttercream sheet cake multiple times, I can say it stands out for more than just looks. Here’s why it’s a winner every time:
- Quick & Easy: The entire cake comes together in about 90 minutes, perfect for last-minute plans or busy days.
- Simple Ingredients: Nothing fancy here—just pantry staples and basic frosting ingredients that you probably already have on hand.
- Perfect for Large Parties: This sheet cake serves a crowd effortlessly, making it ideal for gatherings like school events, potlucks, or family reunions.
- Crowd-Pleaser: Kids love the bright colors, and adults admire the balanced sweetness—it really hits the spot across generations.
- Unbelievably Delicious: That swirl buttercream isn’t just for show—the silky texture and subtle vanilla flavor keep everyone coming back.
This isn’t your run-of-the-mill sheet cake. The swirl technique creates a dynamic look that feels custom-made, without the need for intricate piping skills. Plus, the frosting stays soft but holds its shape nicely, so it’s as practical as it is pretty.
Honestly, this cake redefines what party desserts can be—fun, festive, and totally doable for anyone. If you’ve ever hesitated to make a large dessert because it seemed complicated, this recipe might just change your mind.
What Ingredients You Will Need
This perfect school colors swirl buttercream sheet cake uses straightforward ingredients that come together for a moist, flavorful base and a luscious, colorful frosting. Here’s what you’ll want on hand:
- For the Cake Batter:
- All-purpose flour (2 ½ cups / 315 grams) – the backbone for a tender crumb
- Baking powder (2 ½ teaspoons) – for that perfect rise
- Salt (½ teaspoon) – balances sweetness
- Granulated sugar (1 ¾ cups / 350 grams) – sweetness and structure
- Unsalted butter (¾ cup / 170 grams), softened – adds richness and moisture (I prefer Kerrygold for its creamy texture)
- Large eggs (4), room temperature – for binding and lift
- Pure vanilla extract (2 teaspoons) – essential for flavor depth
- Whole milk (1 cup / 240 ml), room temperature – keeps the batter smooth and tender
- For the Swirl Buttercream Frosting:
- Unsalted butter (1 ½ cups / 340 grams), softened – the frosting base (use a quality brand like Plugrá if possible)
- Powdered sugar (5 cups / 600 grams), sifted – for that silky finish
- Pure vanilla extract (1 tablespoon) – flavor enhancer
- Heavy cream or whole milk (3-4 tablespoons / 45-60 ml) – to adjust consistency
- Gel food coloring in your school colors (choose gel for vibrant shades without thinning the frosting)
Most of these ingredients are pantry staples, so you won’t need special trips to the store. If you’re feeling adventurous, you can swap whole milk in the batter for buttermilk to add tang and tenderness. For a dairy-free version, use plant-based milk and a vegan butter substitute in the frosting—just be sure to adjust consistency accordingly.
When selecting your gel food coloring, brands like AmeriColor or Wilton offer the brightest hues that stay true after mixing. This really matters when you want those school colors to pop on a large sheet cake.
Equipment Needed
- 9×13-inch sheet cake pan – standard size for large gatherings; a metal pan yields even baking
- Electric mixer (stand or hand) – makes whipping the buttercream easier and smoother
- Mixing bowls – at least two, one for batter and one for frosting
- Rubber spatula – for folding and scraping batter cleanly
- Offset spatula or butter knife – for spreading and swirling the frosting
- Measuring cups and spoons – precise measurements matter here
- Cooling rack – to let the cake cool completely before frosting
- Small bowls or cups – for dividing and coloring the buttercream
If you don’t have a stand mixer, a good hand mixer works just fine—just be ready to scrape the bowl often. For budget-friendly options, silicone spatulas and offset knives are widely available and easy to clean. Also, keeping your butter at room temperature is key for a smooth frosting, so plan ahead to avoid lumpy icing.
Preparation Method
- Preheat and Prep: Set your oven to 350°F (175°C). Grease your 9×13-inch sheet cake pan lightly with butter or nonstick spray, then line it with parchment paper for easy removal. This usually takes about 10 minutes.
- Mix Dry Ingredients: In a medium bowl, whisk together 2 ½ cups (315 g) all-purpose flour, 2 ½ teaspoons baking powder, and ½ teaspoon salt. This ensures even distribution of leavening agents.
- Cream Butter and Sugar: In a large bowl, beat ¾ cup (170 g) softened unsalted butter and 1 ¾ cups (350 g) granulated sugar on medium speed until light and fluffy—about 3-4 minutes. The texture should be airy, not greasy.
- Add Eggs and Vanilla: Beat in 4 large eggs, one at a time, mixing well after each addition. Stir in 2 teaspoons pure vanilla extract for that warm, classic flavor.
- Combine Wet and Dry: Alternately add the dry ingredients and 1 cup (240 ml) whole milk to the butter mixture, starting and ending with the flour mixture. Mix just until combined; overmixing can make the cake tough. This step usually takes 2-3 minutes.
- Pour and Bake: Transfer the batter evenly into the prepared pan. Smooth the top with a spatula. Bake for 35-40 minutes, or until a toothpick inserted near the center comes out clean. Oven times vary, so start checking at 35 minutes.
- Cool Completely: Remove the cake from the oven and place it on a cooling rack. Let it cool in the pan for 15 minutes, then lift it out using the parchment paper and cool completely before frosting (about 1 hour). This is crucial for frosting not to melt.
- Make the Buttercream: Using an electric mixer, beat 1 ½ cups (340 g) softened unsalted butter until creamy. Gradually add 5 cups (600 g) sifted powdered sugar, mixing on low speed to avoid a powdered sugar cloud. Add 1 tablespoon vanilla extract and 3-4 tablespoons heavy cream or milk, adjusting to your preferred consistency. Beat for 3-4 minutes until fluffy.
- Divide and Color Frosting: Spoon the buttercream into separate small bowls according to how many colors you need. Mix in gel food coloring to each bowl until you achieve vibrant shades. Remember, gel coloring is key to avoid thinning the frosting.
- Apply and Swirl: Spread a base layer of one color evenly over the cake. Then, dollop the other colors in stripes or dollops across the cake. Using an offset spatula or butter knife, gently swirl the colors together in a back-and-forth or circular motion. Don’t overdo it; you want distinct but blended swirls.
- Final Touches: Chill the cake briefly (about 15 minutes) to let the frosting set before slicing. This helps keep clean edges when serving.
Some quick tips: If your buttercream feels too stiff, add a bit more cream; if too soft, add more powdered sugar. The swirling is more forgiving than you might think—imperfections add charm! For a perfect slice, use a sharp serrated knife wiped clean between cuts.
Cooking Tips & Techniques
Honestly, getting the swirl just right took a few tries. Here’s what I learned:
- Butter Temperature: Make sure your butter is softened but not melted. Too cold and your frosting will be lumpy; too warm and it’ll be runny.
- Mixing Batter: Avoid overmixing once you combine wet and dry ingredients. A few lumps are okay—overworking develops gluten and makes the cake dense.
- Coloring Frosting: Use gel or paste food colors only. Liquid dyes can make the buttercream too loose.
- Swirling Technique: Start with a thin base layer of one color to prevent frosting from mixing into the cake. Then dollop colors side-by-side and use a gentle hand when swirling. It’s better to swirl less than too much.
- Cooling Time: Don’t rush frosting a warm cake. I learned this the hard way—the frosting melted into the crumb, and the colors bled.
- Serving: For cleaner slices, chill the frosted cake for 15-20 minutes before cutting.
If you want a twist, I once tried piping the colors in stripes before swirling, which gave a slightly different pattern but just as eye-catching. Multitasking is key when making this for a party—prep your frosting while the cake bakes to save time.
Variations & Adaptations
This recipe is flexible, which I love because every gathering is a little different. Here are some ways to switch it up:
- Dietary Adjustments: Use almond flour for a gluten-free cake base. For dairy-free, swap butter with coconut oil and use plant-based milk. The texture shifts slightly but stays delicious.
- Seasonal Flavors: Add a teaspoon of orange zest to the batter for a bright citrus note, especially great for spring or fall events.
- Flavor Twists: Try a chocolate swirl by adding cocoa powder to one portion of the buttercream. It pairs surprisingly well with the vanilla base.
- Different Frosting: If you prefer cream cheese frosting, it works too—just tint it carefully with gel colors and reduce powdered sugar slightly for tanginess.
- Alternative Swirling: Instead of swirling on top, create a marbled effect by gently folding colored batter into the base batter before baking for a swirled cake interior.
I once customized this cake with my kid’s favorite team colors and a sprinkle of edible glitter on top. It was a hit at the school fundraiser. The key is to trust the basic method and have fun with the colors and flavors.
Serving & Storage Suggestions
This swirl buttercream sheet cake tastes best at room temperature, so I recommend removing it from the fridge about 30 minutes before serving. The frosting softens up nicely, and the cake’s moisture really shines through.
For presentation, a simple cake stand or a clean serving platter lets the colorful swirls take center stage. Pair it with light beverages like iced tea, lemonade, or even a sparkling cider to complement the sweetness.
Store leftover cake covered in the fridge for up to 4 days. You can also freeze individual slices wrapped tightly in plastic wrap and foil for up to 2 months. Thaw in the fridge overnight, then bring to room temperature before enjoying.
Reheating in a microwave for 10-15 seconds (depending on slice size) can gently soften the cake without melting the frosting. Over time, the flavors meld and the cake becomes even more tender—perfect if you want to prep a day ahead.
Nutritional Information & Benefits
This cake is a classic indulgence but made with quality ingredients for a balanced treat. Here’s a rough estimate per serving (based on 24 slices):
| Nutrient | Amount |
|---|---|
| Calories | 320 kcal |
| Fat | 18 g |
| Saturated Fat | 11 g |
| Carbohydrates | 38 g |
| Sugar | 28 g |
| Protein | 3 g |
Key ingredients like eggs and butter provide protein and fat that add satiety. Vanilla extract contributes antioxidants in tiny amounts. This recipe is gluten-containing, so it’s not suitable for those with celiac disease unless adapted with gluten-free flour.
From a wellness perspective, this cake is perfect for sharing on special occasions rather than everyday eating. It’s a reminder that treats can be part of joyful moments, especially when made with care and good company.
Conclusion
This perfect school colors swirl buttercream sheet cake is the kind of recipe that feels both festive and effortless. It’s become my secret weapon for large parties where I want everyone to smile without spending hours stressing in the kitchen. The colors bring energy, the frosting brings indulgence, and the cake itself brings comfort.
Don’t hesitate to tweak the colors or frosting flavors to match your event or mood—it’s your canvas as much as a recipe. I hope you find as much joy baking (and eating) this as I have. If you try it out, I’d love to hear how your swirl came out and what colors you chose!
And if you’re looking for more party recipe ideas, you might enjoy my crispy ham and cheese sticks or the fresh and zesty Southwest chipotle salad. Both are crowd-pleasers that pair beautifully with a colorful dessert like this.
FAQs
Can I make the perfect school colors swirl buttercream sheet cake a day ahead?
Yes! Bake and frost the cake the day before your event, then store it covered in the fridge. Bring it to room temperature before serving for best taste.
What if I don’t have gel food coloring—can I use liquid?
Gel coloring is best because it won’t thin your frosting. Liquid dyes can make the buttercream too runny and affect the texture.
How do I prevent the colors from mixing too much when swirling?
Use a thin base layer of frosting first, then gently swirl the dollops without overworking. A light hand keeps the colors distinct but blended.
Can I use this frosting recipe on cupcakes?
Absolutely! The swirl technique adapts well to cupcakes and makes a fun, festive presentation for smaller servings.
Is there a gluten-free version of this cake?
Yes, swap the all-purpose flour with a gluten-free baking blend. Just keep an eye on the batter consistency as gluten-free flours can behave differently.
Pin This Recipe!
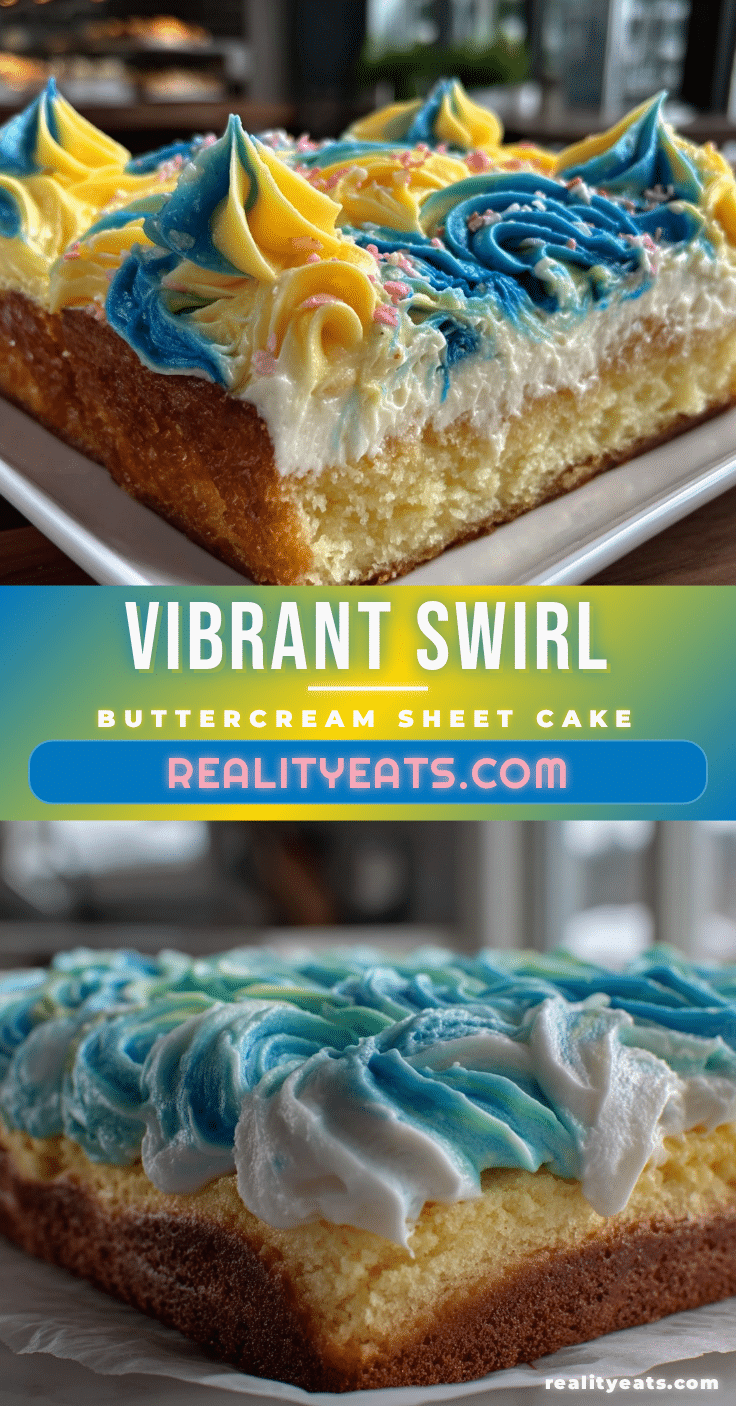
Perfect School Colors Swirl Buttercream Sheet Cake Recipe for Large Parties

A moist and colorful swirl buttercream sheet cake perfect for large gatherings, featuring vibrant school colors and a creamy vanilla frosting. Quick and easy to make with simple pantry ingredients.
- Prep Time: 20 minutes
- Cook Time: 40 minutes
- Total Time: 1 hour 30 minutes
- Yield: 24 servings 1x
- Category: Dessert
- Cuisine: American
Ingredients
- 2 ½ cups (315 grams) all-purpose flour
- 2 ½ teaspoons baking powder
- ½ teaspoon salt
- 1 ¾ cups (350 grams) granulated sugar
- ¾ cup (170 grams) unsalted butter, softened
- 4 large eggs, room temperature
- 2 teaspoons pure vanilla extract
- 1 cup (240 ml) whole milk, room temperature
- 1 ½ cups (340 grams) unsalted butter, softened (for frosting)
- 5 cups (600 grams) powdered sugar, sifted
- 1 tablespoon pure vanilla extract (for frosting)
- 3–4 tablespoons (45–60 ml) heavy cream or whole milk (for frosting)
- Gel food coloring in your school colors
Instructions
- Preheat oven to 350°F (175°C). Grease a 9×13-inch sheet cake pan lightly with butter or nonstick spray, then line with parchment paper.
- In a medium bowl, whisk together flour, baking powder, and salt.
- In a large bowl, beat softened butter and granulated sugar on medium speed until light and fluffy, about 3-4 minutes.
- Beat in eggs one at a time, mixing well after each addition. Stir in vanilla extract.
- Alternately add dry ingredients and milk to the butter mixture, starting and ending with the flour mixture. Mix just until combined.
- Pour batter evenly into prepared pan and smooth the top. Bake for 35-40 minutes or until a toothpick inserted near the center comes out clean.
- Cool cake in pan on a rack for 15 minutes, then lift out using parchment paper and cool completely before frosting, about 1 hour.
- Beat softened butter for frosting until creamy. Gradually add powdered sugar on low speed. Add vanilla extract and heavy cream or milk, beating until fluffy, about 3-4 minutes.
- Divide buttercream into small bowls and mix in gel food coloring to desired shades.
- Spread a base layer of one color evenly over the cake. Dollop other colors in stripes or dollops across the cake.
- Using an offset spatula or butter knife, gently swirl the colors together in a back-and-forth or circular motion without overmixing.
- Chill the cake for about 15 minutes to let the frosting set before slicing.
Notes
Use gel food coloring for vibrant colors without thinning the frosting. Keep butter softened but not melted for smooth frosting. Avoid overmixing batter to keep cake tender. Chill frosted cake before slicing for clean edges. For dairy-free or gluten-free versions, substitute ingredients accordingly.
Nutrition
- Serving Size: 1 slice (1/24th of c
- Calories: 320
- Sugar: 28
- Fat: 18
- Saturated Fat: 11
- Carbohydrates: 38
- Protein: 3
Keywords: swirl buttercream cake, sheet cake, school colors cake, party cake, large gathering dessert, colorful cake, easy buttercream frosting


