“Hey, did you bring the dessert?” That text popped up while I was knee-deep in a chaotic kitchen, juggling a stack of invitations and a half-empty grocery cart. I wasn’t exactly feeling festive, honestly. But then I remembered this recipe — my go-to when I need something that looks impressive but doesn’t add to my stress. The Perfect Stars and Stripes Layered Cheesecake Bars were born out of one of those frantic last-minute party prep moments. I wasn’t sure if the layers would hold, or if the colors would come out right, but somehow, they did — and with a few tweaks, I made it foolproof.
These cheesecake bars became my quiet celebration win, a way to mark any occasion with a touch of red, white, and blue that’s both sweet and satisfying. The creamy texture, balanced with a buttery crust and that festive layering, made me realize this dessert isn’t just dessert — it’s a statement on a plate. Whether it’s a backyard barbecue or a casual get-together, these bars have quietly become the reason guests linger around the dessert table a little longer. I’ve found myself making them more than once in the same week, just to see the smiles (and the second helpings) again.
What sticks with me is how this recipe blends simplicity with a bit of showmanship — no complicated piping or fancy molds, just layers that come together effortlessly. It’s a dessert that feels like a celebration without any fuss, and that’s why it’s stayed in my rotation. If you’re looking for a dessert that’s as fun to eat as it is to make, these cheesecake bars might just become your new favorite, too.
Why You’ll Love This Recipe
After testing and tweaking this recipe multiple times, I can honestly say it’s one of those rare desserts that hits all the right notes. Here’s why it’s worth making over and over:
- Quick & Easy: You can have these layered cheesecake bars ready in under 45 minutes of active prep time. Perfect for busy celebrations or last-minute dessert needs.
- Simple Ingredients: No need to hunt down specialty items. Most ingredients are pantry staples — cream cheese, sugar, eggs — with a few extras for that patriotic flair.
- Perfect for Any Celebration: Whether it’s the Fourth of July, Memorial Day, or a casual family picnic, these bars bring a festive pop without the fuss.
- Crowd-Pleaser: Kids and adults alike love the creamy texture and the pretty layers. It’s the kind of dessert that disappears fast!
- Unbelievably Delicious: The balance of smooth cheesecake, a crumbly base, and fruit layers keeps every bite interesting and satisfying.
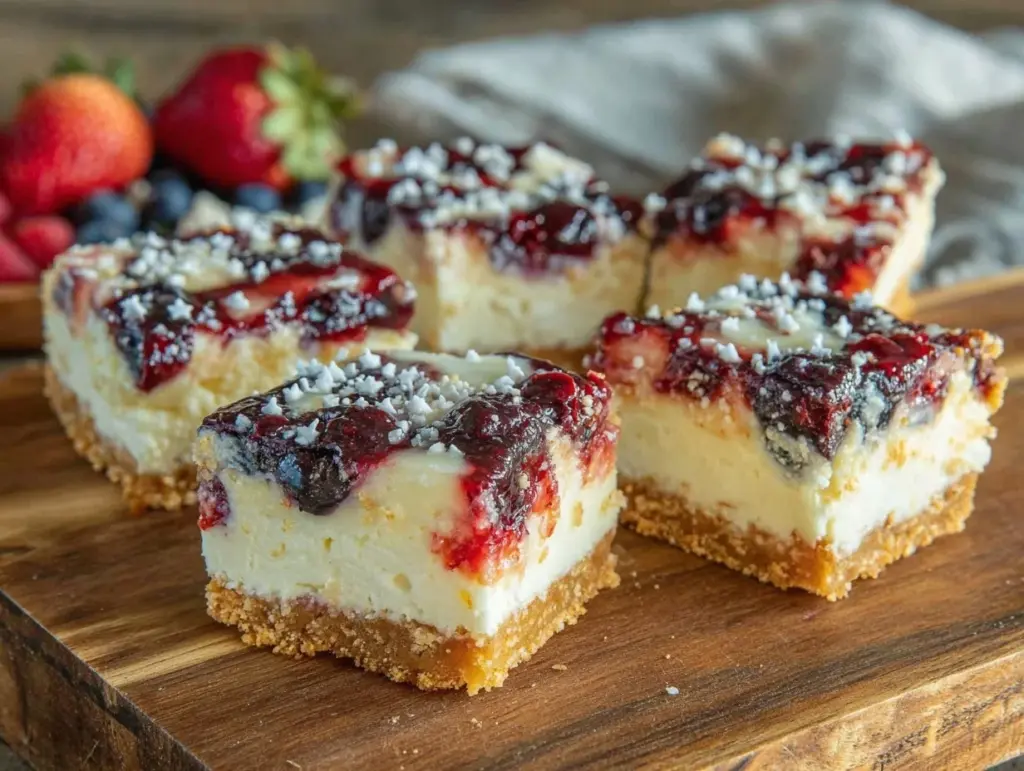
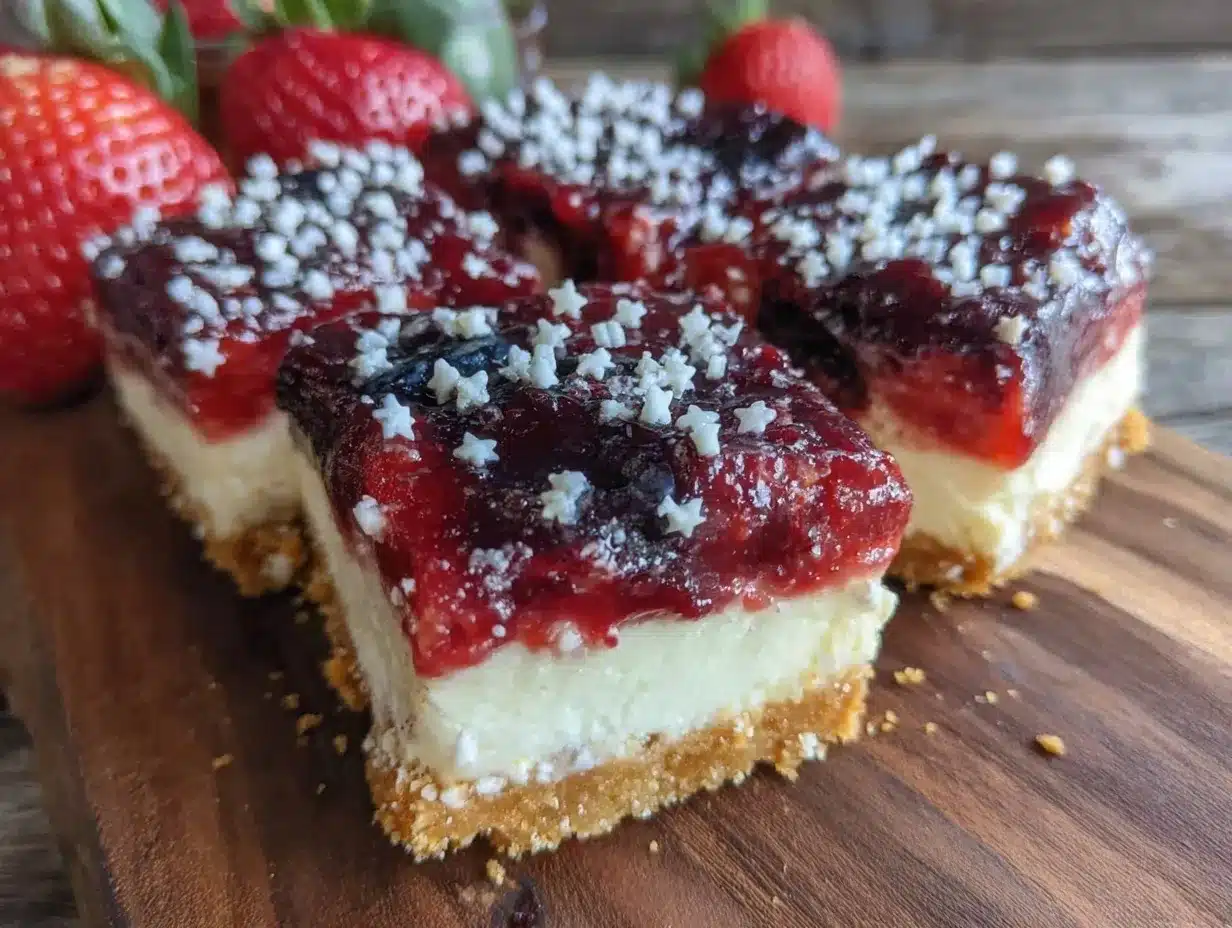
What makes this recipe stand out is the layering technique. Instead of mixing everything together, each layer gets its moment — the rich cream cheese base, a vibrant strawberry layer, and a cool blueberry topping that’s light but packed with flavor. It’s like a patriotic parfait in bar form, but with the satisfying density of cheesecake. Plus, I prefer using fresh berries when possible, but frozen works just as well — a little trick I learned from my experience with fresh summer recipes.
Honestly, this recipe just makes you want to close your eyes after the first bite, savoring that creamy, fruity goodness. It’s celebratory without being over the top, and that balance is why I keep coming back to it.
What Ingredients You Will Need
This recipe calls for straightforward, wholesome ingredients that work together to create those iconic stars and stripes flavors and colors. Most are pantry basics, with a few fresh touches to boost flavor and texture.
For the Crust
- Graham crackers: finely crushed (about 1 ½ cups / 150g) – gives a sweet, crunchy base
- Unsalted butter: melted (6 tbsp / 85g) – binds the crust, adds richness
- Granulated sugar: (2 tbsp / 25g) – adds a touch of sweetness
For the Cheesecake Layer
- Cream cheese: softened (16 oz / 450g) – use full-fat for best texture and flavor
- Sour cream: (½ cup / 120ml) – adds creaminess and slight tang
- Granulated sugar: (¾ cup / 150g) – balances the tanginess
- Large eggs: room temperature (2) – bind the filling
- Vanilla extract: (1 tsp) – enriches flavor
- All-purpose flour: (2 tbsp / 15g) – stabilizes the cheesecake
For the Strawberry Layer
- Fresh strawberries: pureed (1 cup / 150g) – for natural sweetness and vibrant color
- Powdered sugar: (2 tbsp / 15g) – smooths out tartness
- Lemon juice: (1 tsp) – brightens flavor
- Gelatin powder: (1 tsp) – helps the layer set without sogginess (can substitute with agar-agar for vegetarian option)
For the Blueberry Layer
- Fresh or frozen blueberries: (1 cup / 150g) – packed with antioxidants and color
- Powdered sugar: (2 tbsp / 15g)
- Lemon juice: (1 tsp)
- Gelatin powder: (1 tsp)
For best results, I recommend using cream cheese brands like Philadelphia, which gives a smooth, consistent texture. When picking berries, ripe and firm is the goal — but frozen works well, especially if fresh berries aren’t in season. If you want a gluten-free crust, swap graham crackers for almond flour or gluten-free cookie crumbs. For a dairy-free version, try using vegan cream cheese and coconut yogurt, though texture may vary slightly.
Equipment Needed
- 8×8-inch baking pan: lined with parchment paper for easy removal
- Mixing bowls: at least two, one for crust and one for filling
- Electric mixer or stand mixer: to beat the cream cheese smooth
- Food processor or blender: for pureeing berries (optional but speeds up process)
- Measuring cups and spoons: for precise ingredient portions
- Spatula and whisk: for folding and mixing layers gently
- Small saucepan: to dissolve gelatin
If you don’t have a stand mixer, a handheld electric mixer works just fine — I’ve used both and found the handheld easier to clean up. For pureeing berries, a blender is super quick, but mashing them with a fork can work in a pinch. The key is to have a good-quality parchment paper to lift the bars without breaking. Baking pans with removable sides help, but aren’t necessary.
Preparation Method
- Prepare the crust: Preheat your oven to 350°F (175°C). In a medium bowl, mix the graham cracker crumbs, melted butter, and sugar until evenly combined. Press this mixture firmly into the bottom of your lined 8×8-inch pan. Bake for 8-10 minutes until lightly golden and set aside to cool while preparing the filling.
- Make the cheesecake filling: In a large mixing bowl, beat the softened cream cheese with an electric mixer on medium speed until smooth and creamy (about 2 minutes). Add the sour cream and sugar, then beat until blended (another 1-2 minutes). Beat in eggs one at a time, mixing well after each addition. Stir in vanilla extract and flour just until combined. Avoid overmixing to prevent cracks.
- Pour the cheesecake layer: Pour this creamy mixture over the cooled crust, spreading evenly with a spatula. Bake for 25-30 minutes until the edges are set but the center still slightly jiggles. Let cool to room temperature, then chill in the fridge for 30 minutes.
- Prepare the strawberry layer: While the cheesecake chills, puree strawberries with powdered sugar and lemon juice until smooth. In a small saucepan, sprinkle gelatin over 2 tbsp cold water and let bloom for 5 minutes. Warm gently until dissolved, then stir into the strawberry puree. Pour this over the chilled cheesecake layer, smoothing gently. Refrigerate again for 30 minutes or until set.
- Make the blueberry layer: Repeat the process with blueberries — puree with powdered sugar and lemon juice. Bloom and dissolve gelatin as before, then mix into the blueberry puree. Pour this final layer over the strawberry one and refrigerate for at least 2 hours to fully set.
- Cut and serve: Once fully chilled, use the parchment paper edges to lift the bars from the pan. Cut into squares with a sharp knife, wiping the knife between cuts for clean edges.
A quick tip: If your gelatin layer seems too thin or runny, add a bit more gelatin next time (up to 1 ½ tsp), but be careful not to make it rubbery. Also, room temperature eggs and cream cheese make mixing easier and prevent lumps. If you’re anything like me, you might find yourself waiting impatiently for the layers to chill — but trust me, the wait is worth it.
Cooking Tips & Techniques
Getting those perfect layers can be a little tricky on your first try, but here are some things I’ve learned:
- Patience is key: Each layer needs to be chilled enough to set before adding the next one. Otherwise, the colors can bleed together and the bars won’t slice cleanly.
- Use gelatin carefully: Bloom gelatin properly in cold water before dissolving it in warm berry puree. This ensures a smooth set without lumps or clumps.
- Don’t overmix cheesecake batter: Mix just until combined. Overbeating introduces air and can cause cracks or a dense texture.
- Keep your cream cheese soft: Let it sit at room temperature for at least an hour. Cold cream cheese is stubborn and leads to lumps.
- Cut with a warm, sharp knife: Run the knife under hot water, dry it, then slice. This helps make clean cuts without dragging or crumbling.
I once tried skipping the chilling between layers to save time — big mistake. The layers blended into a messy puddle, and I had to scrap the whole batch. Now, I set timers and let the fridge do its job. If you want to multitask, this recipe pairs well with prepping savory dishes like crispy ham and cheese sticks for a full spread.
Variations & Adaptations
This recipe is pretty flexible, so you can tweak it to suit your needs or preferences:
- Dietary swaps: Use gluten-free cookie crumbs or almond flour for the crust. Substitute dairy cream cheese with a plant-based alternative for a vegan version, and agar-agar instead of gelatin.
- Seasonal fruit swaps: Swap strawberries and blueberries for raspberries and blackberries in the fall or fresh peaches and blueberries in summer for a different but equally patriotic palette.
- Flavor twists: Add a teaspoon of lemon zest to the cheesecake batter for a citrus kick or swirl in a bit of raspberry jam between layers for extra sweetness.
Personally, I tried adding a thin layer of crushed pecans between the crust and cheesecake once, inspired by the texture in my cranberry-orange pecan crisp. It added a lovely crunch and nutty depth that surprised me. Feel free to experiment — this recipe is friendly to your creativity.
Serving & Storage Suggestions
These cheesecake bars are best served chilled, straight from the fridge, to keep those layers intact and flavors bright. If you want to soften them a bit, leave them at room temperature for about 10 minutes before serving.
They pair beautifully with a cup of coffee or a light, sparkling beverage — something to cut through the richness. For a festive spread, I like serving them alongside savory bites like classic creamy church salad or fresh fruit platters.
To store, cover the bars tightly with plastic wrap or store in an airtight container in the refrigerator for up to 4 days. They freeze well, too — just wrap individual bars in plastic wrap and foil, then thaw overnight in the fridge before serving.
Over time, the flavors meld together, making the bars taste even better the next day. Just a heads up: the berry layers might become a little softer after freezing, but the cheesecake keeps its creamy texture nicely.
Nutritional Information & Benefits
Each bar (based on 16 servings) contains approximately:
| Nutrient | Amount |
|---|---|
| Calories | 210 |
| Fat | 14g |
| Protein | 4g |
| Carbohydrates | 18g |
| Sugar | 12g |
This dessert provides calcium and protein from the cream cheese, plus antioxidants and vitamin C from the fresh berries. Using fresh fruit means you get natural sweetness and nutrients without added preservatives or artificial colors. The recipe is gluten-containing unless you substitute the crust, and contains dairy and eggs, so those with allergies should adapt accordingly.
From a wellness perspective, I appreciate that this recipe balances indulgence with real ingredients — no artificial flavors or fillers. It’s a treat you can feel good about sharing at any celebration.
Conclusion
The Perfect Stars and Stripes Layered Cheesecake Bars have become one of those recipes I fall back on when I want dessert that’s impressive but not complicated. The layers, the fresh berries, the creamy texture — it’s a combination that never fails to bring smiles to the table. What I love most is how easy it is to customize, so you can make it your own depending on the season or dietary needs.
If you try this recipe, I’d love to hear how you put your spin on it or what occasion you served it for. Sharing these moments is what makes cooking feel like a community. So grab your mixing bowl, pick your berries, and make a dessert that’s as festive as the occasion calls for. You won’t regret it.
Frequently Asked Questions
Can I make these cheesecake bars ahead of time?
Yes, you can prepare the bars up to two days in advance. Just keep them covered and chilled in the refrigerator until ready to serve.
What can I use instead of gelatin?
Agar-agar is a great vegetarian substitute. Use according to package instructions but expect a slightly different texture.
Can I use frozen berries?
Absolutely! Just thaw and drain excess liquid before pureeing to avoid soggy layers.
How do I prevent cracks in the cheesecake layer?
Don’t overmix the batter, and avoid rapid temperature changes. Baking at a moderate temperature and cooling gradually helps too.
Can I double this recipe for a larger pan?
Yes, doubling works well for a 9×13-inch pan. Just adjust baking time slightly and watch layers as they set.
Pin This Recipe!
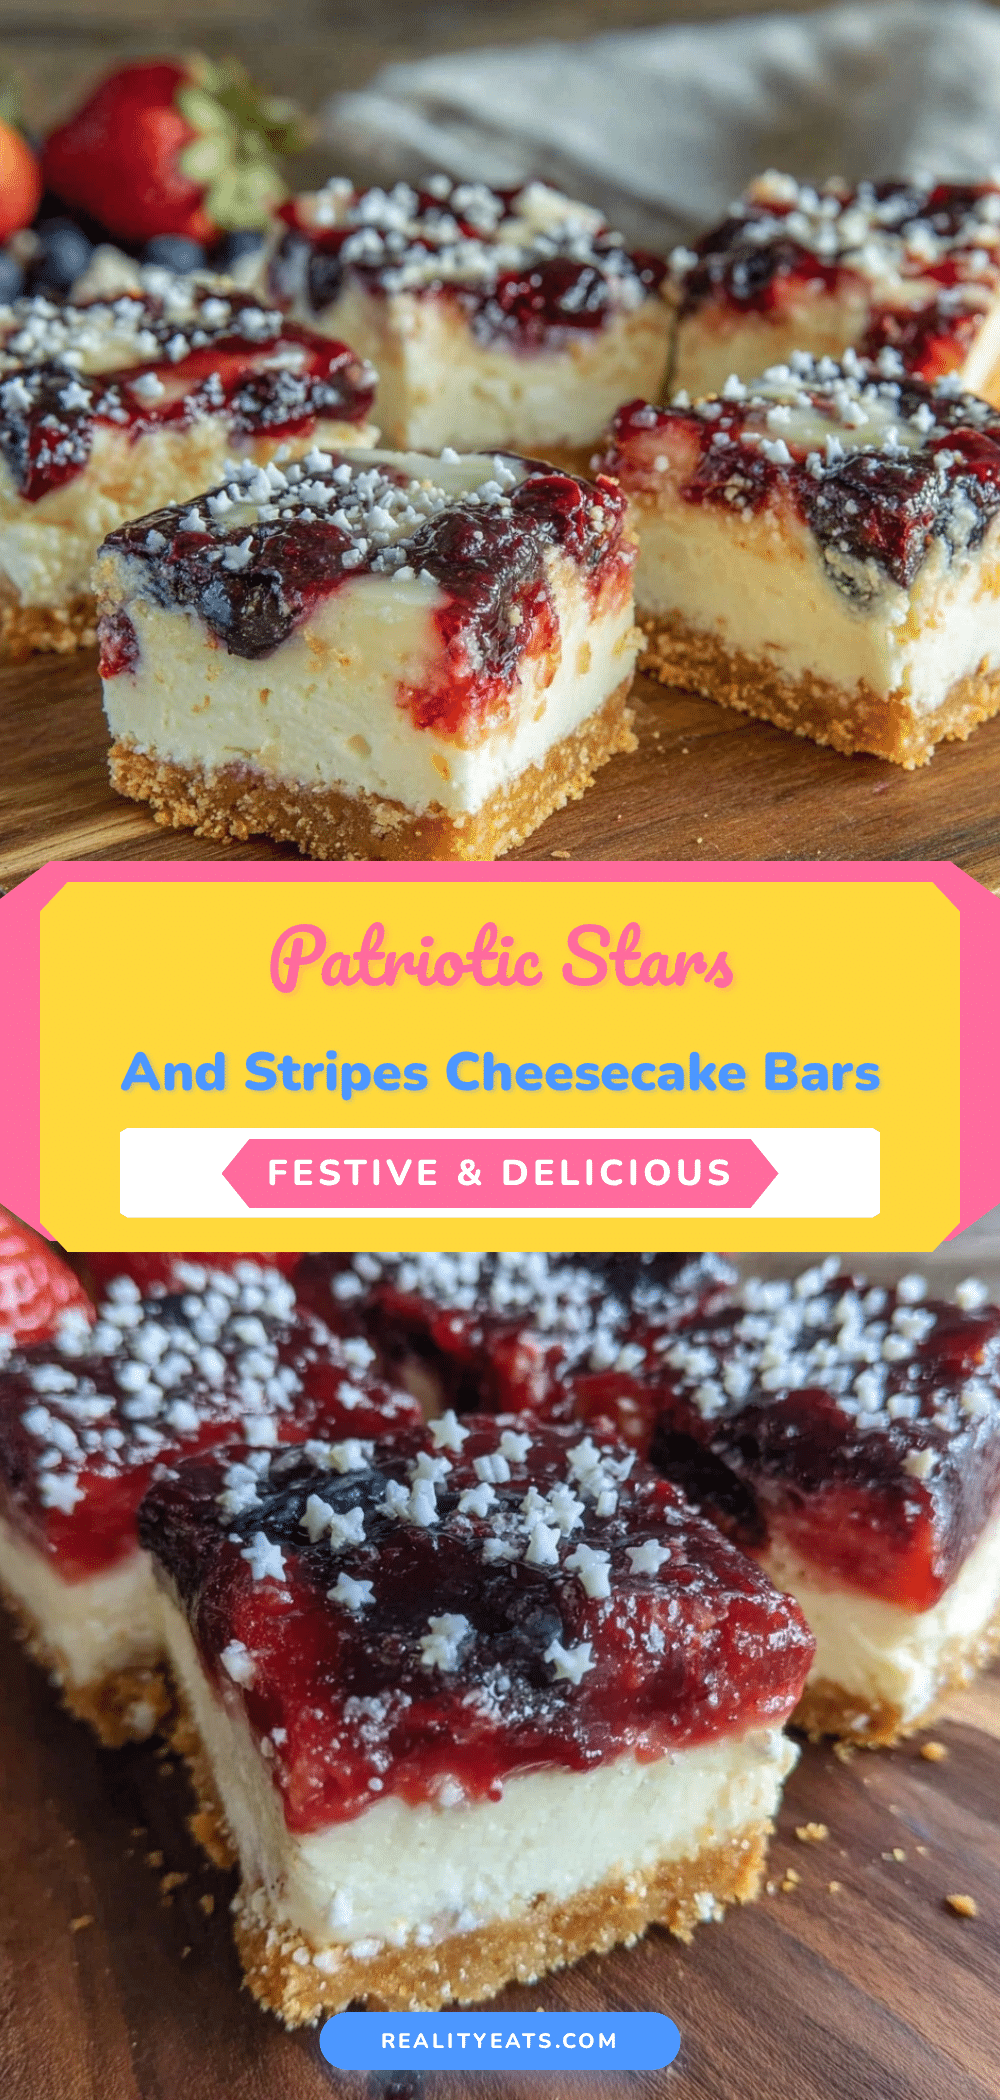
Perfect Stars and Stripes Layered Cheesecake Bars
A festive and easy-to-make layered cheesecake bar featuring a buttery graham cracker crust, creamy cheesecake layer, and vibrant strawberry and blueberry gelatin layers, perfect for patriotic celebrations.
- Prep Time: 30 minutes
- Cook Time: 35 minutes
- Total Time: 1 hour 35 minutes
- Yield: 16 servings 1x
- Category: Dessert
- Cuisine: American
Ingredients
- 1 ½ cups graham cracker crumbs (about 150g)
- 6 tbsp unsalted butter, melted (85g)
- 2 tbsp granulated sugar (25g)
- 16 oz cream cheese, softened (450g)
- ½ cup sour cream (120ml)
- ¾ cup granulated sugar (150g)
- 2 large eggs, room temperature
- 1 tsp vanilla extract
- 2 tbsp all-purpose flour (15g)
- 1 cup fresh strawberries, pureed (150g)
- 2 tbsp powdered sugar (15g) for strawberry layer
- 1 tsp lemon juice for strawberry layer
- 1 tsp gelatin powder for strawberry layer (or agar-agar for vegetarian option)
- 1 cup fresh or frozen blueberries (150g)
- 2 tbsp powdered sugar (15g) for blueberry layer
- 1 tsp lemon juice for blueberry layer
- 1 tsp gelatin powder for blueberry layer
Instructions
- Preheat oven to 350°F (175°C). In a medium bowl, mix graham cracker crumbs, melted butter, and sugar until combined. Press firmly into the bottom of a lined 8×8-inch pan. Bake 8-10 minutes until lightly golden. Cool.
- In a large bowl, beat softened cream cheese with an electric mixer on medium speed until smooth (about 2 minutes). Add sour cream and sugar; beat until blended (1-2 minutes). Beat in eggs one at a time. Stir in vanilla extract and flour just until combined. Avoid overmixing.
- Pour cheesecake mixture over cooled crust, spreading evenly. Bake 25-30 minutes until edges are set but center jiggles slightly. Cool to room temperature, then chill in fridge for 30 minutes.
- Puree strawberries with powdered sugar and lemon juice until smooth. Bloom gelatin in 2 tbsp cold water for 5 minutes, then warm gently until dissolved. Stir gelatin into strawberry puree. Pour over chilled cheesecake layer and refrigerate 30 minutes or until set.
- Puree blueberries with powdered sugar and lemon juice. Bloom and dissolve gelatin as before, then mix into blueberry puree. Pour over strawberry layer and refrigerate at least 2 hours to fully set.
- Use parchment paper edges to lift bars from pan. Cut into squares with a warm, sharp knife, wiping knife between cuts for clean edges.
Notes
Use room temperature cream cheese and eggs for smooth batter. Chill each layer fully before adding the next to prevent bleeding. Use gelatin carefully; bloom in cold water before dissolving. For gluten-free crust, substitute graham crackers with almond flour or gluten-free cookie crumbs. Agar-agar can replace gelatin for vegetarian/vegan option but expect texture differences. Cut bars with a warm, sharp knife for clean edges.
Nutrition
- Serving Size: 1 bar (1/16th of rec
- Calories: 210
- Sugar: 12
- Fat: 14
- Carbohydrates: 18
- Protein: 4
Keywords: cheesecake bars, layered cheesecake, patriotic dessert, Fourth of July dessert, strawberry blueberry cheesecake, easy cheesecake bars


